I recently received my eVscope from Unistellar and after just a few sessions with it, I thought I would share my thoughts and experiences with it so far – particularly since there wasn’t a lot of info available when I ordered it in back in July of 2019.
Overview
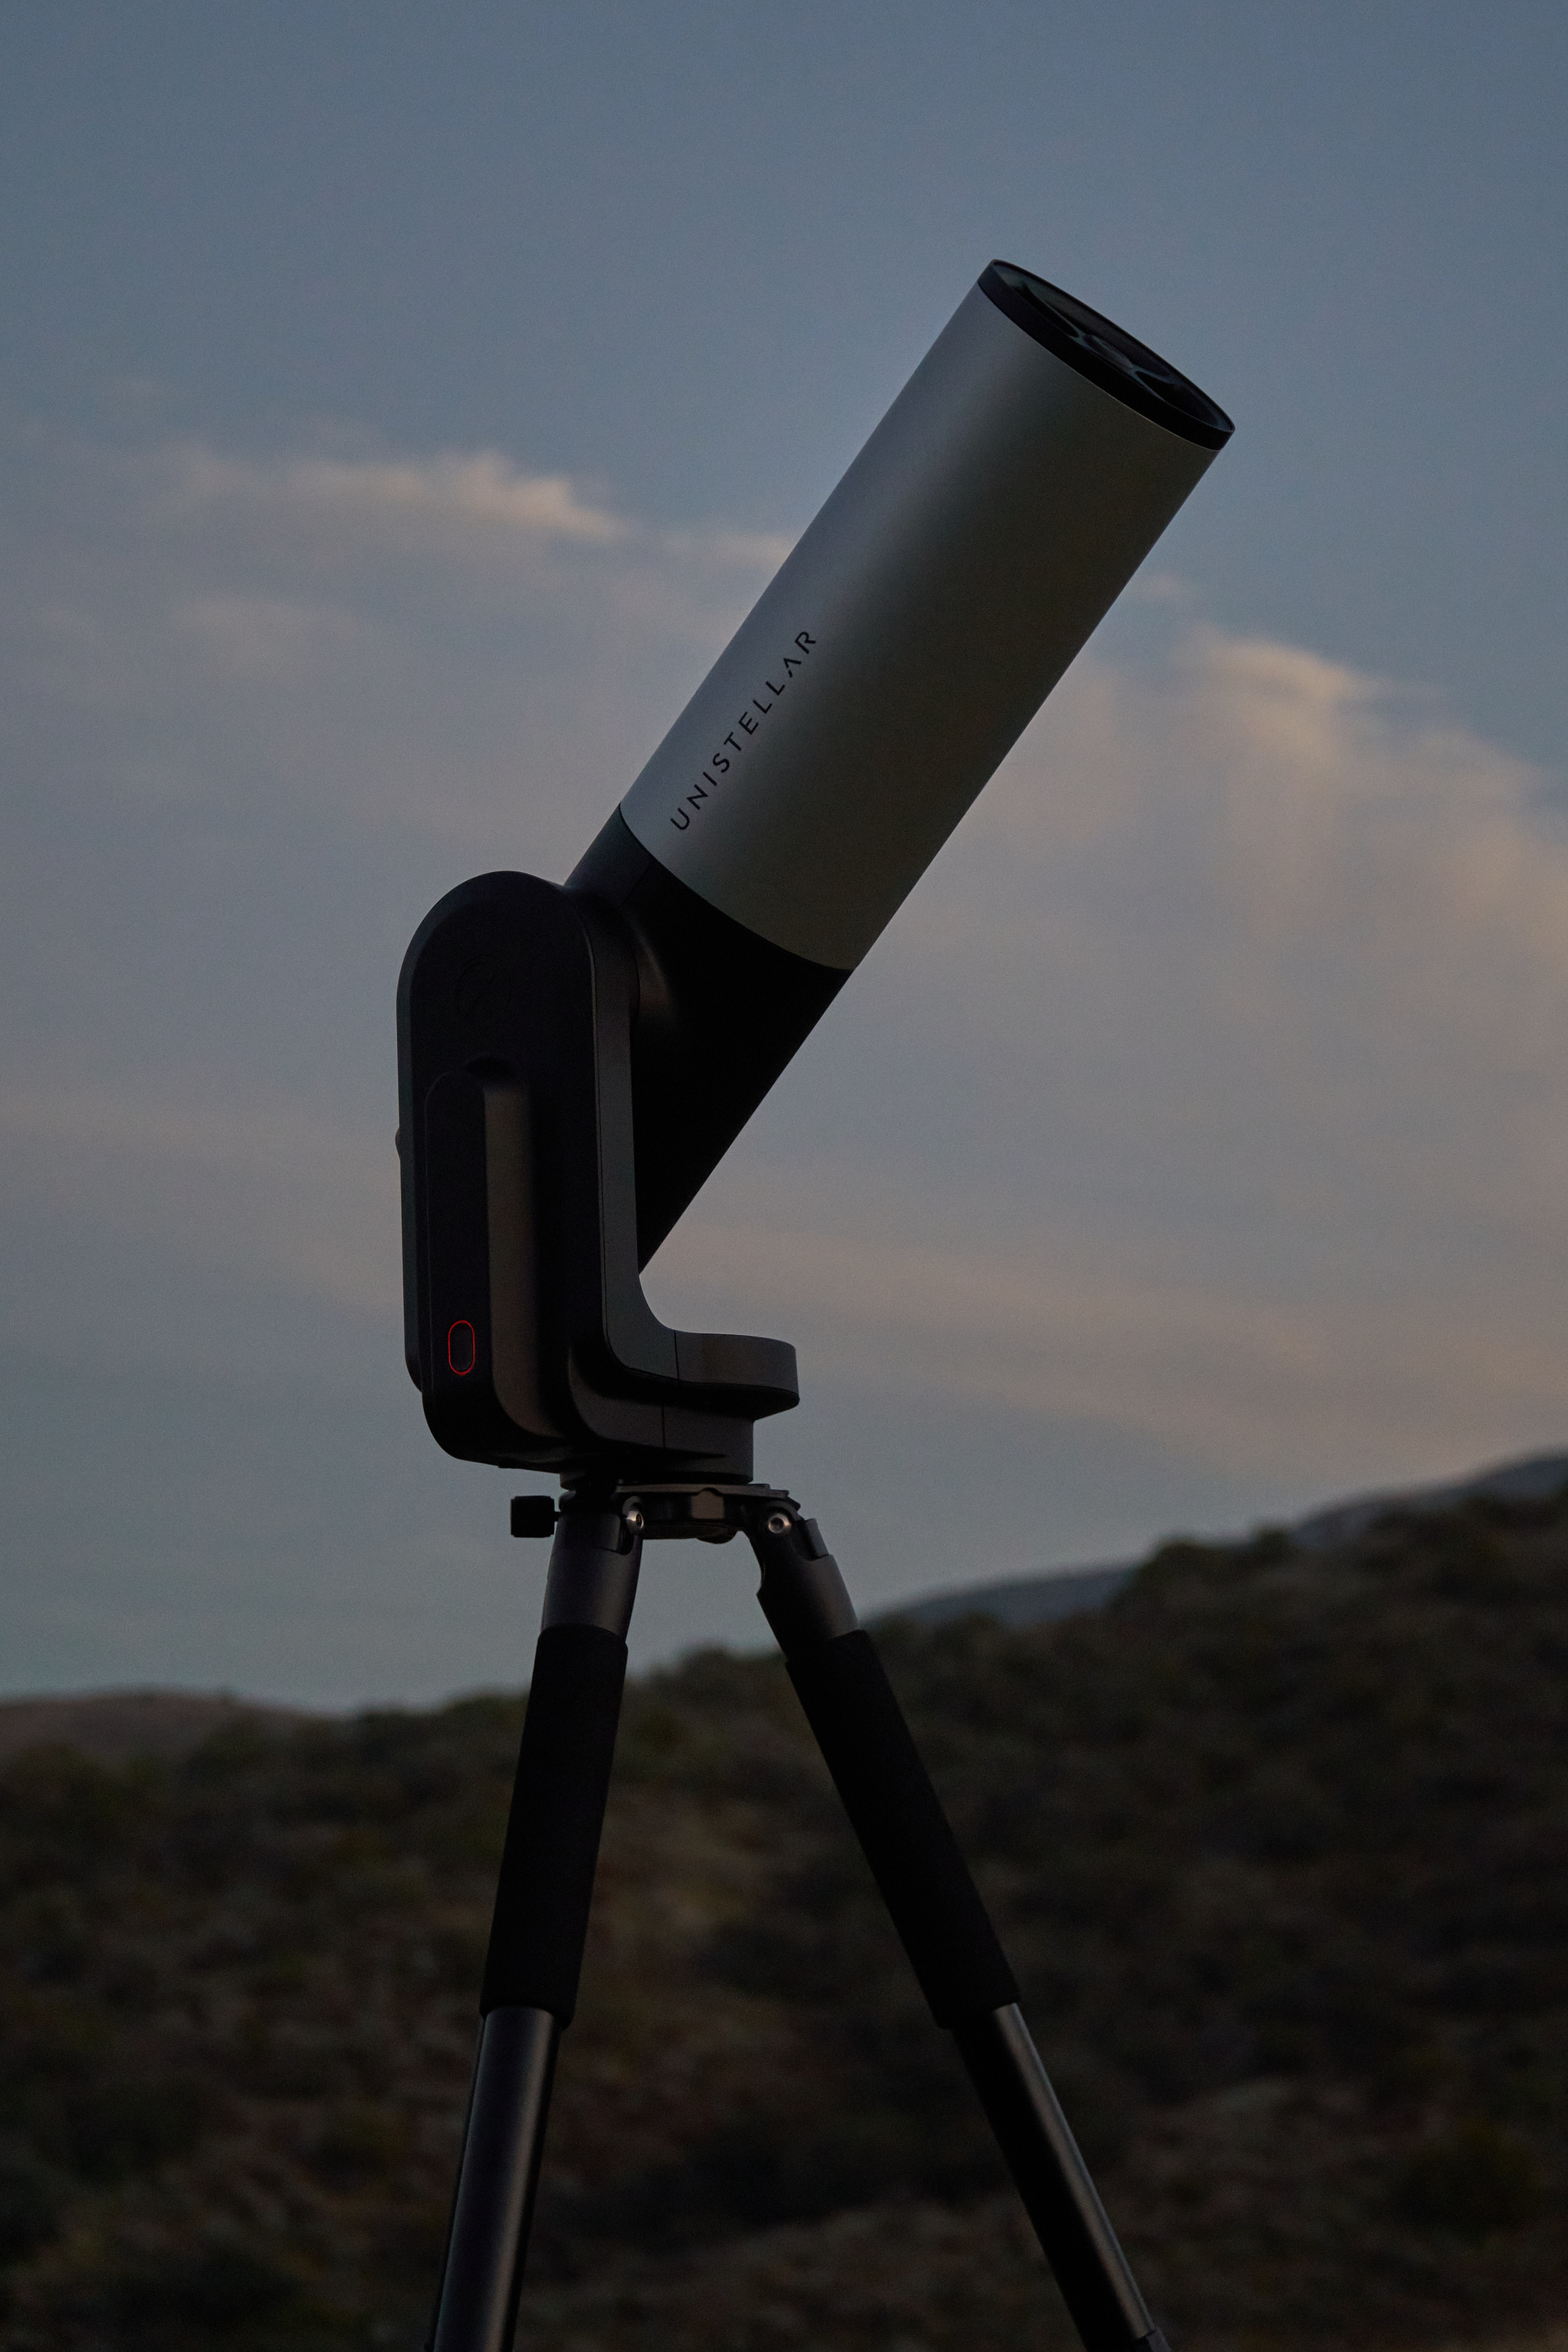
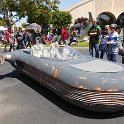
The Unistellar eVscope is quite different from a traditional optical telescope. It’s a highly integrated and automated digital imaging telescope that enables you to easily find and view deep sky objects in color and detail that would not normally be perceptible to your eye looking through a normal optical telescope. In addition, the eVscope is designed to let you easily participate in and contribute data to crowd-sourced “citizen science” projects.
The eVscope is a 4.5-inch Newtonian reflector that captures light on a highly sensitive, low noise Sony IMX224 color sensor while using a motorized alt-az tracking mount and autonomous field detection to automatically identify, align and continually track its view of the sky. Integrated image-processing software takes and combines an on-going series of short exposures to generate an image in almost real time that brings out much of the very low light, color and detail that’s not visible to the human eye even when looking through a normal telescope. This view accumulates over just seconds and minutes and is displayed both in the telescope’s eyepiece (on an OLED display) as well as on a WiFi-connected smartphone. The whole thing is self-powered via an integrated 9-10 hour rechargeable battery, fits into a large backpack and weighs just under 20 lbs. including the provided tripod.
In other words, it’s quite an impressive level of integration!
We were just about to toss out some old goggles that were in the closet and, on a lark, decided to check their UV protection. Mine were maybe 10+ year old Oakleys (haven’t used in many years) and Darlene’s were her old Smith’s that she had been using up until last month. Both are fitted with orange “high contrast” lenses.
Well, both appear to be failing to provide UV protection now. Not good!
Sunglasses and ski goggles can lose their UV protection over time. So… double-check your old sunglasses and goggles for UV protection!
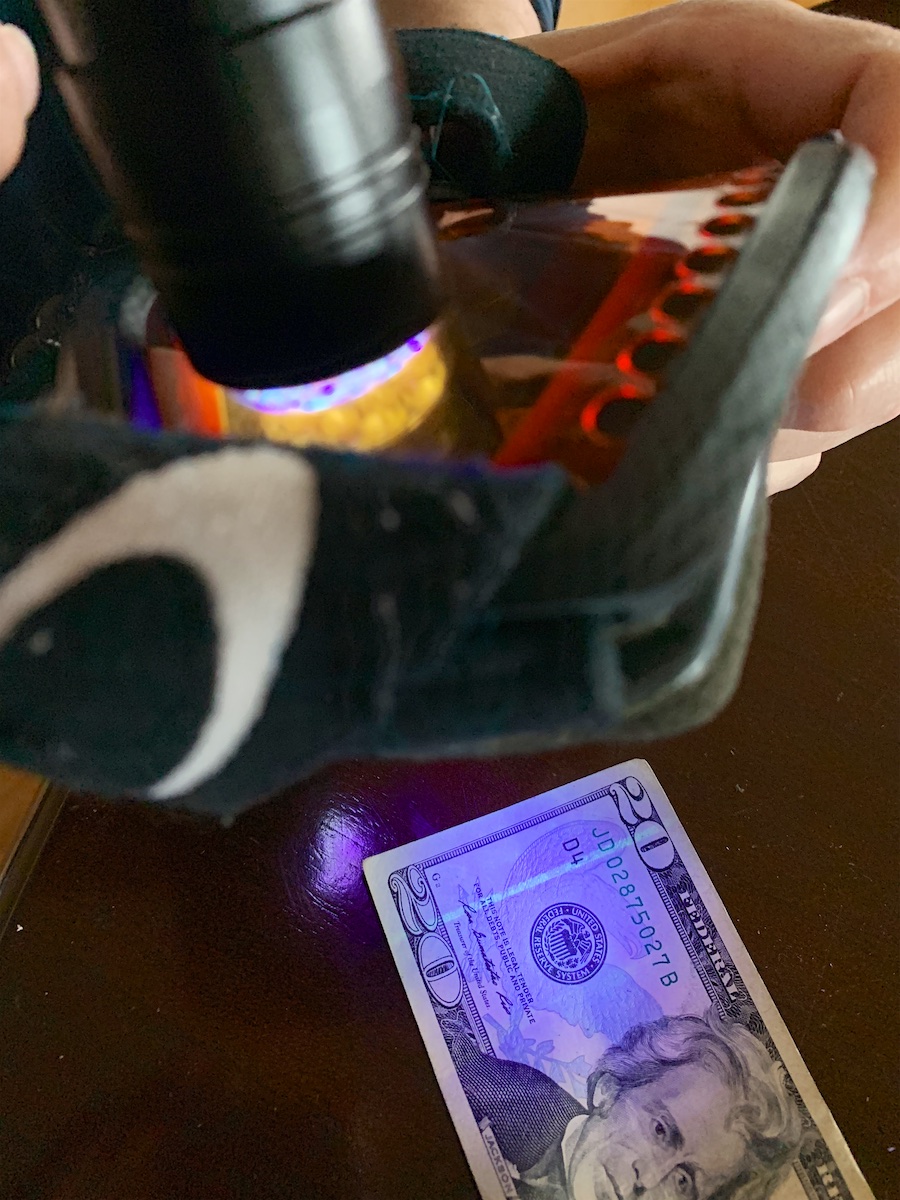
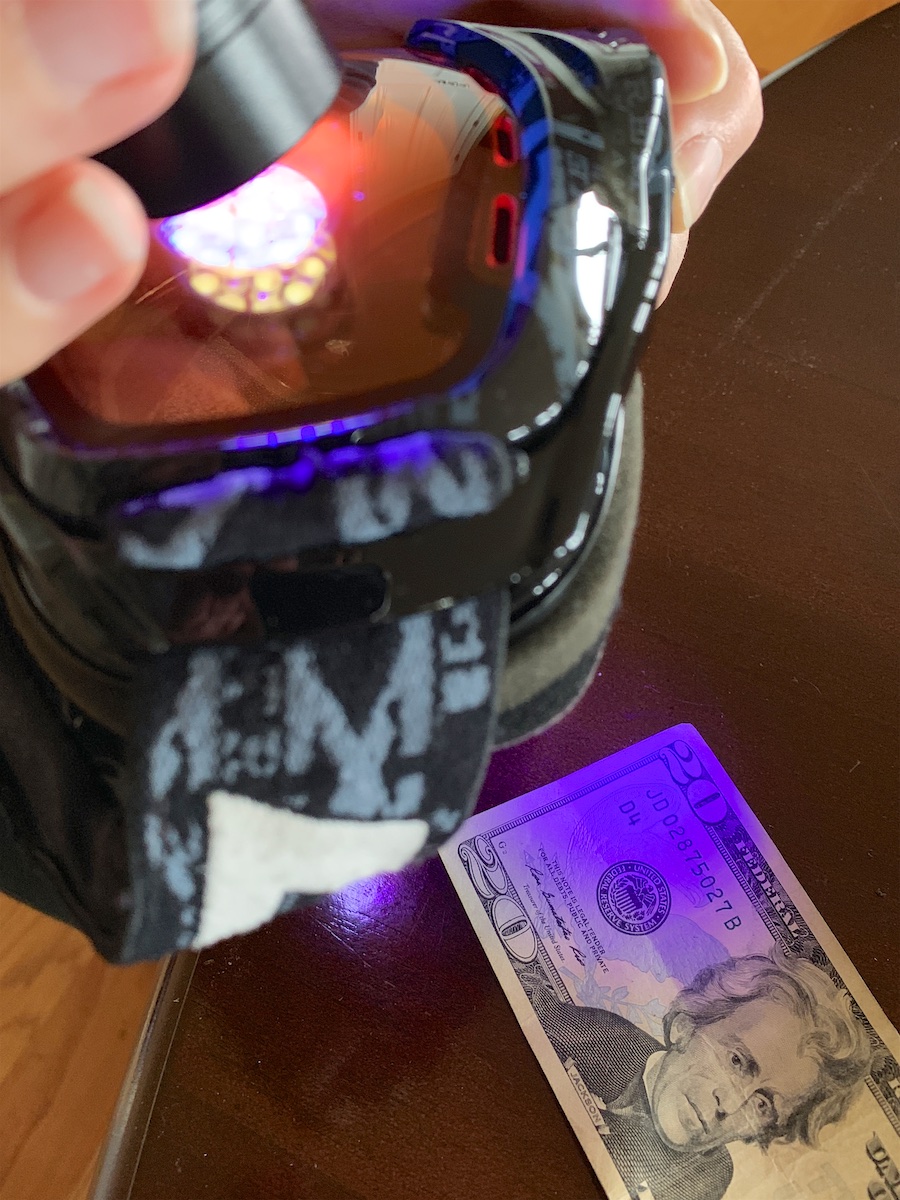
I tested with a UV flashlight (“black light”) I picked up recently off Amazon when I decided I didn’t want to trust the unknown Chinese manufacturer (“Oho”) of some new camera goggles I bought. As it turns out, those new goggles and my old Liquid Image camera goggles I’ve been using for many years pass the UV flashlight test fine. (As do my and Darlene’s sunglasses.)
You can do a quick and dirty test just using a $20 bill and one of these inexpensive UV flashlights. You can also get a more professional test (with an actual UV blocking measurement) from your local optician.
Here’s a bad result on left (strip is fluorescing due to UV light getting through lens), good result on right – both are orange tint lenses and many years old:
Lots of wildfires in California lately and over 100 in the Santa Cruz area this year so they’ve closed many of the county parks to try to reduce the risk. This one a couple of weeks ago (the Rincon fire) was quite visible from my place but happily they were able to get it under control in a couple of days:
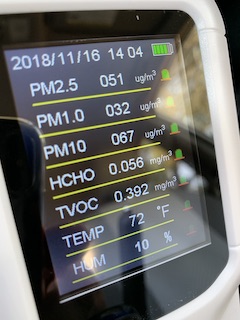
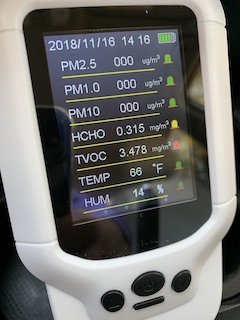
After seeing someone test the air filtration of Tesla’s Model X and its “biodefense mode” against the heavy smoke we’re getting from our wildfires this month, I decided to pick up an inexpensive air quality sensor to test my home’s air as well as my Model 3’s more mundane filtration system. (The Model 3 doesn’t have the Model X’s fancy “biodefense mode” or huge HEPA filters.)
With the PM2.5 sensor reading 150 μg/m3 (unhealthy) in the San Jose area (due to smoke from the Camp Fire that burned through Paradise, CA), I found that the Tesla Model 3’s air filter would bring things down to the 20’s in the cabin in just a few minutes when recycle air was turned on. Later, I stopped and made a video to record it falling from 135 to 5 μg/m3 in less than 10 minutes. It climbed back up to the 80’s pretty quickly though when I turned off recycle air and let it bring in fresh air:
This video was even picked up by Teslarati (“Model 3 protects owner…“) and re-tweeted by Elon.
Hi, Elon! But they didn’t pick up on my follow-up test to compare the Tesla to a Toyota:
Comparison with Toyota RAV4 EV
I decided to repeat the test with my 2013 Toyota RAV4 EV. This time the starting air quality wasn’t nearly as bad as my initial test but both the Tesla and the Toyota were able to filter the cabin down to a reading of zero from a start of 50 μg/m3 with recycle air turned on. At full fan speed, the RAV4 took about 10 minutes and the Model 3 was able to do it in about 3-4 minutes.
With recycle air turned off (fresh air intake on), the PM2.5 reading in both cars climbed up again. The Tesla was able to hold it around the low to mid 30’s but the RAV4 went up to essentially the outside reading of 50 μg/m3 again. So the Model 3’s system does work better.
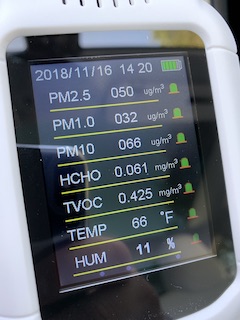
One other thing of note is that the RAV4 ended up with a much higher concentration of TVOC (total volatile organic compounds), even though the vehicle is five years old. Presumably this is off-gassing of some of the materials in the cabin.Oh, and I forgot to turn off A/C in the RAV4 for the test – hence the temperature drop.
Here’s more detail in screenshots – RAV4 start and finish with recycle on:
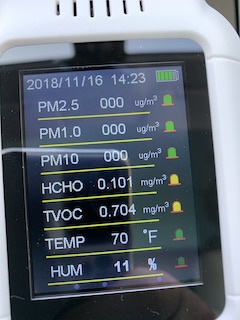
Model 3 start and finish with recycle on:
On a subsequent four-hour drive to Tahoe in the Model 3, I encountered much worse air along the way (San Jose, Central Valley, Sacramento, etc). I’d guess the PM2.5 count was easily at least 150 μg/m3 and probably much higher in places, but I avoided opening the windows to test it. I kept the air on recycle and saw that the particle count held down around 20 but sometimes climb to the 30’s. Not bad, given how bad it was outside.
If you’re interested in buying a Tesla, using someone’s referral link will give you a discount (the amount varies over the years) and grants redeemable credits to the person who referred you. Here’s my Tesla referral link.
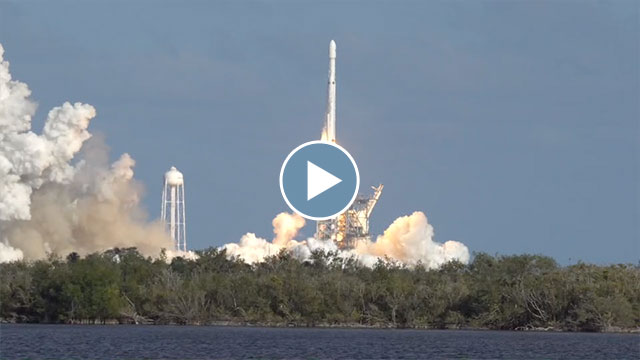
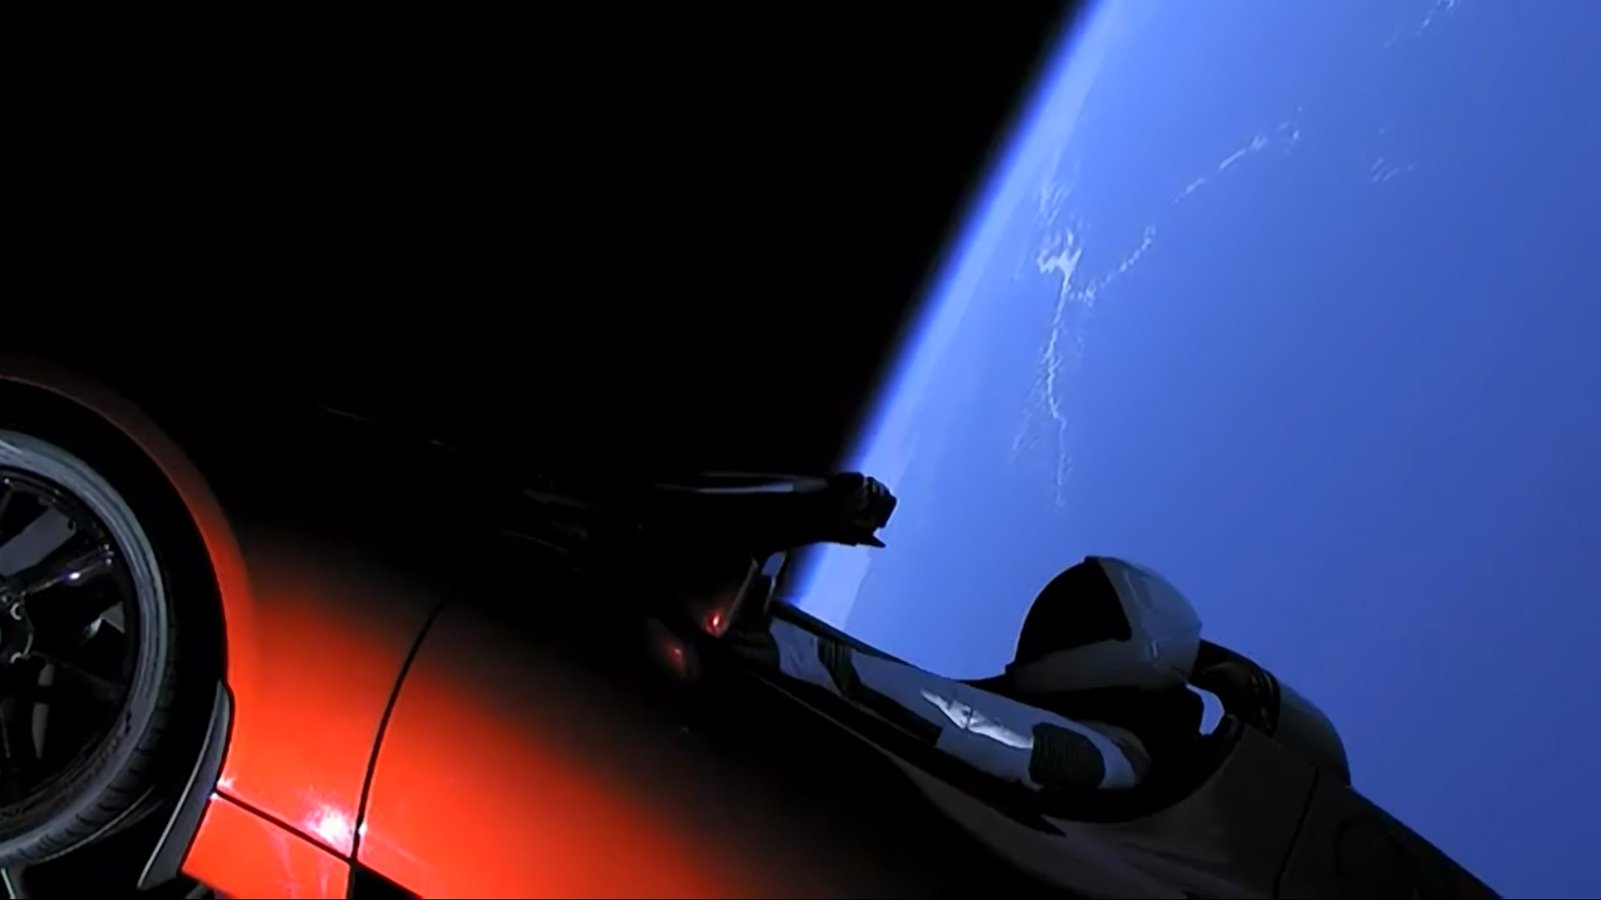
On Tuesday, February 6th, SpaceX successfully launched their Falcon Heavy rocket on its inaugural flight, sending Elon Musk’s original Tesla Roadster and “StarMan” on a far reaching orbit around the sun as a test payload. Happily, I was able to fly out to Florida and experience the launch firsthand from the Kennedy Space Center’s closest available viewing location for the general public – just 3.9 miles away from the launch platform! (It’s just too bad they haven’t removed the historic-but-no-longer-needed launch tower at LC-39A, as it was sitting between us and the Falcon Heavy.) Still, it was quite the show with essentially three of their Falcon 9’s strapped together and all twenty-seven engines firing simultaneously! Not to mention the amazing, never-seen-before, simultaneous return of the two outer boosters back to the nearby landing zone!
I’ve made a video of what it was like to watch (and hear) from our vantage point:
The Falcon Heavy launch as experienced from the closest public viewing area
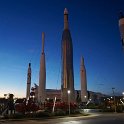
This viewing location is part of Kennedy Space Center’s “Feel the Heat” ticket package which takes you to the Apollo/Saturn V Center to view a launch and includes a buffet, some commemorative items, and return entrance to the Kennedy Space Center on a later date to enjoy the rest of the exhibits.
You’re given an assigned arrival time some 5-6 hours before the launch to catch your bus (and told not to come earlier) but for this historic event, there were so many people that it took hours to get through the security gates, boarded on a bus (really? loading the buses serially??) and delivered to the viewing area. By the time we unloaded from the buses at the viewing area, there was slim-pickings for anywhere on the grounds to set up a tripod with a good, unobstructed view because apparently many folks had shown up an hour or more earlier. Anyway, I staked out a spot between others some three hours before the scheduled launch but had to skip the buffet to keep watch over all my gear.
The launch ended up being delayed several times due to high altitude wind shear and we were all getting a little nervous that they’d miss their launch window for the day (1:30 pm – 4 pm) as they rescheduled all the way up to 3:45 pm. But then, about an hour before that, they made the call to go ahead and start fueling the liquid oxygen – meaning a go for launch! Hurrah!
And then 5, 4, 3, 2, 1, …. and great clouds of steam erupted with 27 engines firing – quite the sight! We couldn’t see the rocket until it cleared that annoying (and unneeded!) tower, but afterwards the light intensity of the exhaust was incredible as it climbed into the sky. You hardly notice the absence of sound from the rocket with the cheers of the crowd around you, but a few seconds later it starts to come across – and it’s an amazing, stuttering roar.
Then you get to watch it climb and roll and, higher up, begin to build a beautiful column of vapor – which it eventually disappeared into. After a bit, it reappeared further east as a faint set of exhaust plumes still coursing away. On the monitor, we could watch and hear announcements of each successful milestone and cheers would erupt each time – like with the separation of the side boosters and their retro-firing to return to Cape Canaveral.
Minutes later the two side boosters appeared in our sky coming down at incredible speed. We all lost track of them though when they cut their engines again and unfortunately many of us weren’t in a position to see them again when they reignited for their final deceleration over their landing targets. We could of course see the video feed on the monitors, perfectly landing themselves (vertically!), like something out of science fiction – but it wasn’t until after they had landed that their twin sonic booms reached us. We all of course learned later that the center core didn’t fare so well because two of the three needed engines were unable to restart (not enough ignition fuel) and it crashed into the ocean close enough and hard enough to damage the autonomous drone ship that was waiting for it. But hey, this was a test flight!
The Falcon Heavy is now the most powerful rocket in the world, with the most lifting capability – though it will soon be surpassed by NASA’s upcoming “SLS” rocket as well as SpaceX’s own future “BFR”.
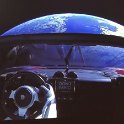
Meanwhile, “Starman” continues his/her epic journey in space:
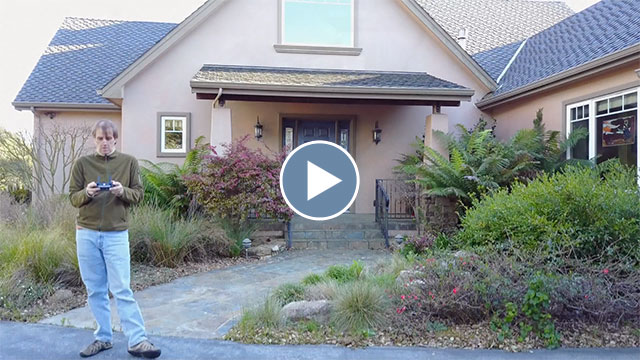
2.9 minute video demonstration of the Mavic Pro (223 MB)
This is a short little video montage of my first few flights around my house with DJI’s Mavic Pro – a fantastic, compact little flying camera platform. This thing folds down to about the size of a quart-size water bottle, weighs only 2 lbs with a battery and flies for about 25 minutes per charge. It’s got a tiny gimbal-stabilized 4K camera that can capture up to 4096×2160 video. (The video above is downgraded to 1280×720 but here’s a short snippet of 4K footage.) The Mavic Pro has lots of sophisticated smarts on board too: automatic return to home, obstacle avoidance, vision positioning system, object tracking/following/circling, etc. It maintains a live high definition feed to your phone/controller wth a range of over 4 miles, though FAA rules require that you maintain visual line-of-sight and stay below 400 ft from ground level at all times. (Also, drones and other remote-controlled aircraft cannot be used in national parks, wilderness areas, ski resorts, around crowds or events, etc. without special permission.)
The Mavic Pro is very fun and easy to fly and it’s amazing how clear and stable the video footage is, even enough to use it as a flying tripod or do time-lapse photography. Best of all it folds down so nicely to fit easily into a small backpack or carrying case. It’ll be fun to bring this along on some hiking and biking trips.
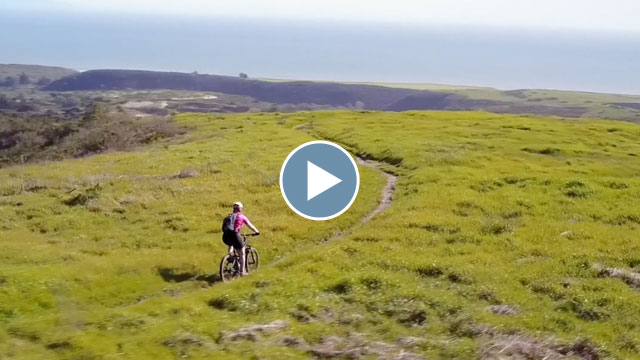
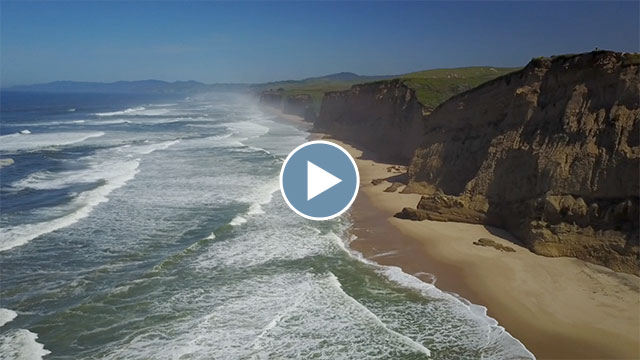
Here’s some additional footage – the first from nearby Wilder Ranch State Park, including trying out the Mavic’s “Active Track” flight mode and the second from just north of Pescadero Beach while looking for whales:
Here’s DJI’s related SkyPixel site where you can see sample drone photography. Here’s one of many reviews about DJI’s Mavic Pro, if you’re interested in more detail. I’d recommend buying DJI’s “Fly More Combo Pack” which includes the Mavic Pro but also two extra batteries, two extra propellers, the four-battery charging hub, a car charger cord, an adapter for charging your phone or other USB device from a battery pack and the DJI carrying case/shoulder bag. You’ll also likely want to get a lens shade as the Mavic’s camera tends to easily catch sunlight even when not pointed at the sun. This one works well, while this one is too fragile and breaks easily just mounting it.
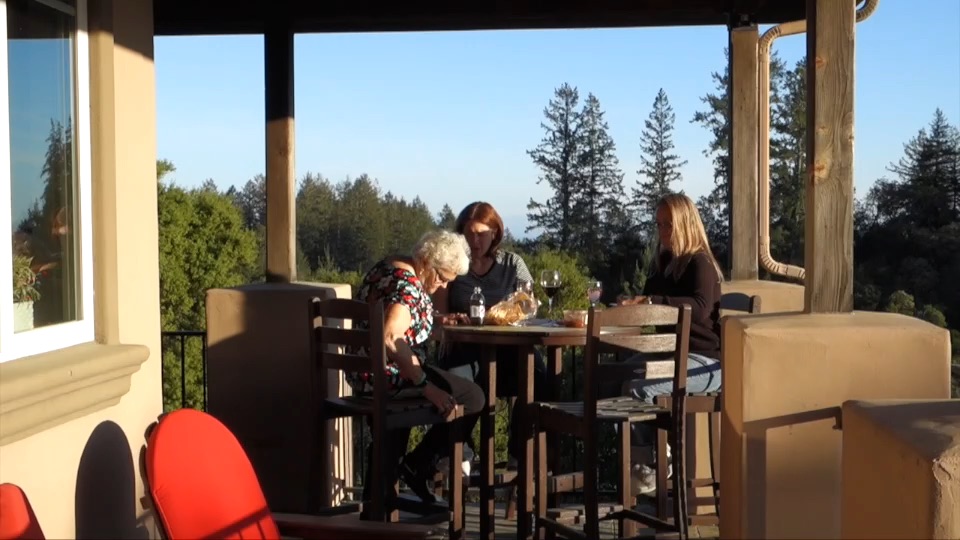
And one more bit of footage – sneaking up on Darlene’s family while they were here visiting:
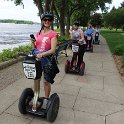
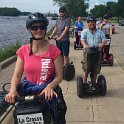
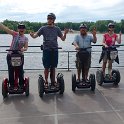
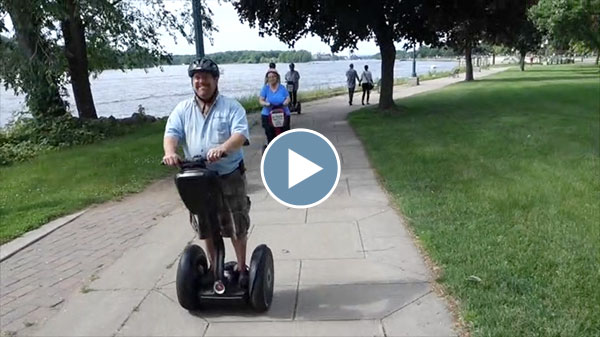
While visiting with Darlene’s family in Wisconsin/Minnesota, we went for a Segway ride and tour in La Crosse this past Sunday with Shel, Dan, Kathy and Shelly. It was my first time trying one and it was a lot of fun. The handling is very intuitive and responsive – to the point of being a little addictive! If you have yet to try one, look for a tour or rental in your area (like La Crosse Segway Tours) – it’s definitely worth it!
Click through for the full gallery of pics and video:
A short, 75-second video montage from our Segway ride in La Crosse, WI.