I just received a software update for my Tesla Model Y today – just in time for Christmas. Among many other changes and additions, it now includes the light show for all of their current models. As a friend noted, it appears to be possessed by a ghost of Christmas:
If you’re interested in buying a Tesla, using someone’s referral link will give you a discount (the amount varies over the years) and grants redeemable credits to the person who referred you. Here’s my Tesla referral link.
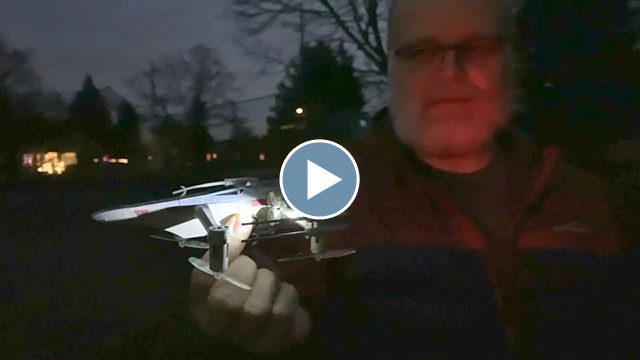
I received my eVscope from Unistellar in January of 2020 and I thought I would share my thoughts and experiences with it – particularly since there wasn’t a lot of info available when I ordered it in back in July of 2019. I’ve since been adding to this page to provide additional information.
Overview
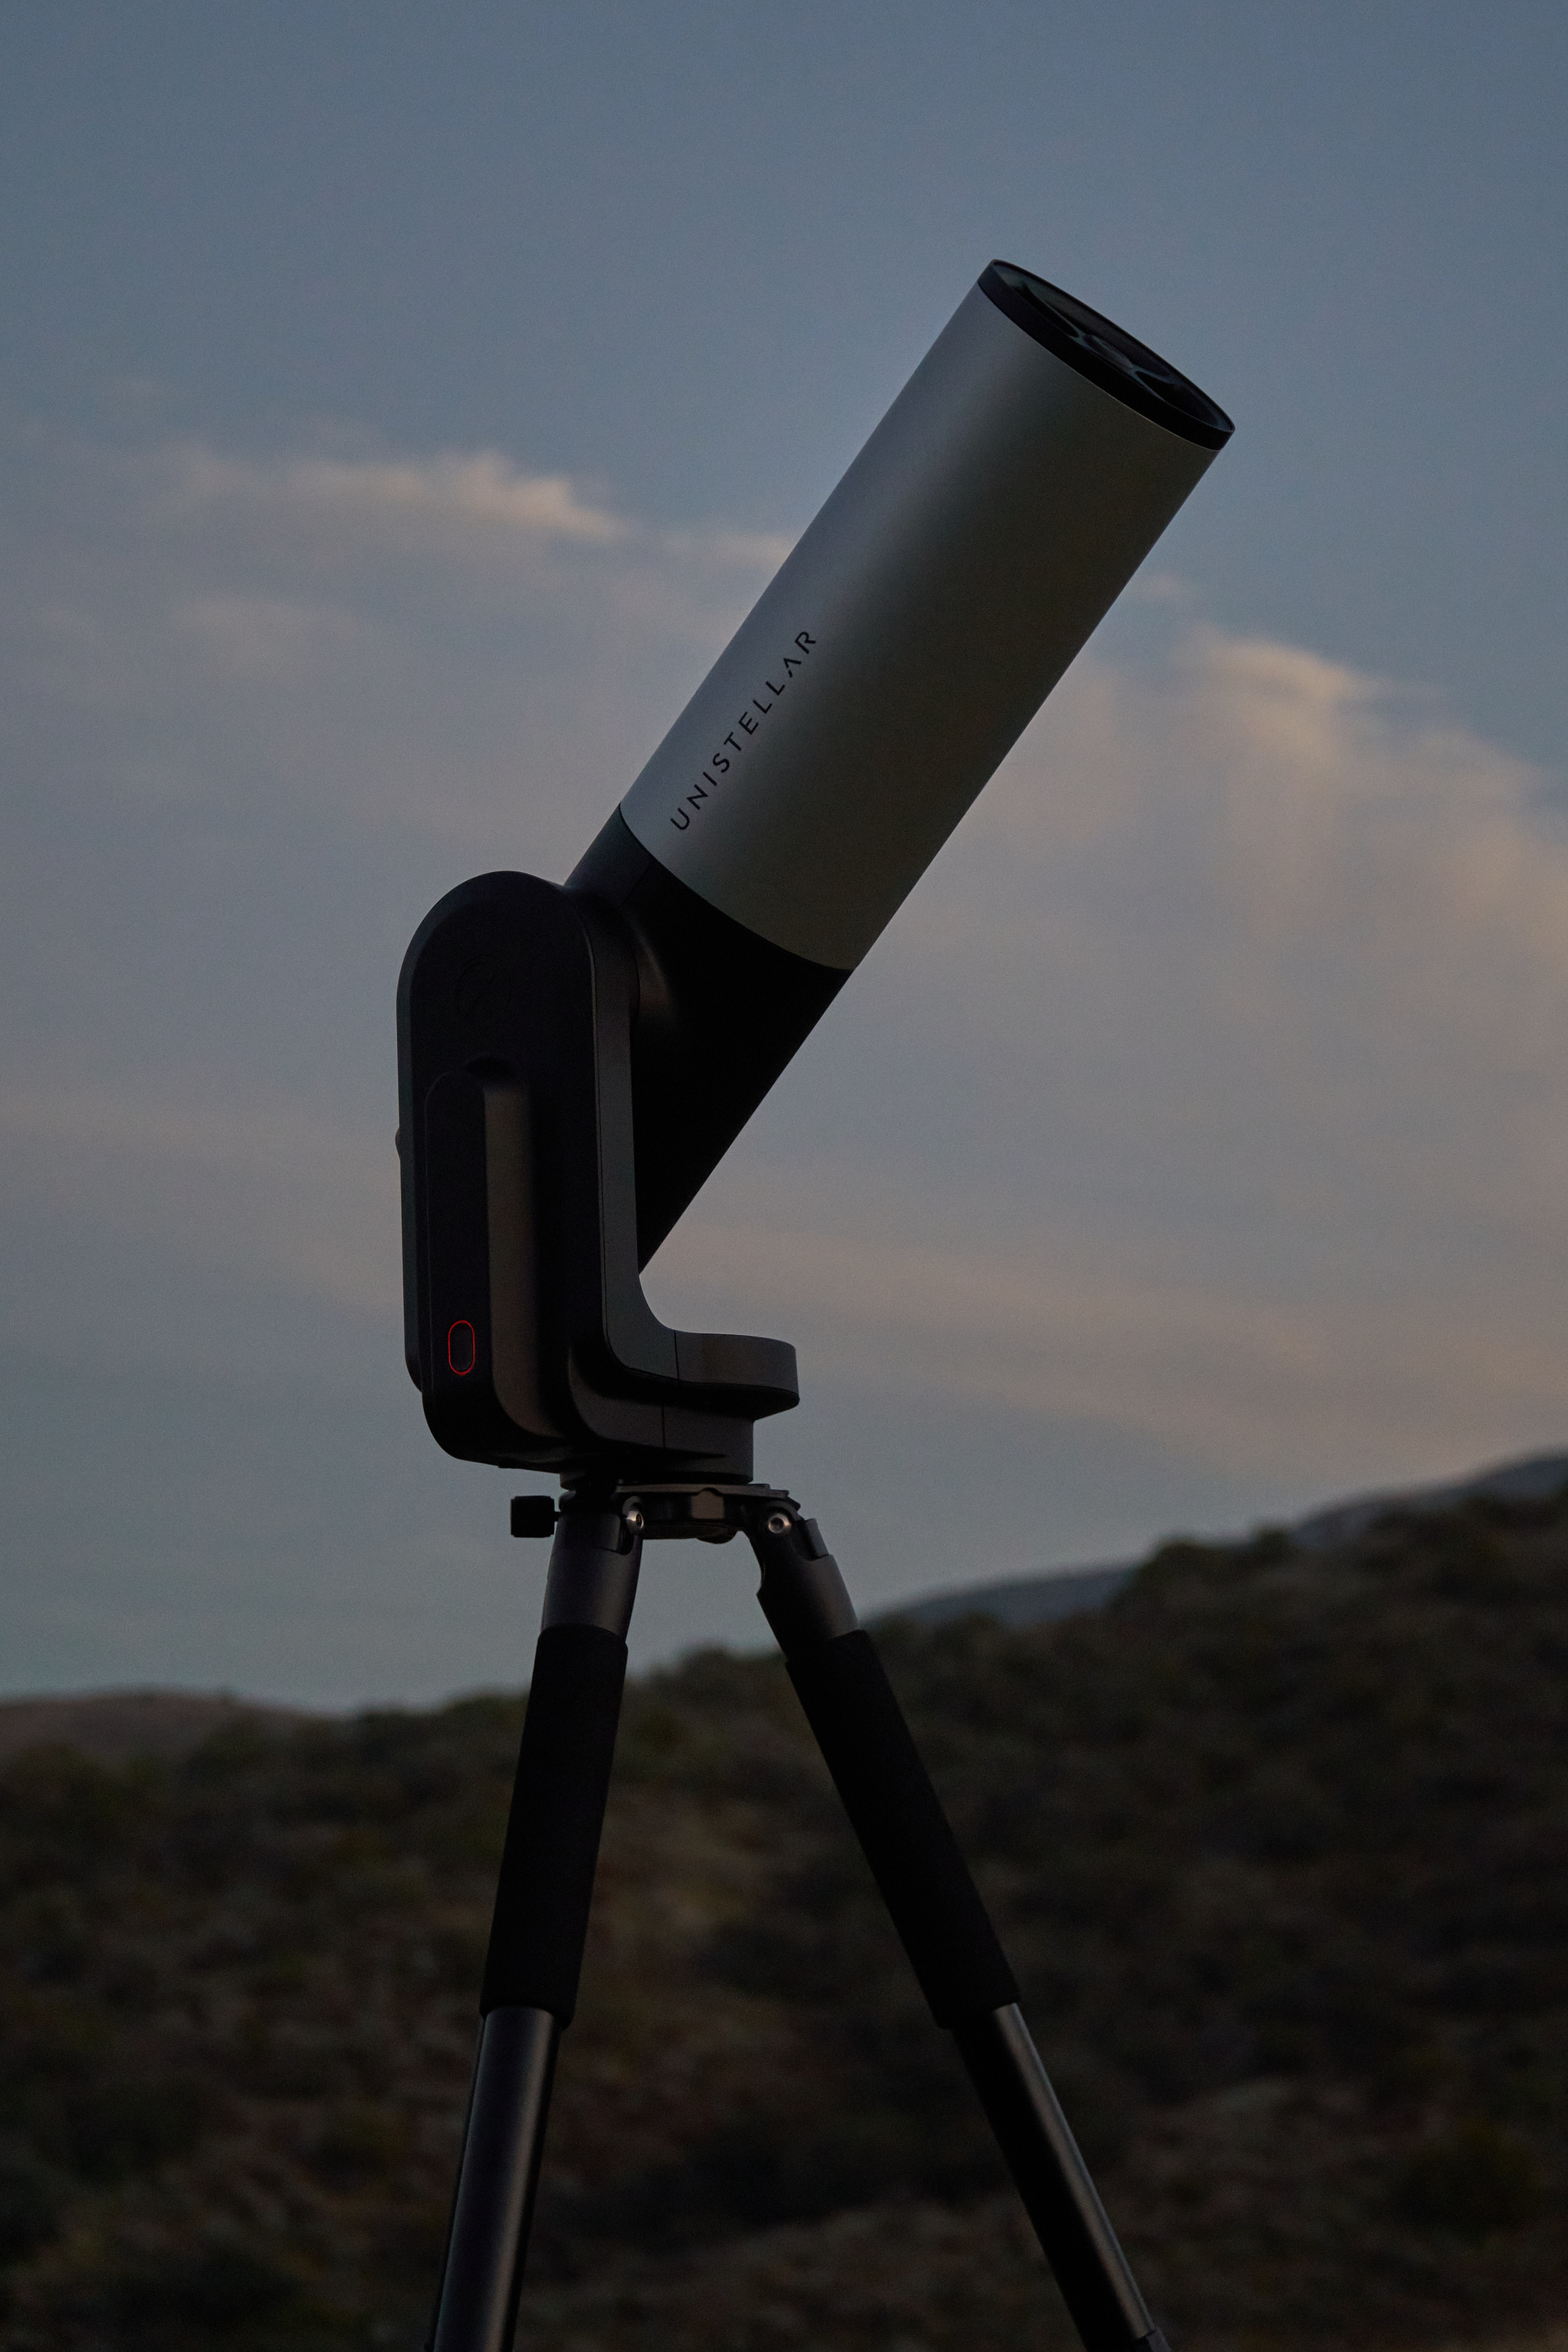
The Unistellar eVscope is quite different from a traditional optical telescope. It’s a highly integrated and automated digital imaging telescope that enables you to easily find and view deep sky objects in color and detail that would not normally be perceptible to your eye looking through a normal optical telescope. In addition, the eVscope is designed to let you easily participate in and contribute data to crowd-sourced “citizen science” projects.
The eVscope is a 4.5-inch Newtonian reflector that captures light on a highly sensitive, low noise Sony IMX224 color sensor while using a motorized alt-az tracking mount and autonomous field detection to automatically identify, align and continually track its view of the sky. Integrated image-processing software takes and combines an on-going series of short exposures to generate an image in almost real time that brings out much of the very low light, color and detail that’s not visible to the human eye even when looking through a normal telescope. This view accumulates over just seconds and minutes and is displayed both in the telescope’s eyepiece (on an OLED display) as well as on a WiFi-connected smartphone. The whole thing is self-powered via an integrated 9-10 hour rechargeable battery, fits into a large backpack and weighs just under 20 lbs. including the provided tripod.
In other words, it’s quite an impressive level of integration!
While you can of course outfit a normal telescope and tracking mount of your choosing with the necessary cameras, computer, tracking and image stacking software, WiFi connectivity, battery power, etc., you then also have to develop the expertise to use and troubleshoot this software – and it’s not trivial. To be clear, the eVscope is not really designed to be a sophisticated imaging tool or to compete with the results you can eventually get with lots of practice and expertise and many hours of capturing and processing images. Instead, the eVscope is intended to let you very easily see and enjoy much more detail than you can with a normal, unaided telescope and it provides quick setup, ease of control from your smartphone, and a fun, real time viewing experience all wrapped up in a lovely, convenient little package.
It is however not cheap to integrate all these components into such a convenient package. As such, I wouldn’t recommend it for someone wanting to dip their toe into astronomy on a small budget. It’s pretty clear though that this makes for a wonderful tool for astronomy outreach programs anywhere and I’m really looking forward to sharing the experience with friends and their families.
Setup and Use
I recorded a video to demonstrate the ease of setting up and using the eVscope:
I forgot to record using the focus ring on the base of the scope, so perhaps I’ll add that later, but Unistellar provides a nice page detailing how to use it with the provided Bahtinov mask: How to use the Bahtinov mask? (It’s great how the mask is integrated into the cap!)
With the earlier version of software (version 0.9), I did encounter a lot of bugs but most of these have already been addressed in version 1.0 (April 2020). And now it’s performing even better in version 1.1 (October 2020). They’ve also made many improvements over just this year and added functionality that makes the eVscope an even more fun and amazing experience to share with people.
The ease of setup and the speed with which you can get to viewing objects is great. I really like the convenient size of the thing, including the integrated power supply and the optional padded backpack to carry and protect it. The initial star alignment process is super fast (around 30 seconds) and it’s autonomous field detection system seems to do a great job of tracking the sky and dealing with field rotation over several hours. I did find the views appear slightly soft (presumably from the effort to track, align and integrate frames over many minutes) but still quite enjoyable, and perhaps this will improve with future updates. You can see some sample images below. I should note that I haven’t tried collimating the scope yet, so I’ll update here when I get the chance. Update (April 2020): I finally had both time and a bit of clear weather to collimate the telescope and it turns out it was off a little but now well aligned. Over time I’ll try to replace all the images in the gallery with new ones post-collimation. So far it’s just the last few in the gallery that were taken after collimation. (Whirlpool Galaxy, Ring Nebula, Eagle Nebula)
Another aspect of the very quick and easy setup is that it takes less than a minute to pull out the scope on a whim, stand it up on the open patio outside my bedroom, remove the cap, turn it on and dash back inside out of the cold winter night, and settle in with my phone or iPad and mess around exploring the sky, in warmth and comfort. I definitely cannot set up and align my 8” SCT and german equatorial mount so quickly and easily even with the auto-align accessory, plus there’s setting up cameras, laptop, myriad power and USB cables, etc. Not to forget to mention the disassembly and take down time afterwards again!
That said, I don’t think you should think of the eVscope as astrophotography gear. Everything is integrated to make it easy to observe deep sky objects with color and detail you can’t see without the aid of sensors, but it does not provide the means to capture frames and do your own stacking or more sophisticated and detailed imaging with a non-color sensor and color filters, etc. I would not expect this telescope to compete with custom gear where you have control over everything (and of course have to learn how to do everything). That is not the purpose of its design. Similarly, the cost reflects the benefits of integrating all these pieces (sensor, tracking software, stacking/imaging software, display, power supply, etc) into a small and elegant package without any cables or separate components to manage while also making it dead simple to use. That’s what you’re paying for and that’s the trade-off.
As of February 2020, the provided documentation was pretty good in some areas but a little weak in others. For example, I was surprised how long it took me to find a little blurb buried in a list at the back of the printed guide that explained how to tell if the battery was fully charged.
As of May 2021, the provided online documentation is much improved. I don’t know what has changed with the printed instructions since I received my scope back in January of 2020, but there’s plenty of information now available from their online knowledge base and more and more questions are getting answered over time.
Citizen Science
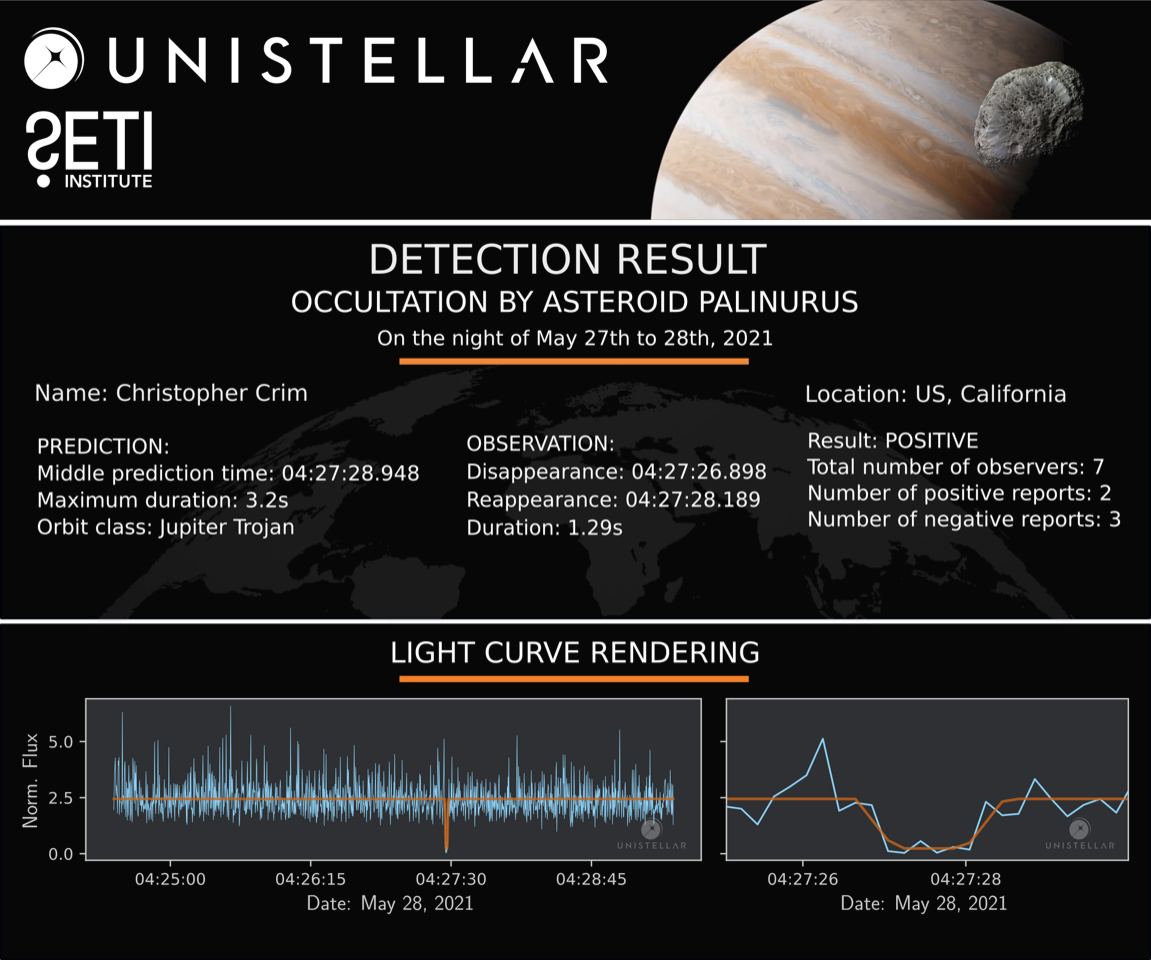
As I mentioned above, the eVscope is also designed to participate in crowd-sourced “citizen science”, in partnership with the SETI Institute. As per their web site, the eVscope “allows users around the world to participate in observing campaigns to image and collect data on objects of special interest to researchers. In Campaign Mode, image data is automatically sent to a data repository at the SETI Institute’s headquarters in Silicon Valley. The international scientific community can then access unprecedented volumes of image data for specific objects, from thousands of telescopes around the world, at different dates and times. This in turn, can enable new discoveries and enhance our understanding of the universe around us.”
In early February 2020, I had the opportunity to participate in one of these observing sessions. I received an email providing instructions for a particular target and observing time to collect data on an exo-planet transit of “WASP-43b”. The procedure involved setting up beforehand, selecting and confirming the target and then starting the Enhanced Vision capture process and letting it run autonomously for several hours as it tracked the target. Afterwards there was the capturing of 30 seconds of “dark frames” and then initiating the download of data from the telescope followed by the upload to their servers. While I encountered a few issues along the way (included in my bug list below), it was fun to get to participate in a data gathering session like this.
Here’s a more recent example of results from a “citizen science campaign” I was able to participate in. This was an effort to detect occultation by a Jupiter Trojan asteroid (“Palinurus”) on May 27th, 2021:
Sample Views
Here’s a couple of real time recordings of the Unistellar app showing the live view from the eVscope of the Orion Nebula (over 3.5 minutes) and Bode’s Galaxy (over 6 minutes):
Here are some images illustrating the views you can generate and enjoy in just minutes with the eVscope. I’ve included both screenshots of the full image displayed on my phone as well as the circular cropped image that it produces for display in the eyepiece and that it allows you to save from your phone. (The eyepiece shows only the circular cropped image and it does not display the descriptive text or circular outline.) I have not done any further processing on these images – these are just as they were originally generated by the eVscope app or screenshot-captured off my phone. (Originally, the eVscope app would only save the circular cropped version, but now the app will let you save the full uncropped version.)
The Sony IMX224 Exmor CMOS color sensor used in the eVscope has a resolution of 1305 x 977. The images saved from the eVscope app are 1280 x 960 and the circular cropped images are 1080 x 1080.
Click on any image below to see the full size version and to browse the gallery:
I’ve decided to upgrade to the newer eVscope 2 and so my original eVscope is now up for sale. I’m asking $2000, including the Unistellar backpack. Contact me via email: (chris “at” crimdom “dot” net).
Feature Requests
It’s really great that Unistellar is obviously listening to its users and has been steadily improving the software for the eVscope. Many of my own issues and feature requests have already been addressed.
Here’s my feature requests as of May 2021 (both current and previously implemented), using version 1.3 of the Unistellar app, running on iOS 14 (iPhone 12 Pro and an iPad Pro):
PLEASE NOTE: There’s been a lot of changes to the app which, as of November 2022, is on version 2.1. I haven’t spent much time with it yet so probably all of these notes are out-of-date now.
Enhanced Vision for bright planets: Would it be possible to provide the ability to automatically select and stack very short exposures (only 100’s of milliseconds) when imaging very bright objects like the planets Mars, Jupiter and Saturn? Currently, Enhanced Vision only operates with very long exposures – obviously necessary for dim, deep sky objects.
More Enhanced Vision improvements: Would it be possible to improve the Enhanced Vision processing to better deal with highlights? Currently all the brighter stars in a field quickly develop into very over-exposed(?), large solid balls. Perhaps there’s some more finesse that could be done automatically to improve or retain the dynamic range when combining exposures? Or perhaps provide access to some more advanced exposure controls?
Allow information overlay on saved images separate from cropping option: As of version 1.0, you can now choose to save the full, uncropped, undistorted image by choosing to not apply the “image overlay” option under General options. However, this also removes the useful information text like the object name, exposure time, location and date which would often still be nice to have appended along the bottom of the image. I suggest that the cropping option and the information overlay option be separate options.
Goto support via SkySafari: Would be wonderful to be able to use SkySafari to browse, select and go to targets with the eVscope (as you can with many other telescopes/mounts), as well as to be able to easily see and explore where the scope is currently pointing.
Fix “Do not show again” message: This is the message that displays after the message to confirm whether you’d like to save the currently generated image when exiting Enhanced Vision mode. Two things here: 1) Change that message to “Do not ask again?” which is less awkward and easier to understand what you’re referring to and 2) please stop asking every bloody time! Once (or at most, once per session) is enough. If I answer “Yes” that I want to have the confirmation to save, that means “yes, I do”. So please stop reconfirming over and over again. You provide the option to turn off the save confirmation in preferences and that’s enough.
Display useful status/info: Please provide more status info in the app like current sky coordinates and battery charge state estimate. (The coordinates are only currently available after the fact in the saved images. There is now a battery charge state icon – no percentage estimate, but still useful – and Enhanced Vision mode now displays elapsed exposure time. Thank you for that!)
“Picture was saved” notification interferes with usage of the app:(I need to verify whether this still happens in version 1.1.) After saving an image, a little notification appears at the bottom across the modal tab buttons for a couple of seconds, forcing you to wait until it disappears. Please move this message elsewhere where it doesn’t get in the way and/or reduce how long it’s displayed.
Improve catalog display:The current style of displaying catalog items as a grid of large icons requires that the object names often be truncated. Also, the large generic icons to indicate the type of object aren’t a great use of the available space. How about a list-oriented view (and a smaller icon) to make better use of the screen real estate?
Shared WiFi connectivity: Would be nice to be able to optionally configure the eVscope to use an available WiFi network instead of its own WiFi so as to 1) support extended WiFi reach, 2) allow devices to access both the internet and the telescope simultaneously, and 3) to avoid the need to always switch to the telescope’s WiFi.
These options or features are now available:
IMPLEMENTED – More expansive view through the eyepiece: Unistellar has now announced the eVscope 2.0 which, among other things, now includes an apparently improved eyepiece and display. I haven’t seen it personally but it sounds like they’ve tried to address this.I’ll leave my original request here:
I can see that the design of the eVscope was to very much provide an optical, telescope-like viewing experience – which is of course why there is an eyepiece on the scope at all. However, I think it is a mistake to not maximize the apparent field of view in the eyepiece to provide more of a grand and wondrous view. To that end, I wonder if you could use a different lens with the eyepiece to really open up the apparent magnification and field of view of the image you’re able to generate.
Currently you see a small constrained view far down the end of a tube. You should really try to shoot for a big gorgeous panoramic view, a “spacewalk vista”, like what you get with TeleVue’s fantastic, wide apparent field eyepieces. Could you simply make use of the same kind of optics and/or display technology inside the electronic viewfinders that Sony and other camera manufacturers use in their digital SLR cameras? These digital display viewfinders do a fantastic job of enlarging the apparent view on these tiny little displays. They’re a joy to use and provide a much larger, clearer, detailed view than you get from the displays mounted on the backs of these same cameras. I realize this would require a hardware change but oh, what a view that would be!
Along these same lines, could there be a way to make use of the full uncropped image in the eyepiece? With relatively large targets, the uncropped view on the phone’s display is much more expansive and enjoyable than the much constrained circular cropped view. Could there be a way to present the full uncropped rectangular view and allow it to be rotated in the eyepiece to deal with changes in the telescope’s orientation?
IMPLEMENTED – Simplify data upload procedure: This is not something I thought to ask for, but I want to call it out as it’s a very nice improvement. As of version 1.3, you now just click an “Upload Data” button and the eVscope will park the scope, connect to your available WiFi network and directly upload its data before eventually shutting itself down. You no longer have to go through a tedious transfer process to your phone and then again to upload it to their servers. Very nice!
IMPLEMENTED – Send Observation Parameters: As of version 1.3, there is now a mechanism to load observation parameters into the app by merely clicking a link/URL. This is very nice to see and use, thank you! Given the eVscope’s ability to participate in “citizen science” observations and data collections, it seems like there should be a more direct way to send observation parameters (like RA/Dec coordinates and exposure/gain settings) to the scope from an emailed observation request. Perhaps encoded in a URL that’s interpreted by the Unistellar app? It’s kinda silly that you have to transcribe lengthy coordinates from an email on the phone to the Unistellar app on the phone. You can’t even copy/paste right now!
IMPLEMENTED – Option to save full, uncropped image: As of version 1.0, there is now an option to choose between saving the full frame image or the circular cropped version with the info. Yay!! However, it would be nice to get the textual info with the full uncropped version too. Currently there is only an option to save or share the circular cropped image. It’s both heavily cropped and mildly distorted around the edges to give it a sort of eyepiece lens effect. Please provide a built-in option in the app to save the full uncropped, undistorted image! I should not have to go to the trouble to capture a screenshot of my phone and manually crop it to get the full image.
IMPLEMENTED – Allow panning of zoomed view in the app: You can now pan around when zoomed in on the current image in either Live View or Enhanced Vision mode. It works really well and smoothly and shows your current zoom level. The app display’s zoom feature currently only zooms into the center of the image. You can’t zoom in anywhere else in the image.
IMPLEMENTED – Allow image save during live sky view: As of version 1.1, you can now save an image based on the current live view, not just an Enhanced Vision view. The option to save an image is only enabled during the Enhanced Vision mode, not during live sky view. This would be useful for very bright objects (like the moon and planets) when Enhanced Vision mode doesn’t produce useful results.
IMPLEMENTED – Dedicated iPad version of app: As of version 1.1, the iPad version of the app is no longer merely a scaled up version of the phone app. It now uses the whole screen and takes advantage of all the additional screen real estate. It looks and works really well and is definitely now my preferred device for working with the eVscope, given the much larger display. The current iOS app is just scaled up from the phone version on the iPad and does not take advantage of all the additional screen real estate. The iPad would be an even better platform for viewing/controlling the eVscope if the available space were well utilized.
IMPLEMENTED – Display useful status/info: As of version 1.1, Enhanced Vision mode now displays elapsed exposure time. They’ve also added a calculation of remaining time that a given object will be visible in your sky view. As of 0.9.3, there’s now a battery charge state icon. No percentage estimate, but still useful.
IMPLEMENTED – Improved data upload process: As of version 1.1, they now have changed how the upload data process works: You now provide your internet-connected WiFi credentials to the eVscope, press a button and the telescope performs the upload directly to their servers, without further involvement from your phone or tablet. And it will optionally park the eVscope and shut it down when it completes the process. This is a great improvement over the old, incredibly slow download to phone then upload to internet process. Why are the download/upload functions so incredibly slow?? Even over local WiFi from the telescope to the phone? How many gigabytes could that possibly be? I don’t have enough storage on my phone for it to take that long. Is there a bug here?
IMPROVED – Allow interaction with other controls when picture adjustment controls are present: As of version 1.1, a simple tap into the image display area will dismiss the controls so it’s not as annoying as it used to be. Might still be worthwhile to change the interface design so that the picture adjustment controls don’t prevent interaction with the display area. This could be accomplished by making the bottom area into a tabbed interface, so you can switch between info display, adjustment controls, etc. Showing the picture adjustment controls (gain, exposure, contrast, brightness) blocks the ability to zoom the image or save it. I find this inconvenient since I’m always making little tweaks to these controls and want to zoom in or out and save the image in between the adjustments.
IMPLEMENTED – Finer positioning control: As of version 1.1, this has improved. Short taps on the directional arrows does now seem to provide small enough movements of the scope to more easily adjust your view. Currently, the smallest possible position adjustment is with a single quick tap on the directional arrows around the joystick control but this still moves objects in the display about 1/6 or so across the field of view. In other words, it’s not possible to move the scope by a smaller amount.
Issues / Bugs
PLEASE NOTE: There’s been a lot of changes to the app which, as of November 2022, is on version 2.1. I haven’t spent much time with it yet so probably all of these notes are out-of-date now.
As of May 2021, these are the issues I currently see on version 1.3 of the Unistellar app for iOS 14 (iPhone 12 Pro and an iPad Pro):
While waiting for the start time of a scheduled “citizen science” observation event, I’ve had the observation parameters (coordinates, gain, exposure time, etc) get cleared after returning to the Unistellar app. I was able to switch in an out several times over 5-10 minutes and not lose the loaded parameters but then, one minute before the start time, all the settings were cleared out and reset. Worse, selecting the link to reload the parameters didn’t work! I had to quickly force quit the app and relaunch it to get the observing parameters to load again.
While scrolling through the catalog list, the display will frequently and seemingly randomly jump back to an earlier point in the list – forcing you to have to try to find where you just were again. Annoying!
The following issues all seem to be addressed – or at least haven’t happened again yet as of the given version.
As of version 1.3:
The Unistellar app has trouble reconnecting to the eVscope while Enhanced Vision is still processing after temporarily switching out to another app. It can take several false starts before you regain control of the eVscope after switching away and back.
I’ve had the Enhanced Vision mode hang up after an extended run (28 minutes). The elapsed time stopped updating (stuck at 28 minutes) and while I could still interact with the app, any pictures adjustment changes would not apply and the controls would just jump back to where they were. I had to exit Enhanced Vision mode to get things working normally again.
As of version 1.1:
Sometimes lots of large random distortions and smears of light and color appear in the display. (I’m not talking about while slewing which would be expected.)
As of version 1.0:
The gesture to pinch zoom is buggy and at times it jumps around or refuses to stick. Strangely, at other times, it works just fine. I haven’t picked up on a pattern as to when it doesn’t work. As of version 1.0, this is working much better. It can still act a little wonky at times but it’s much better. As of version 1.1, it’s working great and allows you to pan around the zoomed image.
The app will immediately crash/exit when you return to the app after being disconnected from the scope or wifi or after having to leave the app for some reason and come back. The app will also occasionally crash/exit for other unknown reasons in the midst of using it, but I haven’t tried to maintain a list of each circumstance. Hopefully you’re receiving the iOS crash reports from Apple.
I’m seeing a patch or trail of green pixels on most images in the same place. I’m guessing I’ve got a hot/stuck pixel on my image sensor and the random walk pattern of the pixel is just the effect of combining many images as the field shifts and rotates while tracking the target. Is there support for subtracting out hot/stuck pixels? As of version 1.0, the “Take Dark Frame” action also results in removing any stuck pixels from the eVscope’s imaging.
Adjusting the contrast/brightness controls while enhanced vision running usually results in the slide control jumping back to its previous position while it completes current frame, and only then it jumps to where you set it. If you don’t realize it’s going to do this, you’ll try to move it again and again and only get even more confused as to why it keeps jumping around. It needs to at least stick in the new position even though the next frame is still being generated.
On one occasion, the joystick/slew buttons seemed to stop working but after quitting and relaunching the app I found that it had actually slewed but had apparently stopped updating the displayed view.
On another occasion, the joystick slew buttons stopped working and the scope view began shifting randomly. Had to quit/relaunch the app to fix it.
Another time the app got stuck in a goto/skewing operation and none of the buttons worked any more and I couldn’t select another target. The telescope seemed to be no longer tracking the sky, the star field just drifted in the display. Force-quitting the app didn’t help. I had to power down the telescope and restart it.
Seems like the app or the telescope gets confused if you exit the app while enhanced vision mode is engaged. Are you supposed to be able to exit and come back while enhanced vision is in progress?
Often the app will forcefully halt the enhanced vision mode without warning and without a chance to save what you have so far – it just returns to the live view. Sometimes there is no message at all and other times there will be an error message like “too bright” even when it appears there is still much more light that could be captured over most of the frame: only a couple of bright stars in a large field of dim nebula, before the nebula has even really become visible. Please don’t forcefully stop! (Also, how is it that we were instructed to leave enhanced vision mode running for hours during the recent exo-planet transit when I have had it quit after just 10 minutes or so on a nebula??)
I found that both the download and upload sequences would sometimes stop processing after many minutes and I would have to quit and restart them. This happened several times (4-5 maybe?).
On a couple of occasions, the “goto” catalog list would jump or reset its scroll position while trying to scroll through it making it difficult to select the desired item. Usually it’s fine – I haven’t figured out when this happens yet.
Please rework how those three sequential messages work asking whether to automatically save the image after running enhanced vision. It was frustrating trying to get it to just prompt me to save the image without also asking me two follow-up questions every time.
I recently received my eVscope from Unistellar and after just a few sessions with it, I thought I would share my thoughts and experiences with it so far – particularly since there wasn’t a lot of info available when I ordered it in back in July of 2019.
Overview
The Unistellar eVscope is quite different from a traditional optical telescope. It’s a highly integrated and automated digital imaging telescope that enables you to easily find and view deep sky objects in color and detail that would not normally be perceptible to your eye looking through a normal optical telescope. In addition, the eVscope is designed to let you easily participate in and contribute data to crowd-sourced “citizen science” projects.
The eVscope is a 4.5-inch Newtonian reflector that captures light on a highly sensitive, low noise Sony IMX224 color sensor while using a motorized alt-az tracking mount and autonomous field detection to automatically identify, align and continually track its view of the sky. Integrated image-processing software takes and combines an on-going series of short exposures to generate an image in almost real time that brings out much of the very low light, color and detail that’s not visible to the human eye even when looking through a normal telescope. This view accumulates over just seconds and minutes and is displayed both in the telescope’s eyepiece (on an OLED display) as well as on a WiFi-connected smartphone. The whole thing is self-powered via an integrated 9-10 hour rechargeable battery, fits into a large backpack and weighs just under 20 lbs. including the provided tripod.
In other words, it’s quite an impressive level of integration!
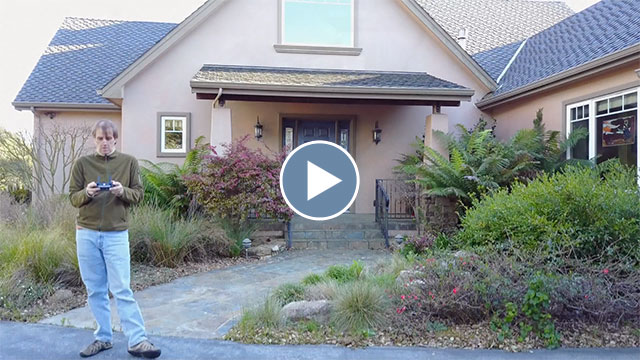
2.9 minute video demonstration of the Mavic Pro (223 MB)
This is a short little video montage of my first few flights around my house with DJI’s Mavic Pro – a fantastic, compact little flying camera platform. This thing folds down to about the size of a quart-size water bottle, weighs only 2 lbs with a battery and flies for about 25 minutes per charge. It’s got a tiny gimbal-stabilized 4K camera that can capture up to 4096×2160 video. (The video above is downgraded to 1280×720 but here’s a short snippet of 4K footage.) The Mavic Pro has lots of sophisticated smarts on board too: automatic return to home, obstacle avoidance, vision positioning system, object tracking/following/circling, etc. It maintains a live high definition feed to your phone/controller wth a range of over 4 miles, though FAA rules require that you maintain visual line-of-sight and stay below 400 ft from ground level at all times. (Also, drones and other remote-controlled aircraft cannot be used in national parks, wilderness areas, ski resorts, around crowds or events, etc. without special permission.)
The Mavic Pro is very fun and easy to fly and it’s amazing how clear and stable the video footage is, even enough to use it as a flying tripod or do time-lapse photography. Best of all it folds down so nicely to fit easily into a small backpack or carrying case. It’ll be fun to bring this along on some hiking and biking trips.
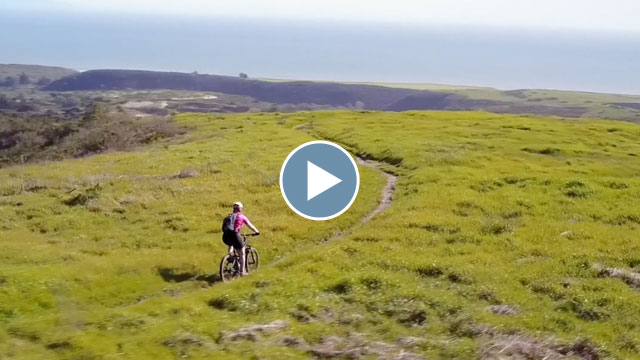
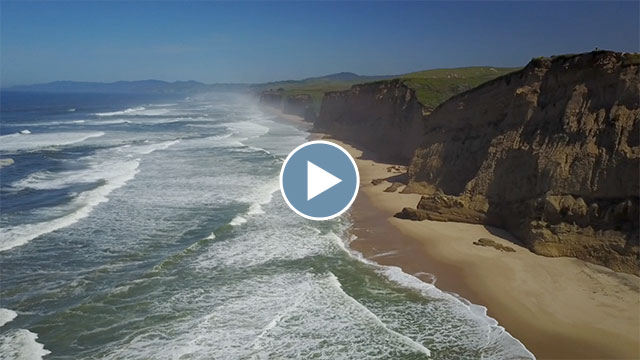
Here’s some additional footage – the first from nearby Wilder Ranch State Park, including trying out the Mavic’s “Active Track” flight mode and the second from just north of Pescadero Beach while looking for whales:
Here’s DJI’s related SkyPixel site where you can see sample drone photography. Here’s one of many reviews about DJI’s Mavic Pro, if you’re interested in more detail. I’d recommend buying DJI’s “Fly More Combo Pack” which includes the Mavic Pro but also two extra batteries, two extra propellers, the four-battery charging hub, a car charger cord, an adapter for charging your phone or other USB device from a battery pack and the DJI carrying case/shoulder bag. You’ll also likely want to get a lens shade as the Mavic’s camera tends to easily catch sunlight even when not pointed at the sun. This one works well, while this one is too fragile and breaks easily just mounting it.
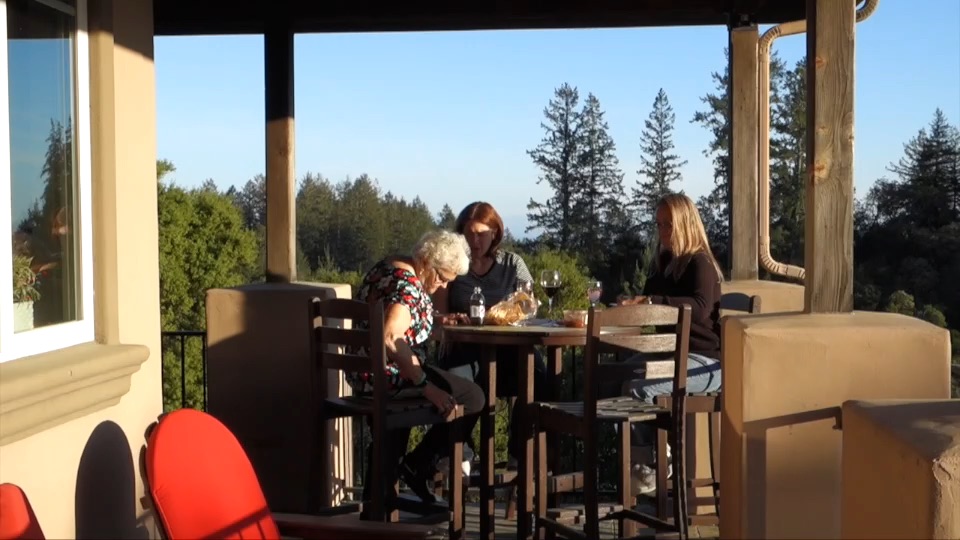
And one more bit of footage – sneaking up on Darlene’s family while they were here visiting:
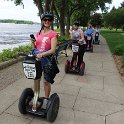
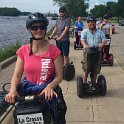
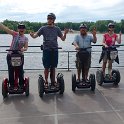
While visiting with Darlene’s family in Wisconsin/Minnesota, we went for a Segway ride and tour in La Crosse this past Sunday with Shel, Dan, Kathy and Shelly. It was my first time trying one and it was a lot of fun. The handling is very intuitive and responsive – to the point of being a little addictive! If you have yet to try one, look for a tour or rental in your area (like La Crosse Segway Tours) – it’s definitely worth it!
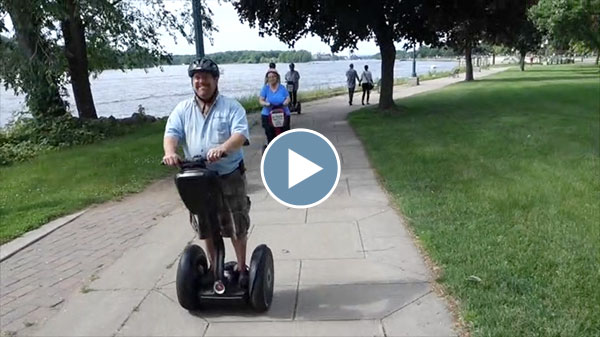
Click through for the full gallery of pics and video:
A short, 75-second video montage from our Segway ride in La Crosse, WI.