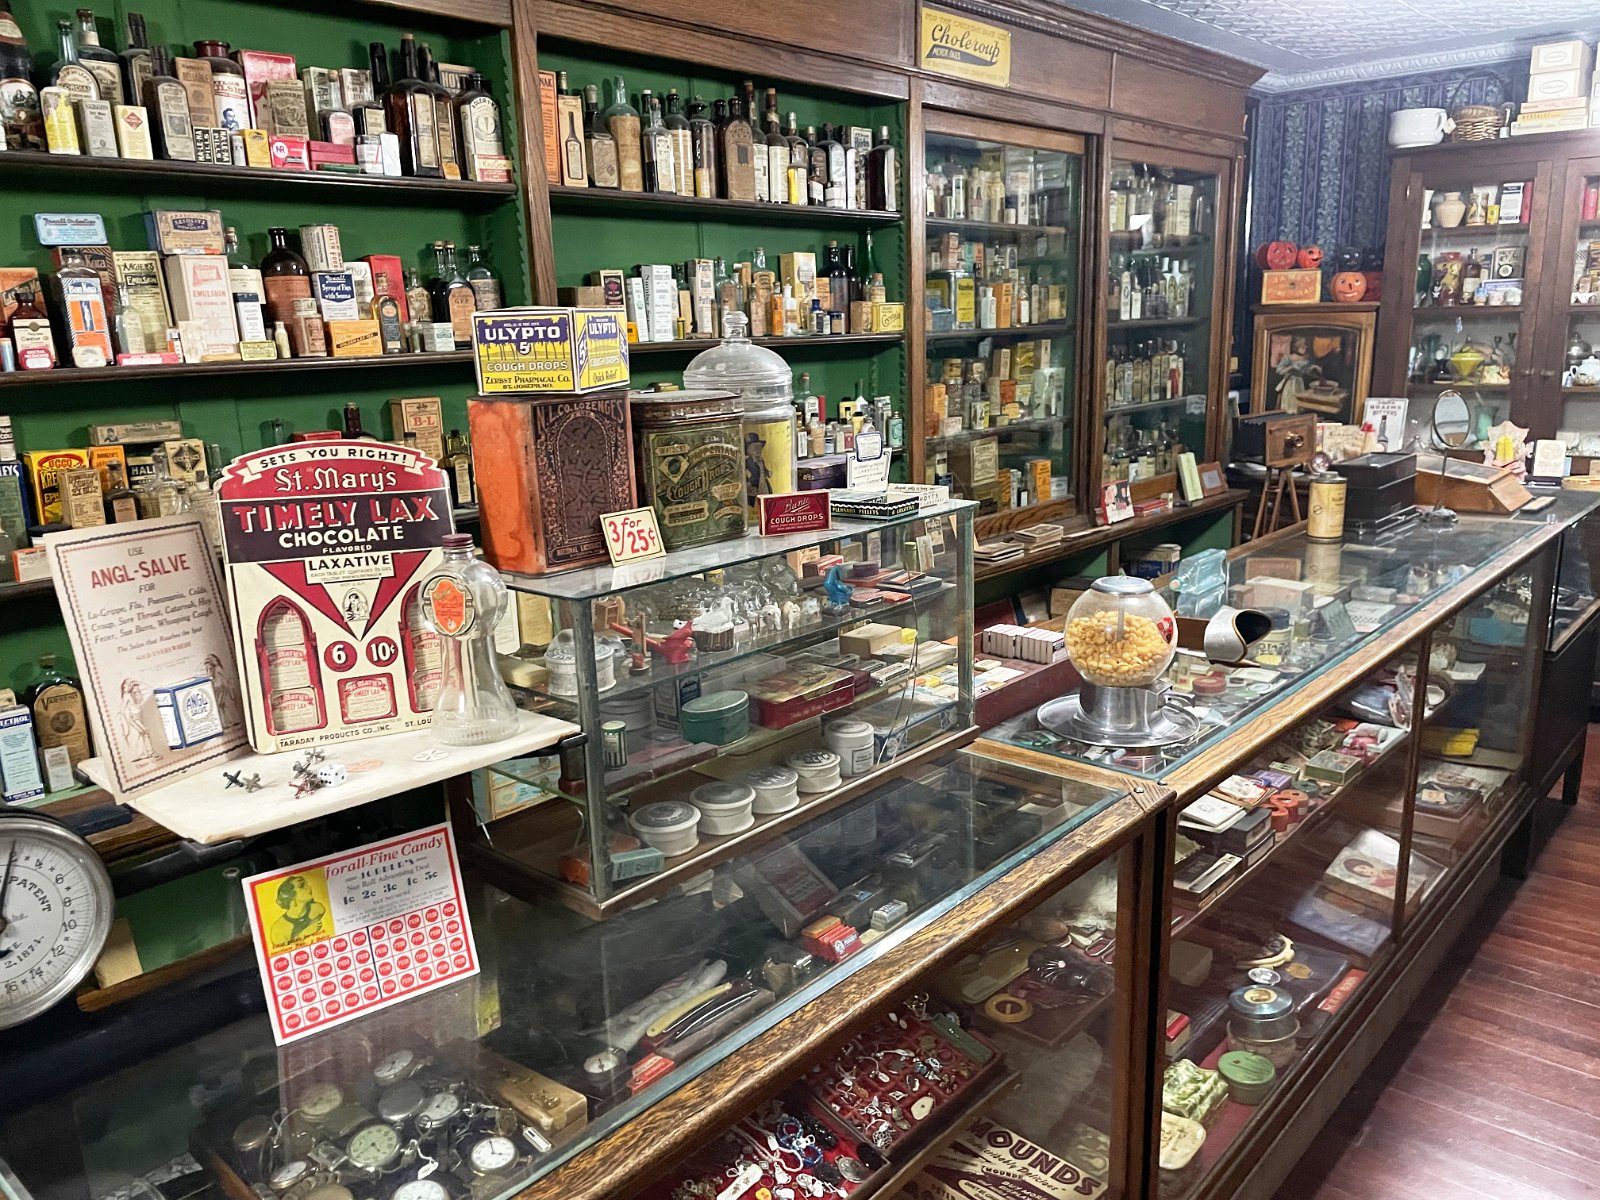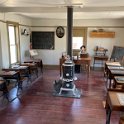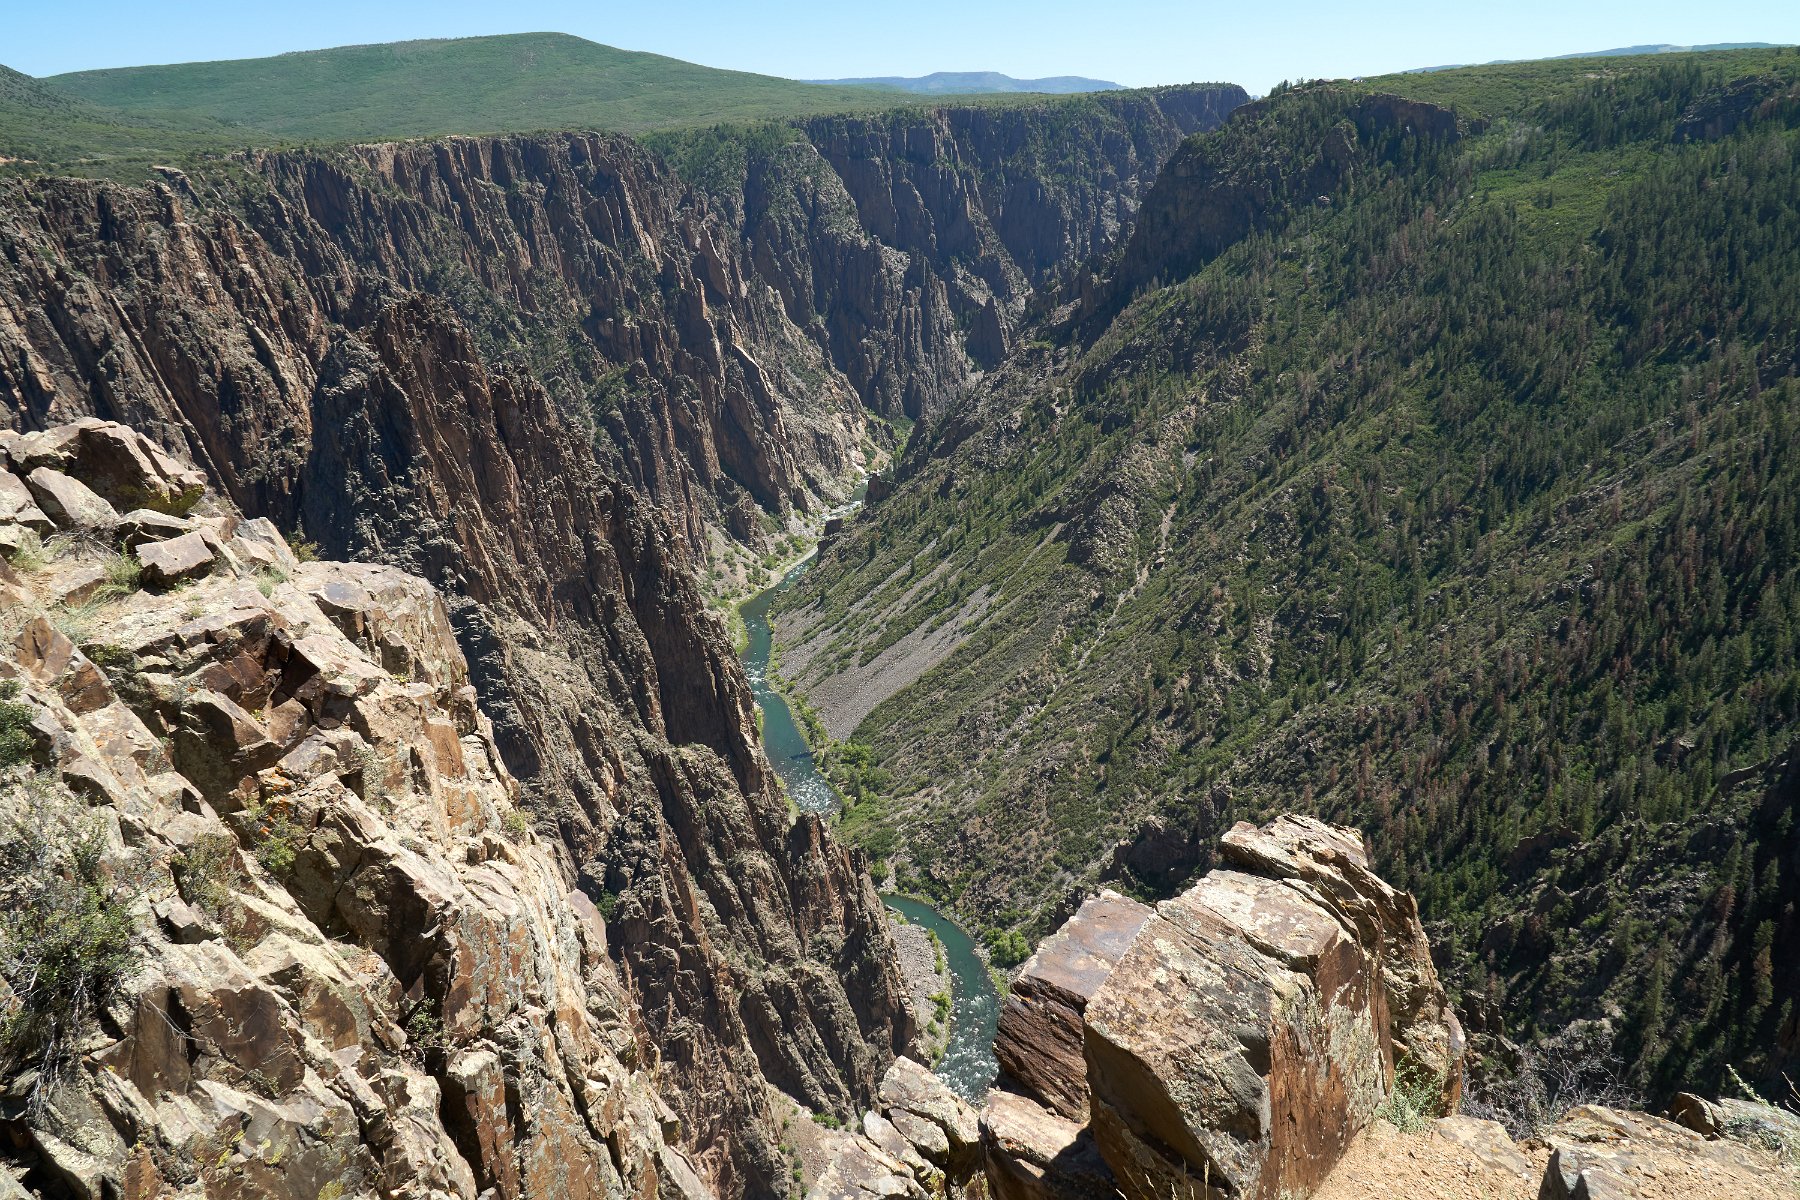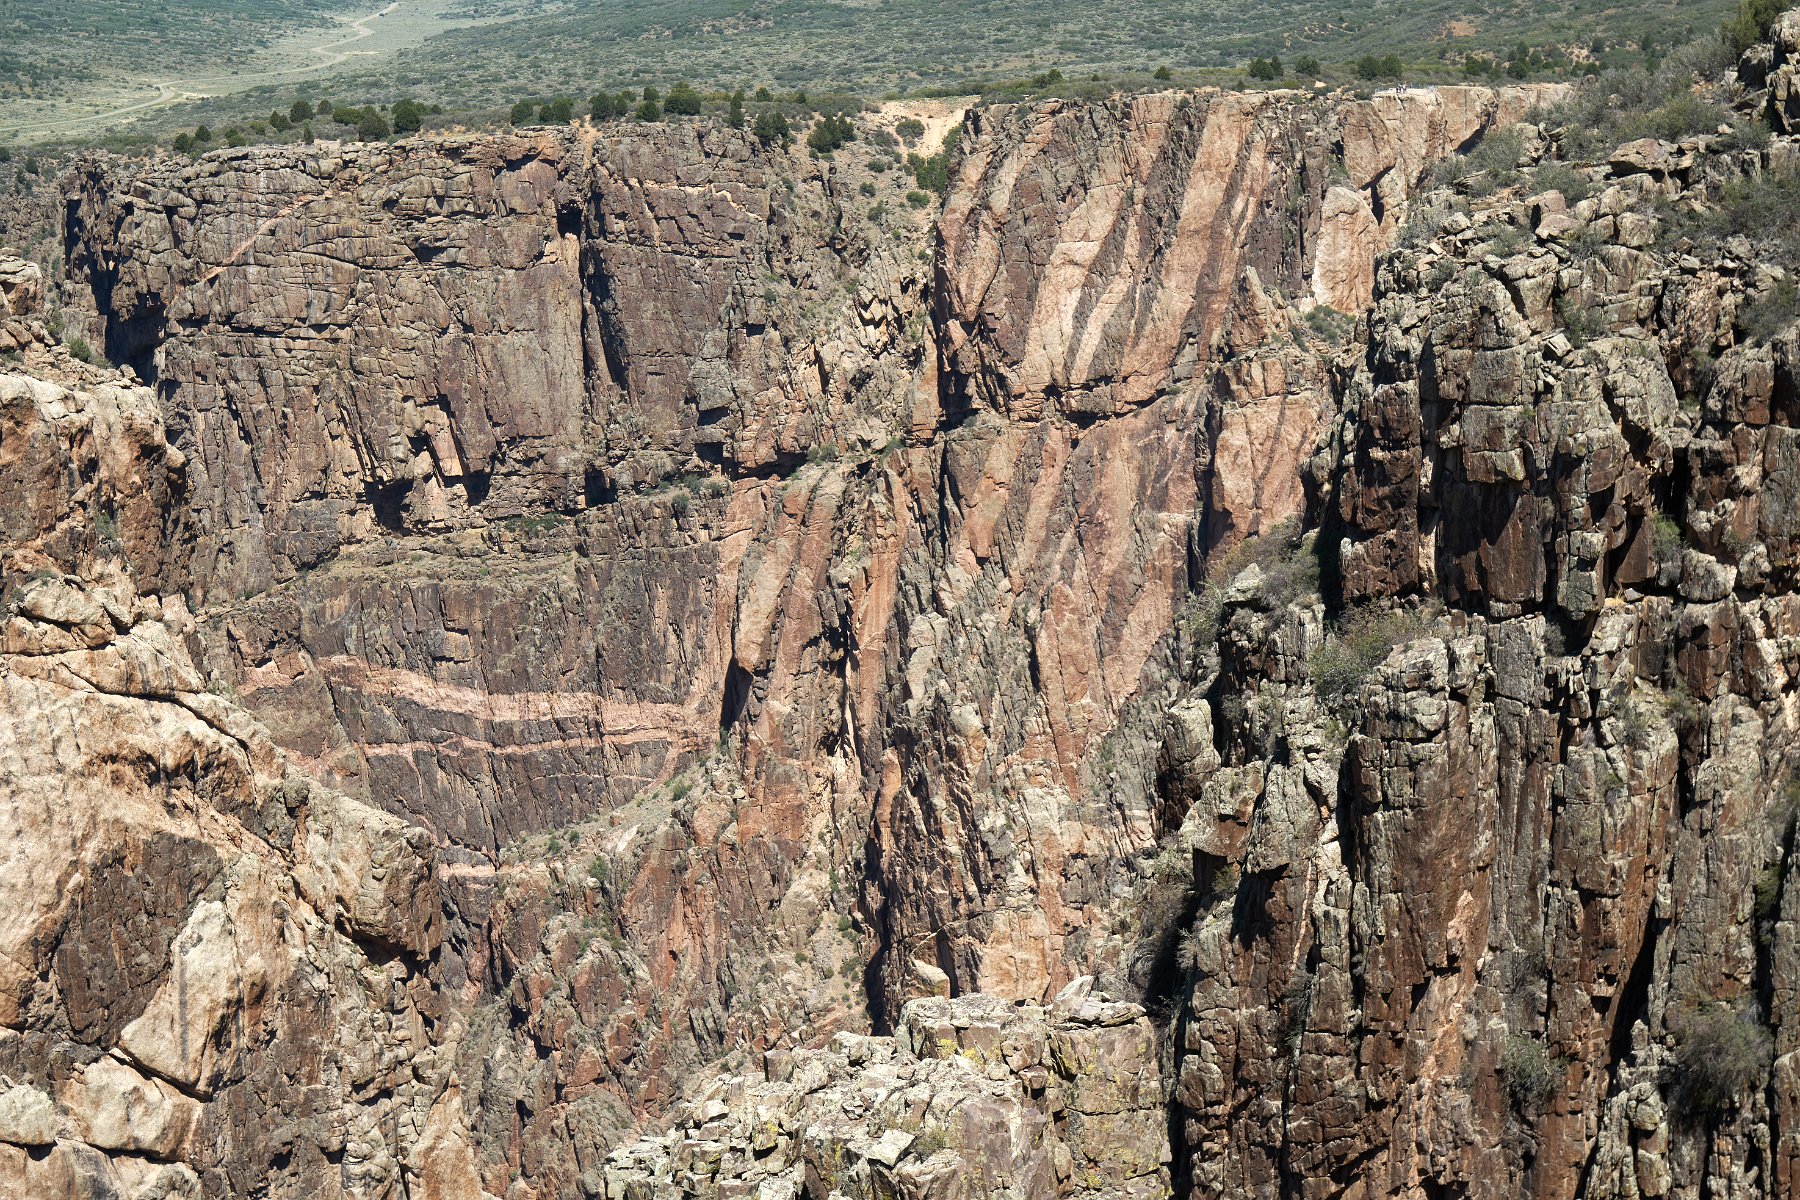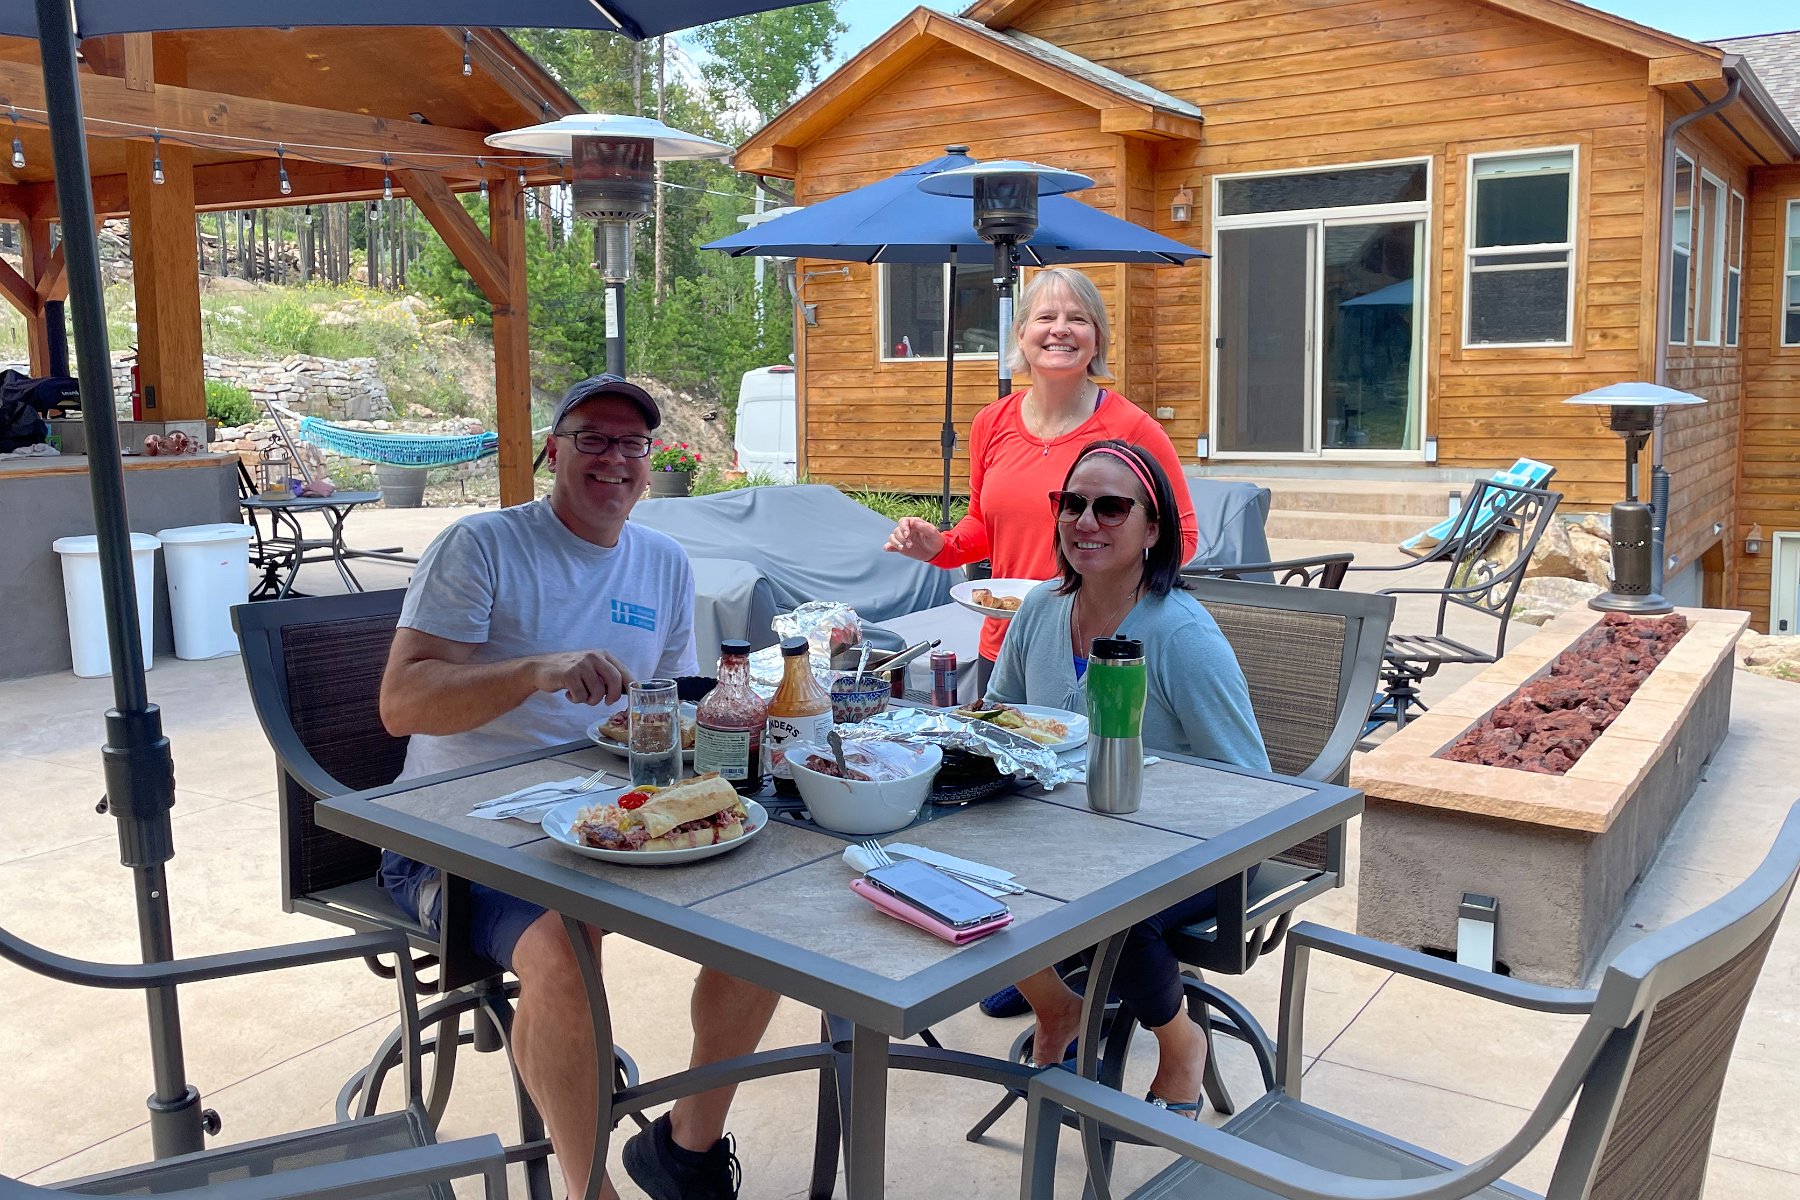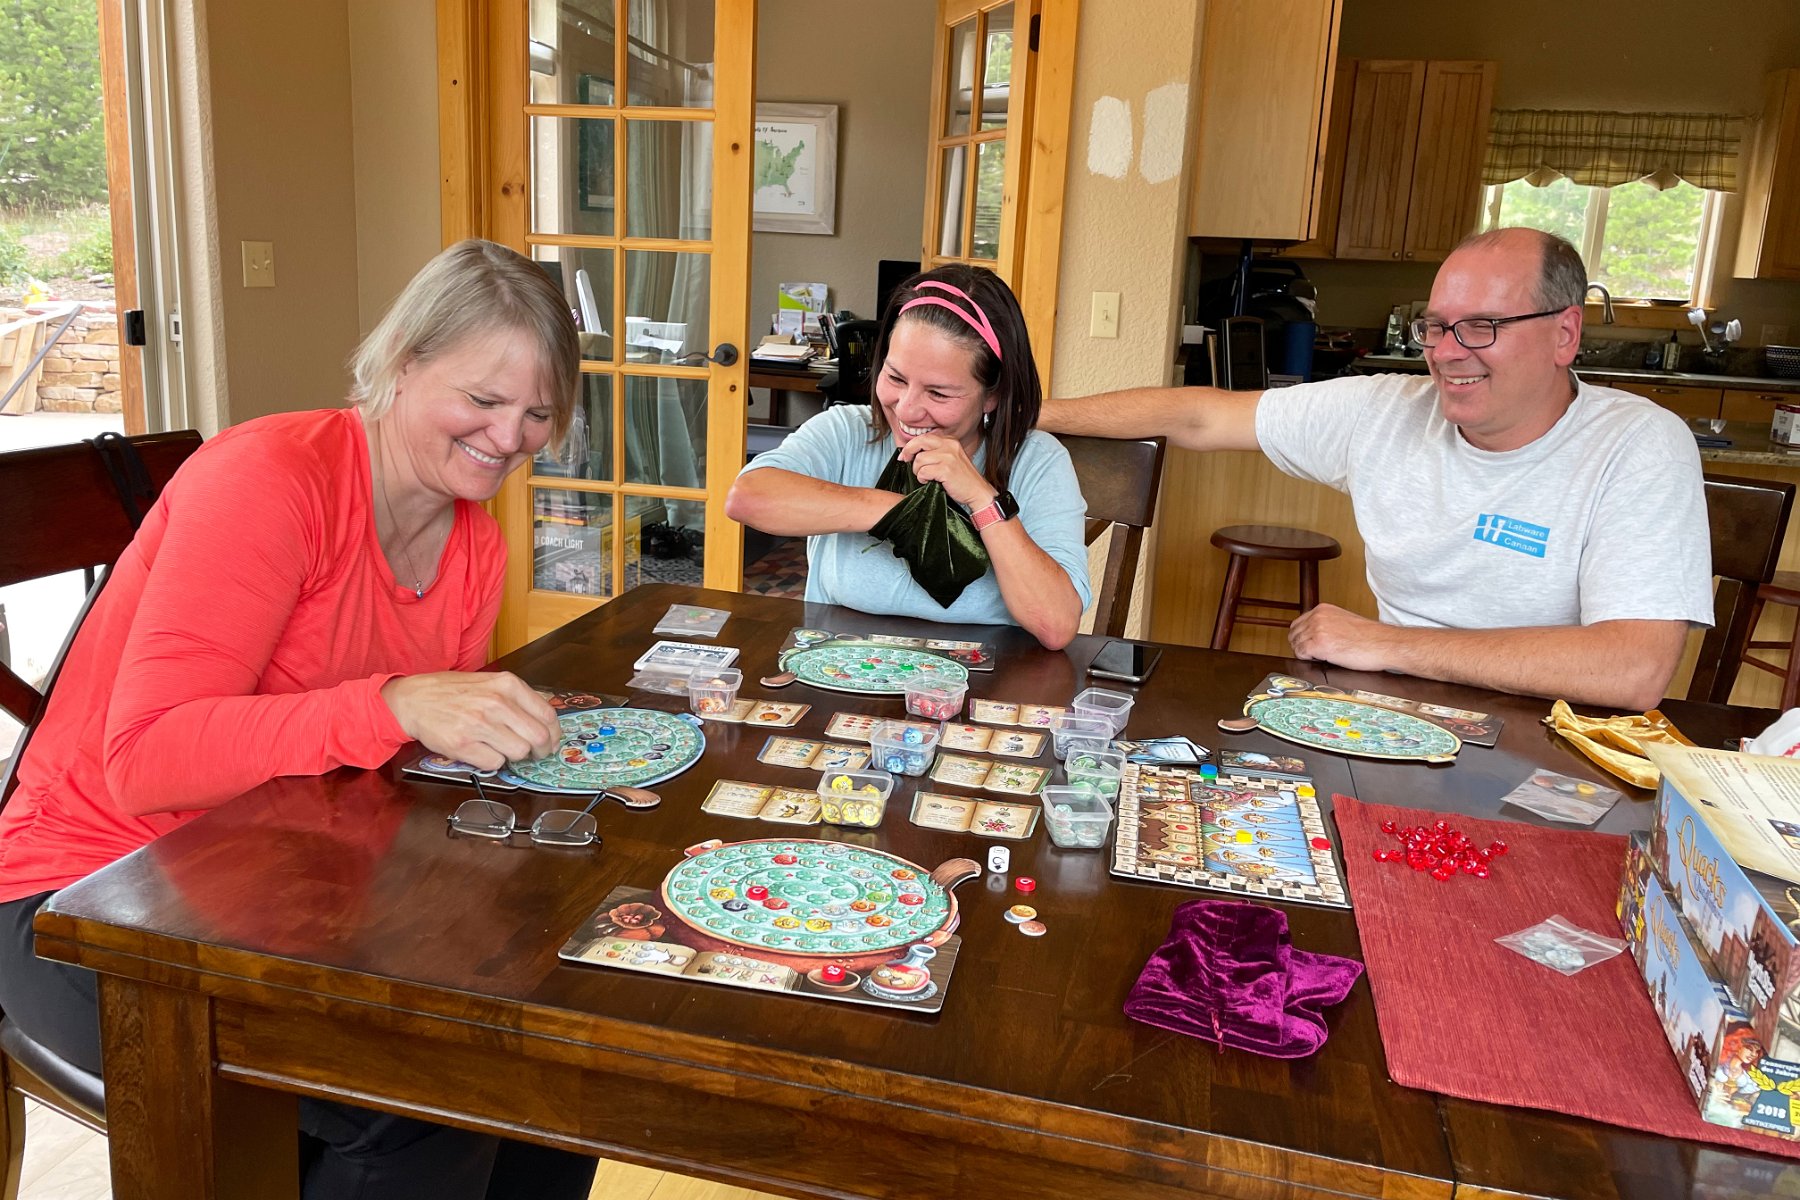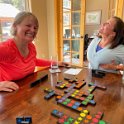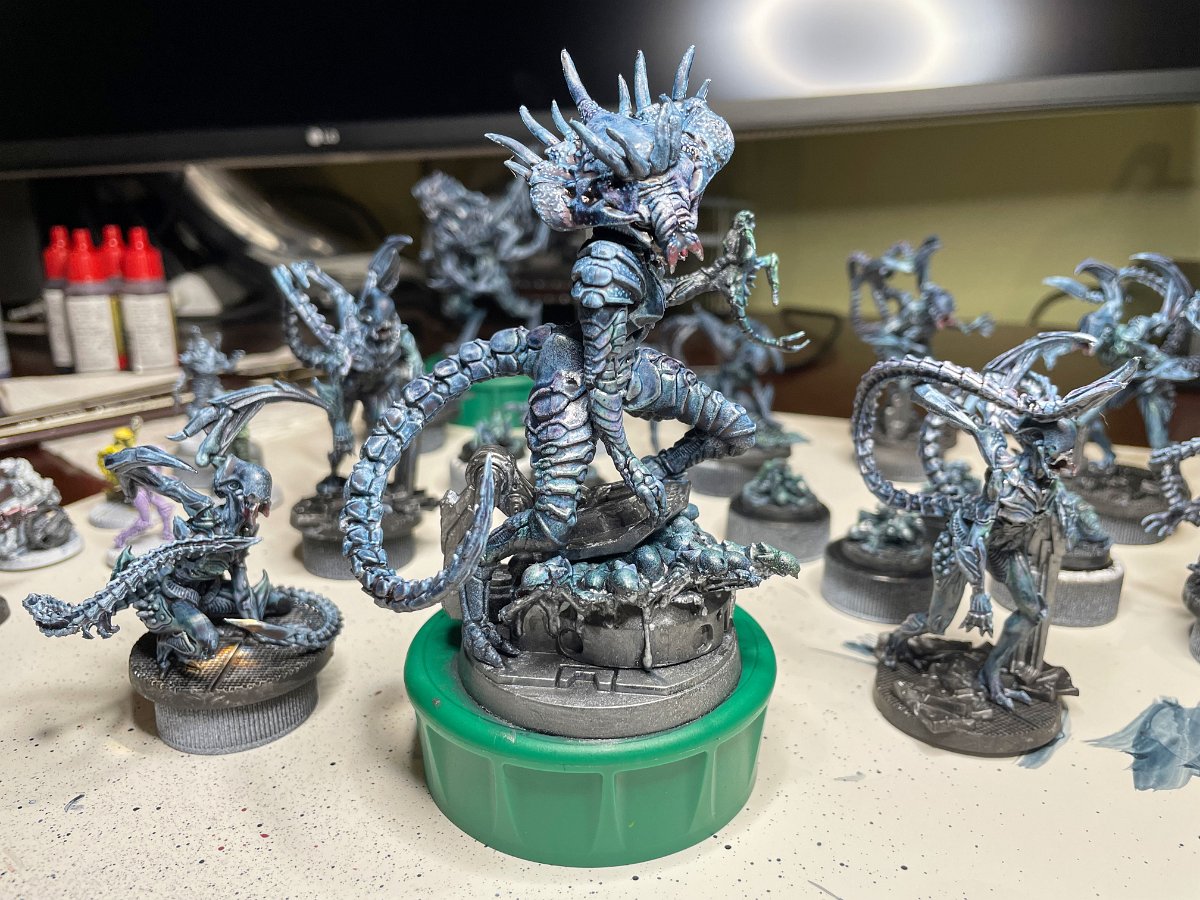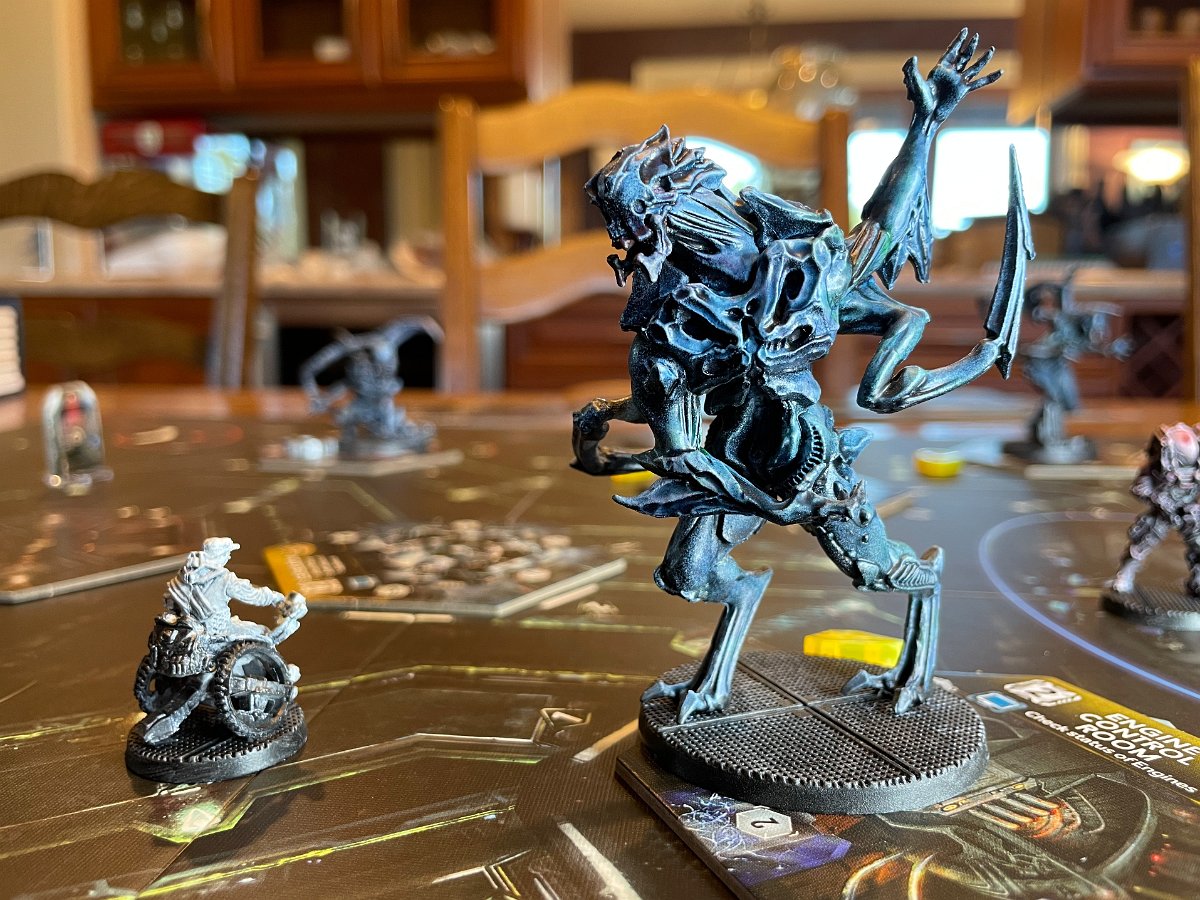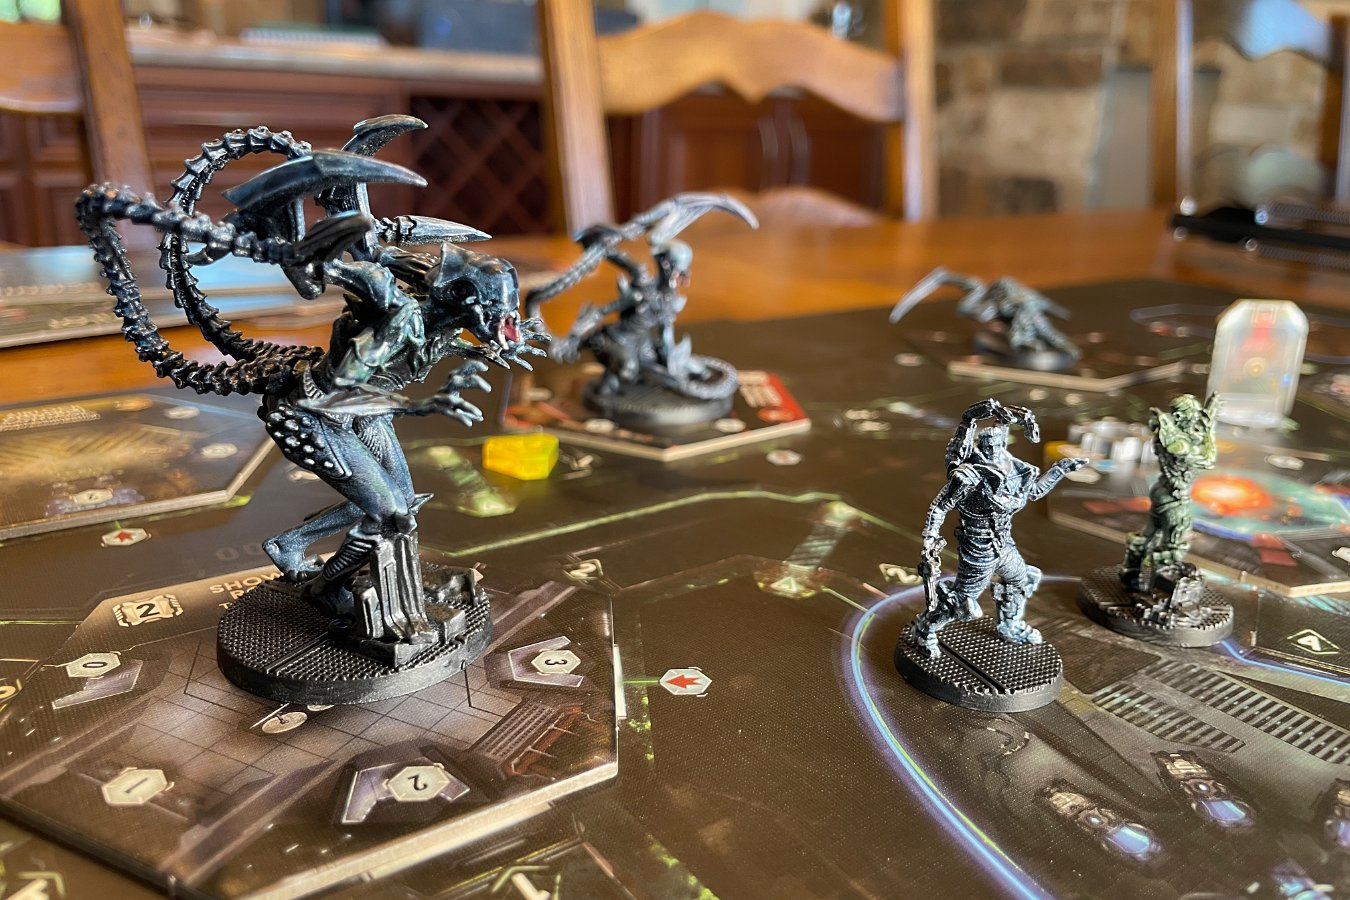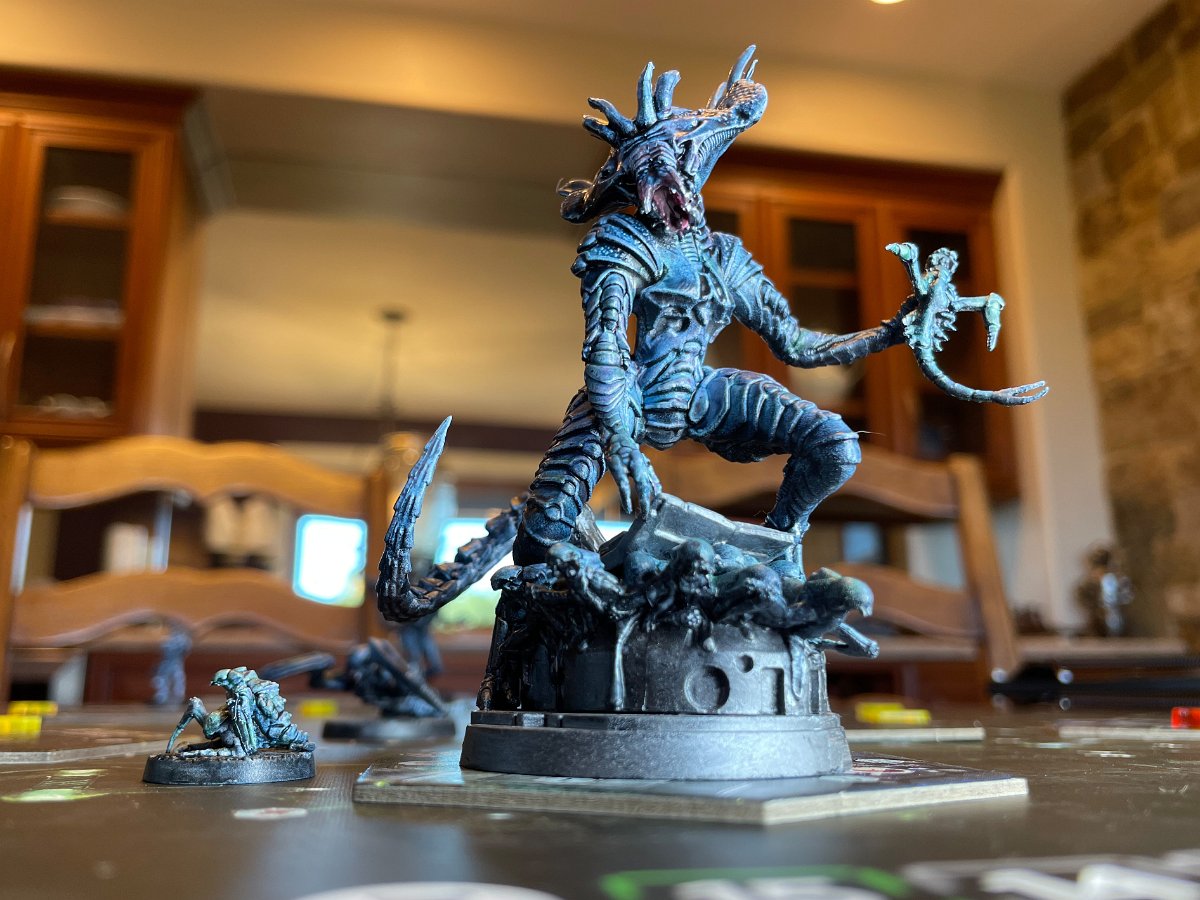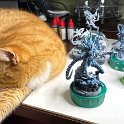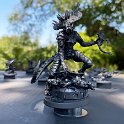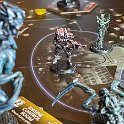
The board gaming continues through the pandemic – albeit just me and Darlene (and Pan, of course) in person and strictly via online platforms with other friends.
Here’s some pictures from March through July – click through for the full gallery:
The board gaming continues through the pandemic – albeit just me and Darlene (and Pan, of course) in person and strictly via online platforms with other friends.
Here’s some pictures from March through July – click through for the full gallery:
Darlene and I went out last night near the Truckee airport to see the comet C/2020 F3 (NEOWISE). It’s currently relatively close to the sun so it’s not visible in the sky for very long before sunrise or after sunset. It is visible to the naked eye but not super obvious – you have to know where to look for it. It looks most impressive with binoculars or a telephoto lens on a tripod (and a few seconds exposure). In a telescope, you won’t see most of the tail as it’s quite long!
It’s likely to get brighter over the coming week as we get to our closest approach July 22nd, though it’s also possible it’ll break up. It’ll appear higher in the sky (and further from the sun) as the month progresses. July 20th will be nice too as it’ll be a dark new moon setting with the sun and the comet will be higher in the sky after dark
Here’s more info on where/how to look.
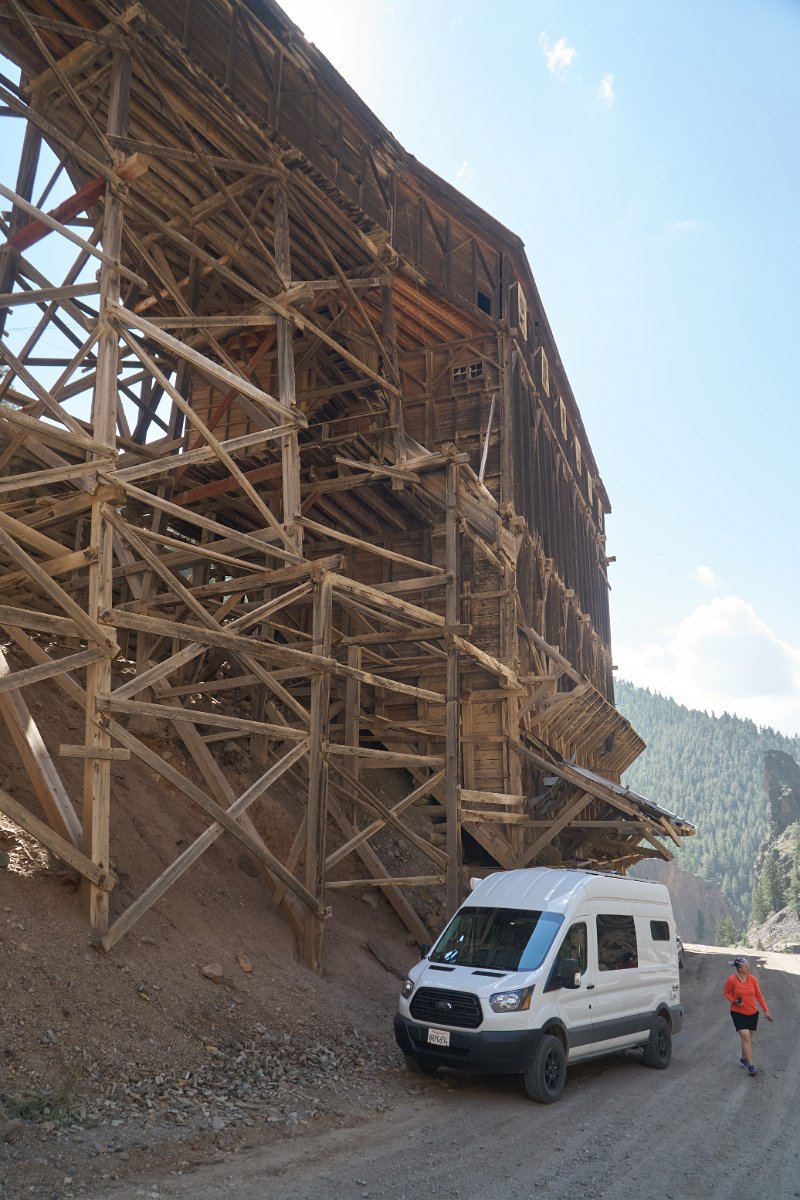
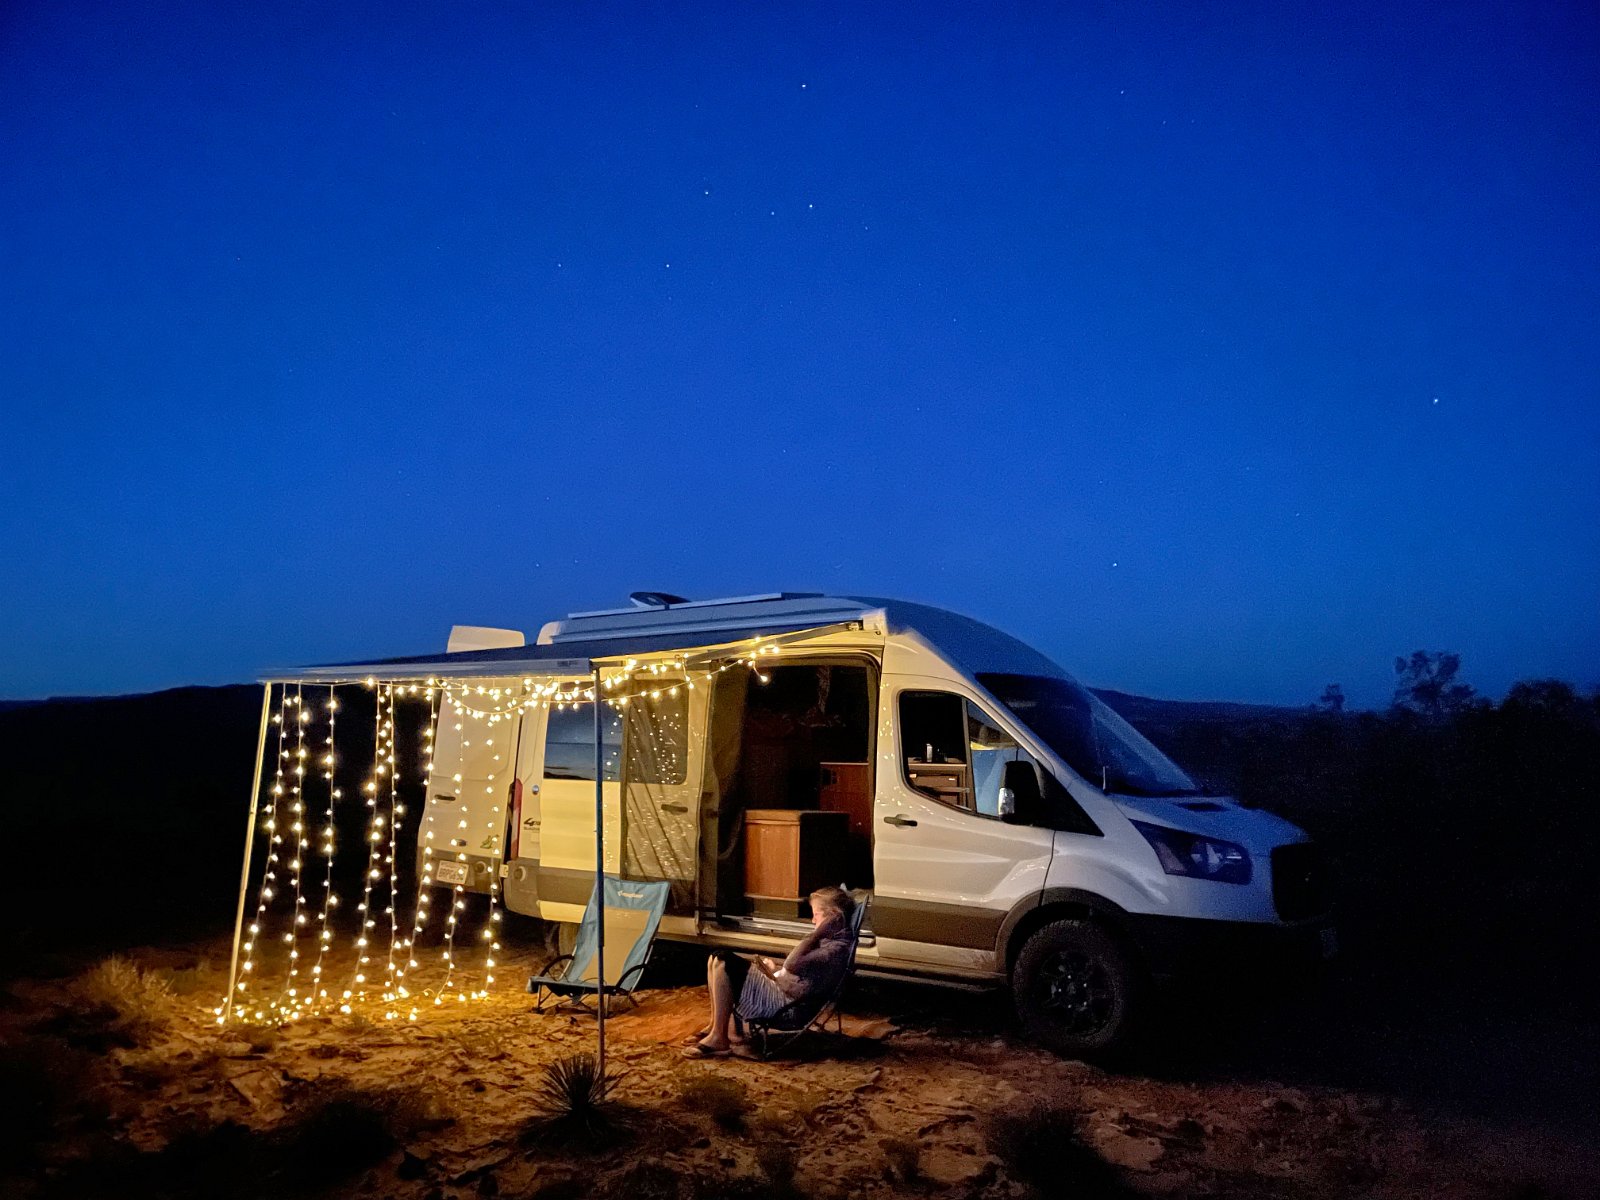
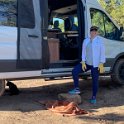
Conversion of this Ford Transit van into a super-cool 4×4 campervan (aka, the Traveling Cat Adventure Van II) is now finally really making progress after several delays, most notably the shutdowns for Covid-19.
It was a year ago, last July, that I ordered the van and set things in motion. I wasn’t able to find a Transit van anywhere that wasn’t either completely bare bones or loaded with every option – including glass in the rear doors and dark paint that I didn’t want, both which would make the van less comfortable in hot and sunny climates. So I had to order from the factory. I was able to finally pick it up last December and pass it off to QuadVan for the 4×4 conversion part, including upgraded suspension, locking differential, raised shock mounts and all terrain tires. (More details here.)
Van Haus is doing the actual campervan conversion and we worked out a mostly final design layout in January. I was originally excited about doing a build like this one where there was enough storage for the bikes inside the van under the bed but still room for a wonderful dinette seating area situated mid-cabin. The platform for a queen-size sleeping area would extend out over the dinette area. However, given all the gear we like to carry on our adventures (mountain bikes plus gear, two-person inflatable kayak plus gear, telescope and camera gear, folding chairs, portable grill, etc.) plus room for the cats’ litter box and feeding area… well, it seemed pretty clear we needed to dedicate more room to the “garage” by doing a common fixed platform bed. Plus the queen-sized bed needs to be oriented lengthwise since I can’t fit width-wise between the walls of a van, even with those side extrusions some people put in. So here’s the final design. Plus, now there’s room for a full cat apartment under the bed platform.
Due to scheduling and miscommunication mishaps, the van didn’t actually get over to Van Haus until late-February and then didn’t really get started before everyone went into shelter-at-home mode in response to the Covid-19 pandemic.\
At the end of May, Van Haus was able to start work again, albeit at a much slower pace with social distancing safety measures in place. I already sold the original Traveling Cat Adventure Vehicle in late May and now Darlene and I eagerly await completion of the van conversion, hopefully in August sometime.
As of late June, they’ve installed the front side windows and the little bunk windows over the sleeping area, the powered Fiamma awning w/LED light kit, the 500W of solar panels on the roof, the MaxxAir fan at the rear of the roof, the Amp Research powered steps on both driver and passenger sides, the various external ports (120V, 12V, aux solar, shore power, etc), my two little cellular booster antennas and the swivel seats in the cabin area.
As of early July, they’ve now installed the floor, all the wiring runs, the infrastructure for the upper cabinets, ceiling insulation and initial wall insulation, and the bug screen. They’re now in the process of making the wall panels and when those are done the full wall insulation will go in.
Mid-July now, and the wall insulation is finished and the wall panels are in. They’re starting work on the cabinet parts using a CNC machine:
It’s late July now and the cabinets are coming together and they’re building the aluminum bed frame. They also tried squeezing my spare oversize tire underneath the rear of the van but then convinced me to go with getting a tire carrier for the rear door (from Aluminess).
Early August and now some of the overhead cabinets are installed, plus the bench seat (which hides the toilet) and the Rixen heat/hot water system. The electrical components (inverter, fuse box, battery system) and other plumbing will be going in soon. They’re estimating another two weeks of work.
Click through for the full gallery:
Well, early September now and the van build is complete… except we’re waiting on the spare tire carrier for the rear door from Aluminess. With luck it will actually arrive at Van Haus by Sept. 14th or so and we’ll be able to drive up there and take delivery of the van later that same week. Fingers crossed – it’s been 14 months since I started this whole process!
Mission accomplished in mid-September: Transit Van Conversion Complete
I decided to go ahead and replace my Tesla Model 3 with a Model Y – both are Performance versions but both have the standard wheels and suspension for added clearance.
I’ll miss the Model 3 – the Model Y doesn’t feel quite the same. The Model 3 is definitely more fun to drive just because of how it sits lower and feels more planted, like driving on rails. However, the Model Y is easier to get in and out of, you have much more space for loading stuff and it’s much easier to load our two mountain bikes inside than it was with the Model 3. Also, I like the integrated factory hitch option that’s at bumper level, as opposed to the aftermarket hitches for the 3 which had to mount underneath.
The Model Y’s suspension feels a bit “jouncy” (it could really use an air suspension option) and, somewhat strangely, under full launch acceleration the Performance Y doesn’t feel as stable as the Performance 3, presumably because of the taller stance. It’s still nice to drive though – and it’s still a Tesla, with all the delight that implies. I’m very happy with it but I would’ve been fine with keeping my Model 3 if only it had a full hatchback design for easy loading of bikes and gear, or if the Model Y had never come out.
Besides the obvious additional rear cargo space, the rear under floor and side pocket space and the frunk are all also larger. There’s extra room in the rear seats and easier entry/exit all around due to the higher seating arrangement. The Model 3 is of course more aerodynamic but the Model Y now has a heat pump and an inventive valve system to direct heat to/from the motor, battery or cabin as needed. This gives the Model Y very similar range as compared to the Model 3 despite being larger, at least until this heat pump/valve system is carried over to the Model 3.
Update: Yup, as of late 2020 and along with some other changes and additions, the late-2020 Model 3 has gained added range from the new heat pump system.
If you’re interested in buying a Tesla, using someone’s referral link will give you a discount (the amount varies over the years) and grants redeemable credits to the person who referred you. Here’s my Tesla referral link.
Click through for more comparison pictures:
Update (June 2021): I decided to get some sportier-looking wheels as well as upgrade the tires. The stock Continentals don’t do that great on snow. Here’s my Model Y now with Replika R241 alloy wheels (19×8.5) and the highly-rated Vredstein Quatrac Pro XL (255 R45-19) all season tires:
After painting my Middle Earth Quest miniatures, I turned to my Tzolk’in: The Mayan Calendar gears. People have done all sorts of very cool, detailed painting with these, but I was just intending to give them a simple wash to make them look a bit like weathered, stone Mayan calendar dials (like these).
Unfortunately, two coats of the wash spoiled the effect so I just added a little bronzing over the stain and called it a day. (I got the 3d-printed center discs to replace the original stickers from here.) I was most worried about replicating the tiny food day icons/symbols with a painting brush but those turned out great!
I snagged an old copy of Middle Earth Quest sometime last year and knew I’d want to eventually paint the plain, dark gray plastic miniatures to bring them to life – before actually playing the game of course! Well, I finally got around to painting them over the past week or two. This is my first time painting miniatures but with tips across the web on everything from priming and base-coating to layering, washing and dry brushing, they came out pretty well.
Okay, so now we can have some adventures in Middle Earth.
Click through for the full gallery:

Next up, painting the Mayan calendar gears from Tzolk’in: The Mayan Calendar.