 Water started coming through my kitchen ceiling on November 21st, after a rain storm. This is less than ideal. Apparently something has failed in the tiled deck upstairs that sits above the kitchen. At least I’m lucky in that the ceiling has various openings for fire sprinklers and can lights otherwise the water might have pooled and collected in the ceiling unnoticed for a long time before eventually failing more dramatically.
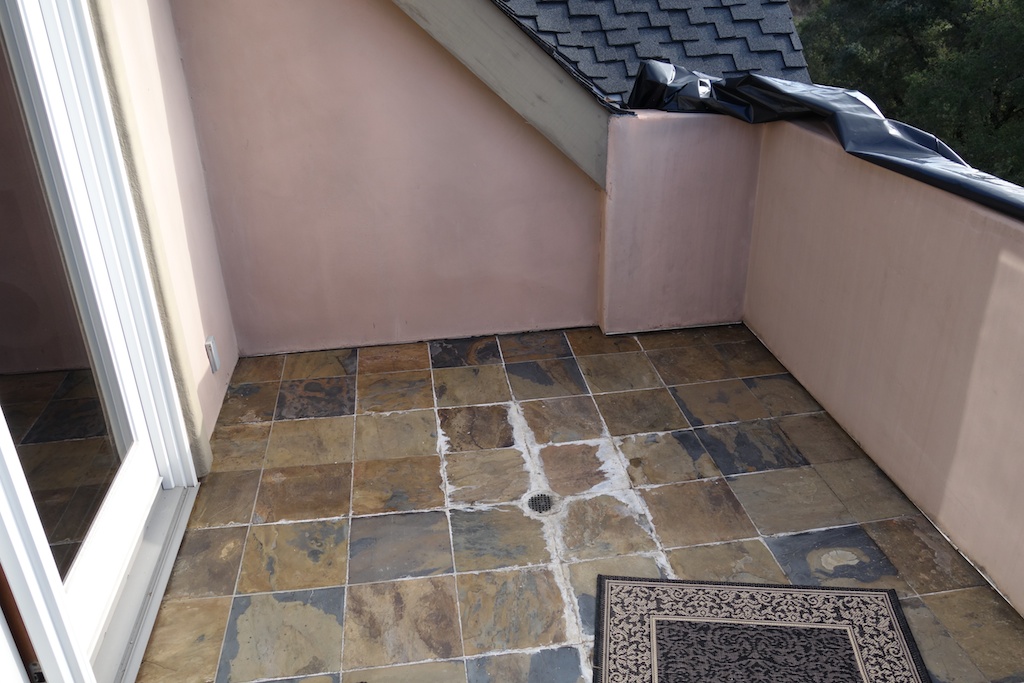
Bobby Hultzen is a tiling contractor who has been working with me to try to locate and fix the problem since late November. He initially identified a bunch of possible trouble spots: how the roof goes right into the wall around the deck (how do you keep *that* from drawing in water?!), the construction of the deck wall, the bedroom door frame, the deck’s overflow drain and of course the deck bed itself.


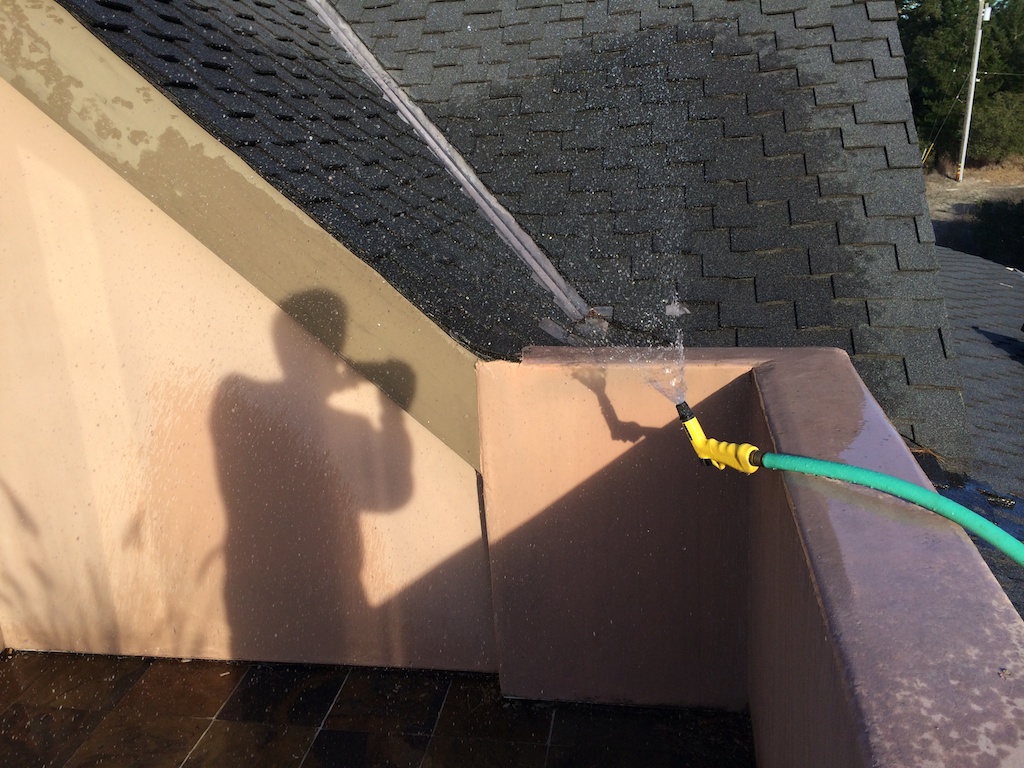
We worked to try to narrow it down by spraying water on various portions of the deck and this eliminated the door frame and the house wall but letting water fall over that roof-into-wall construction led to more leaking downstairs. You could actually see that the wood trim under the roof edge was still wet from the rain storm and this junction of the roof with the wall did seem like the most likely candidate so I started with a temporary patch of filling in the joint with silicon. Before testing this, I decided to spray below into the corner of the tile deck and make sure that didn’t leak before spraying above. Unfortunately, it did leak….

This spray test included a small portion of the wall, so to eliminate problems with the wall construction, Bobby asked me to flood the deck floor. It held for some hours! But then it failed and water started streaming in through the kitchen ceiling again. So, with this water test failure, we finally decided to start cutting into the tile to examine all the various layers beneath and look for a problem.
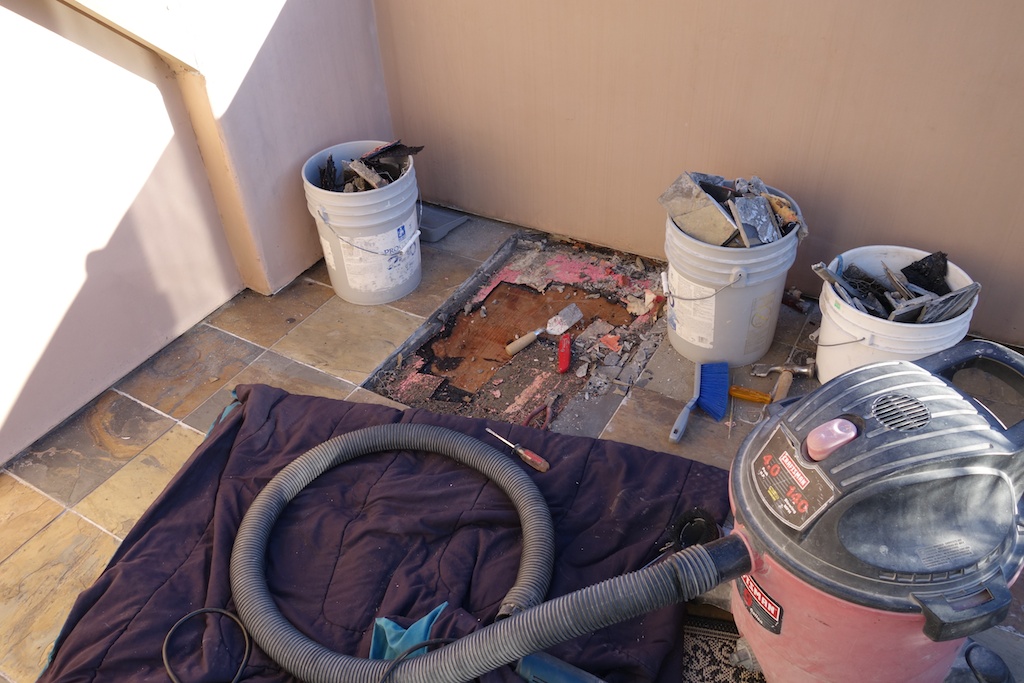

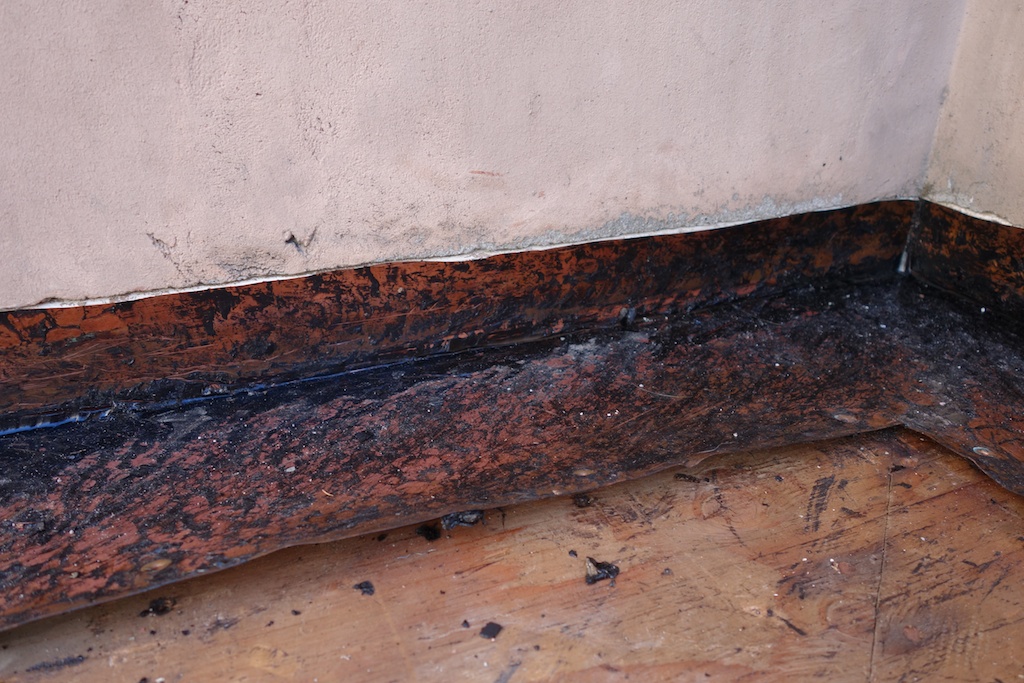
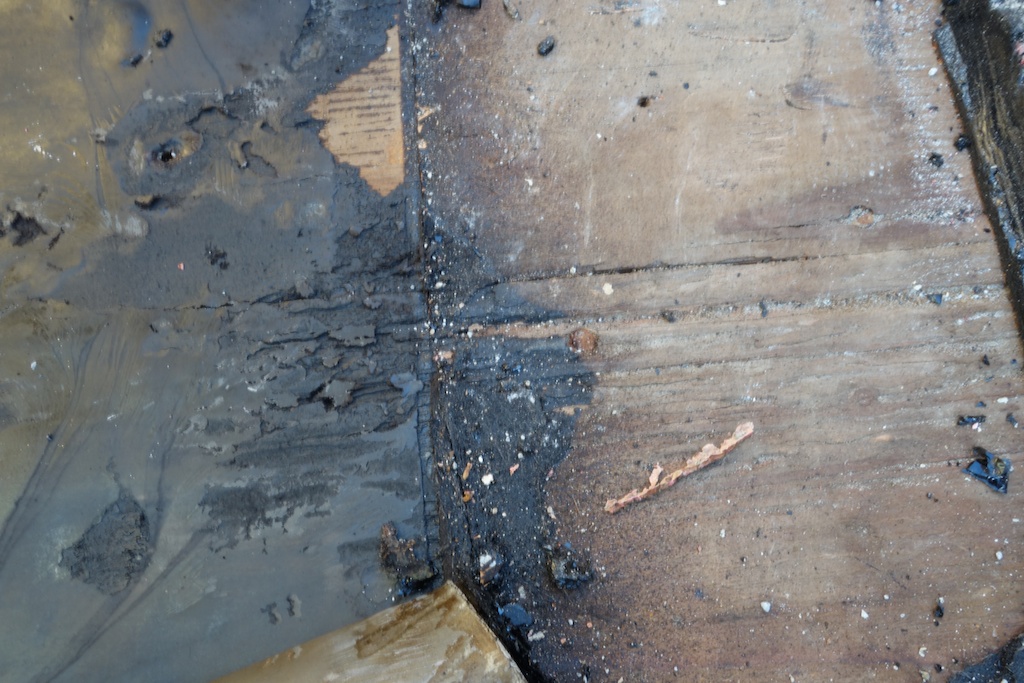
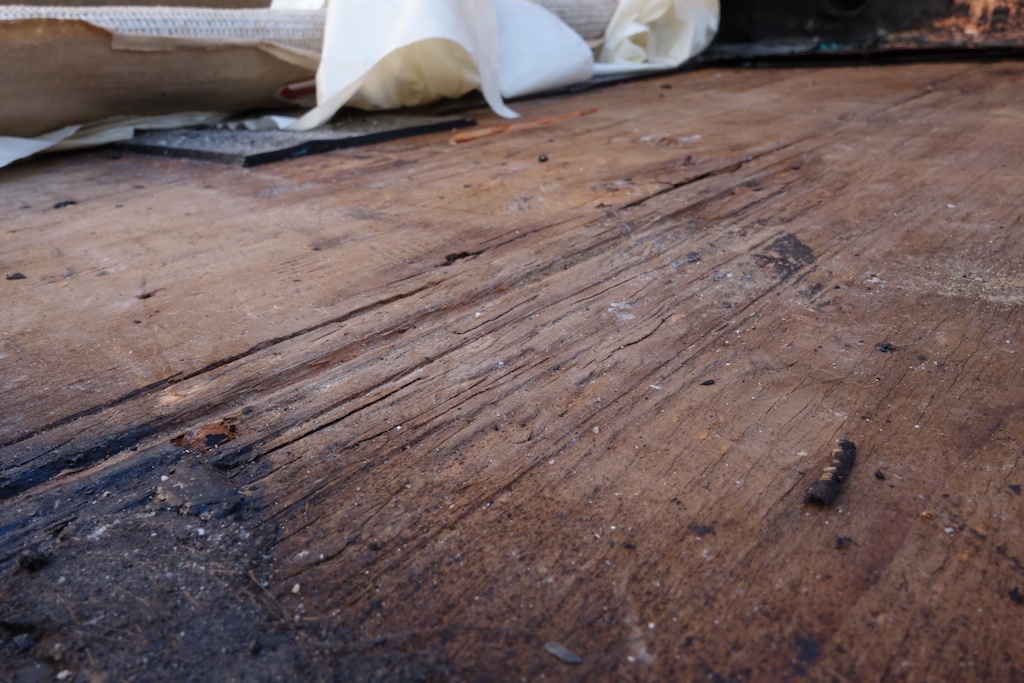
Starting at the point where the overflow drain is in the side of the deck, Bobby started slowly cutting through and revealing layers. We then expanded into the southeast corner, below where the roof joined with the wall, eventually led to showing that the wood underneath the hot mop tar and other layers was indeed showing signs of water damage. Bobby also identified some cracking in the tar layer near the wall.

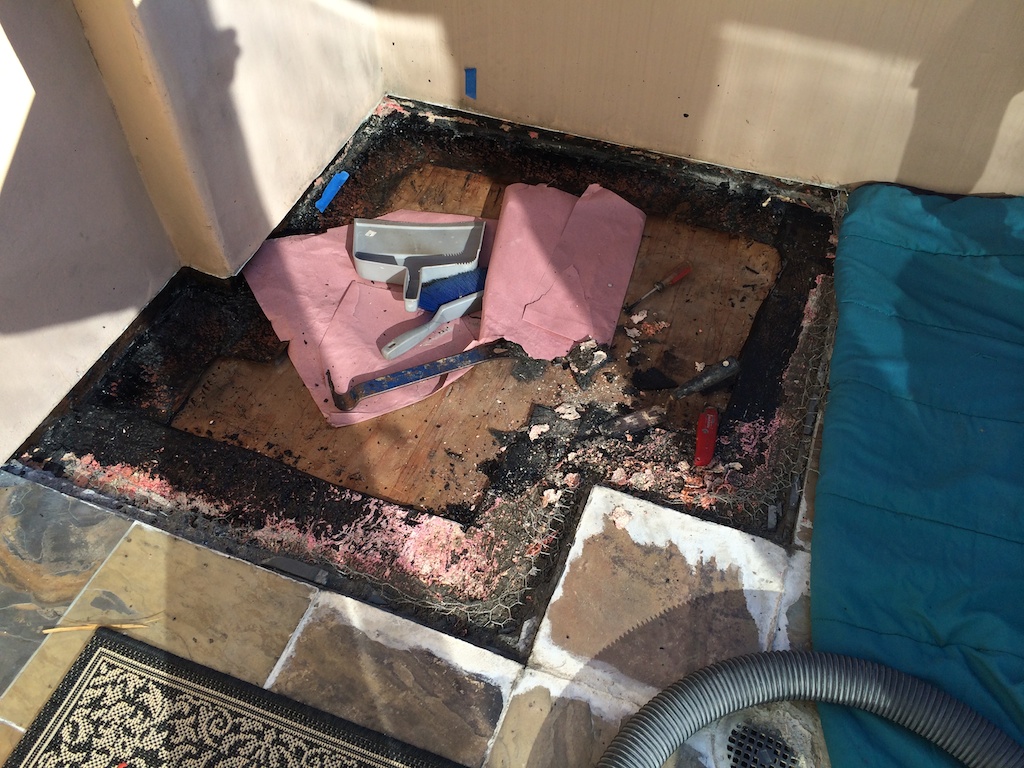
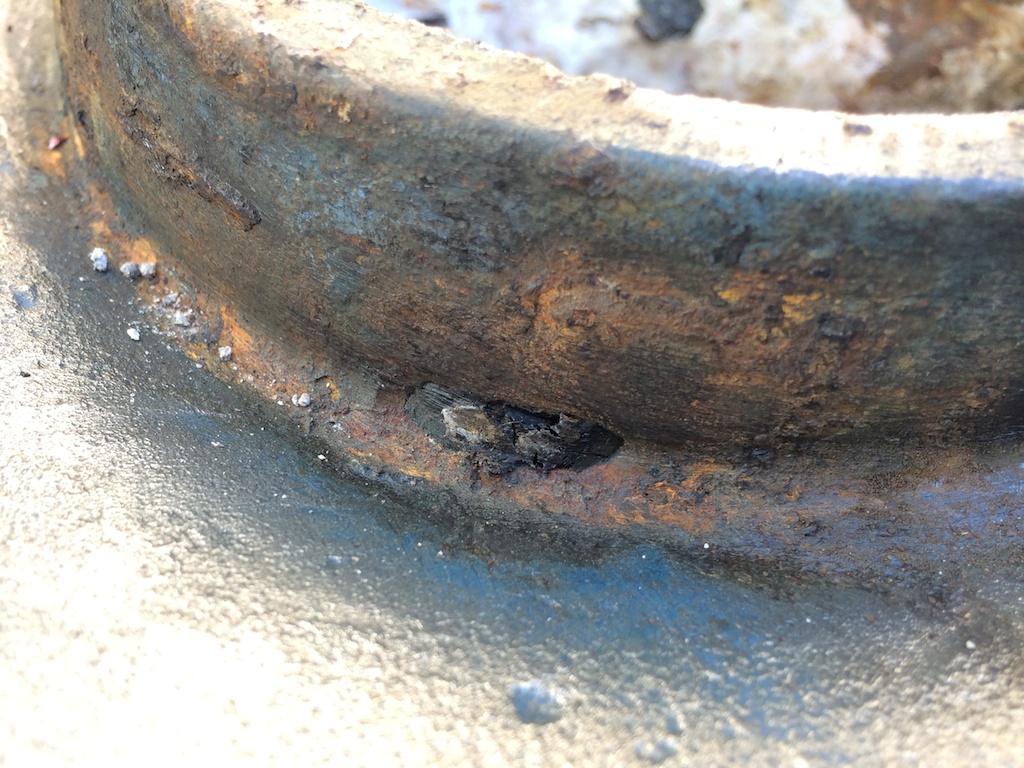
He eventually removed several more tiles to expose even more of the wood construction (and the apparent water staining) and he scraped clean the copper flashing to examine the welds:


He then applied a new water sealed layer and bound it to the old tar layer. Luckily all this time, since before Thanksgiving, we haven’t had any rain. And so I did some new water tests on New Year’s Day:


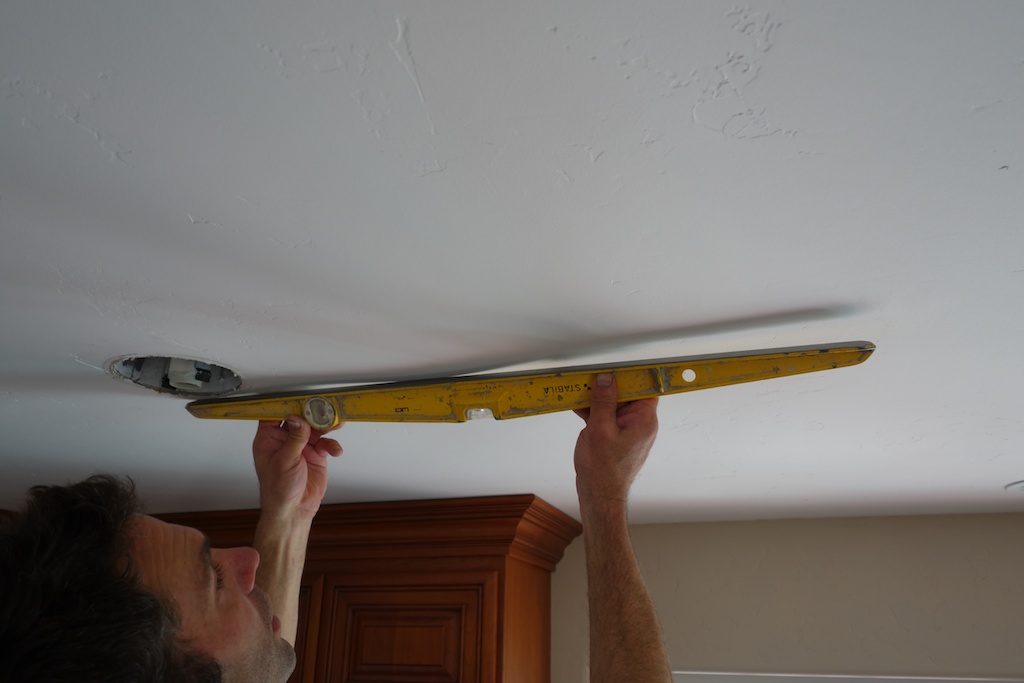
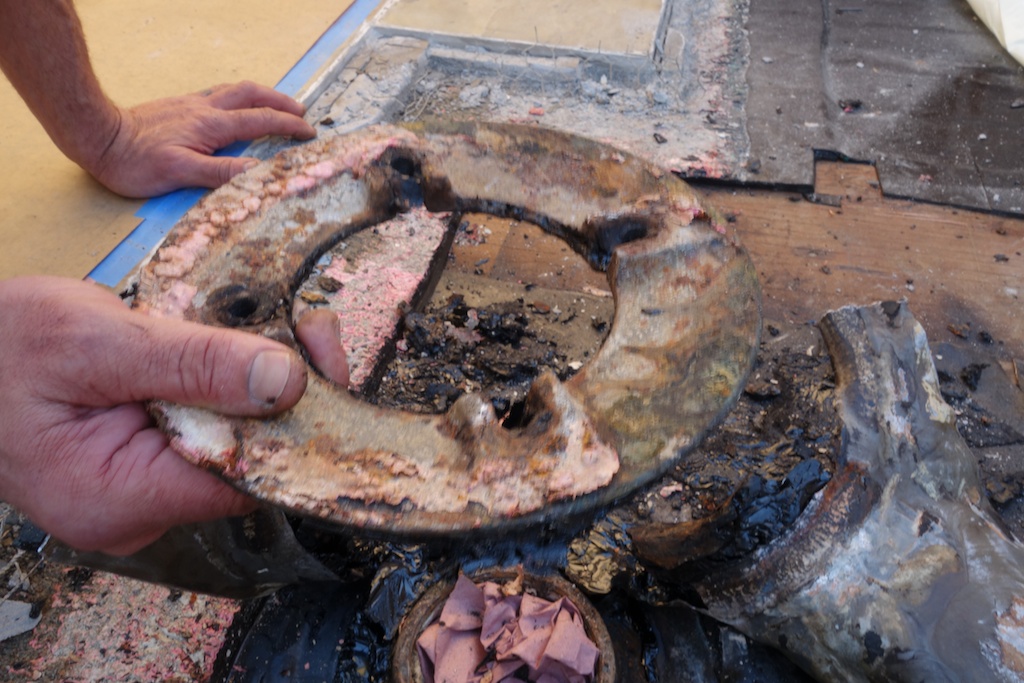
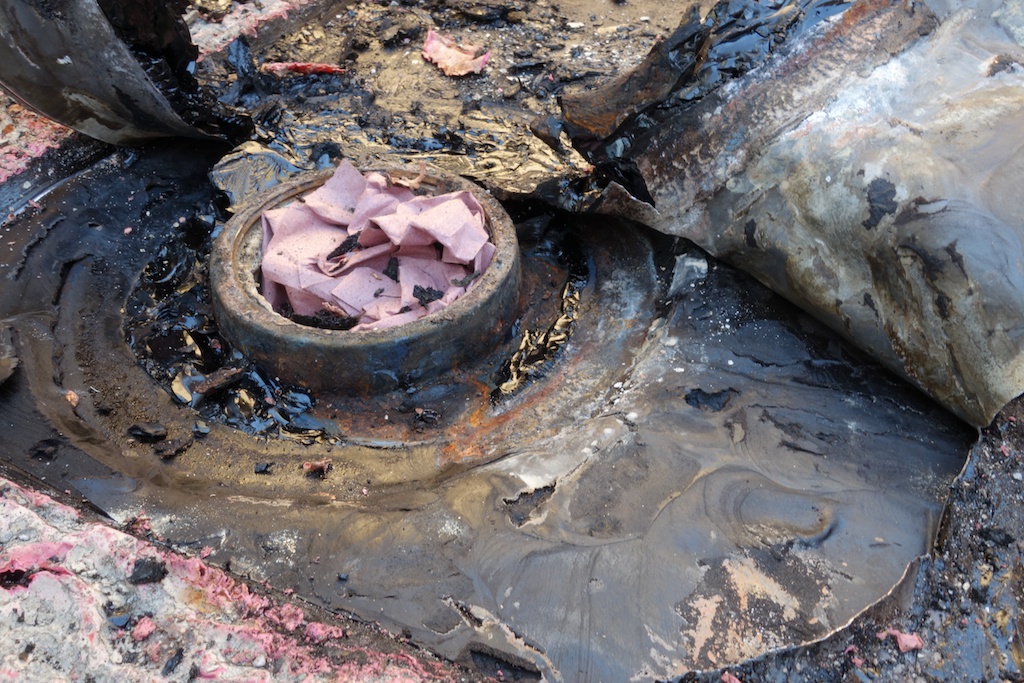
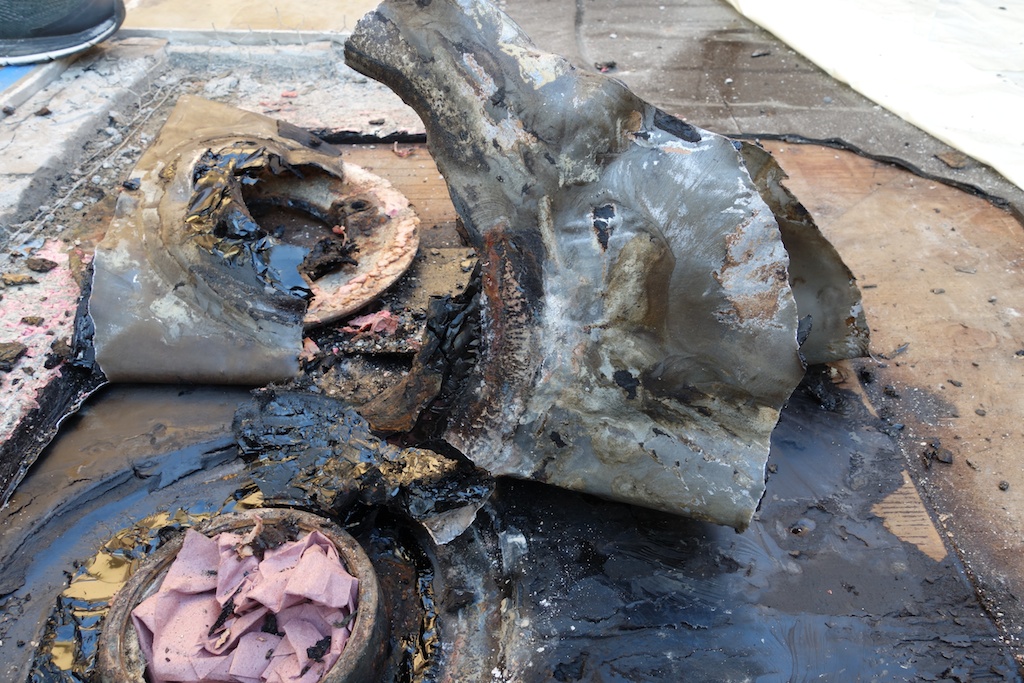
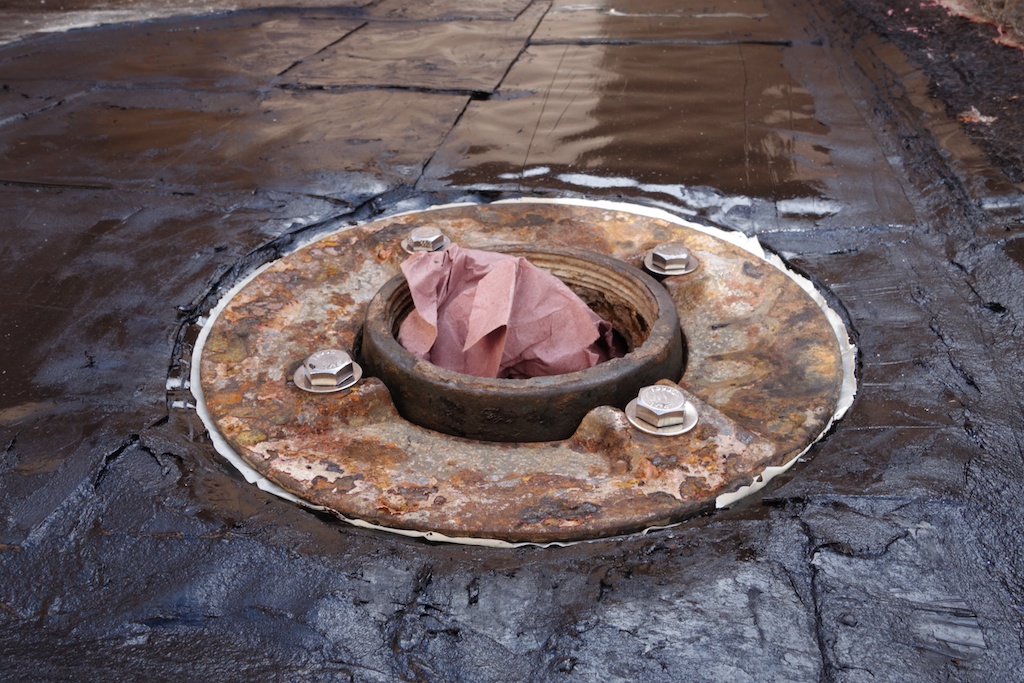
It was looking good… until the ceiling started leaking again and now coming through a can light that is closer to the center of the deck above, where one of the two drains is located. Bobby came back to tear up more tiles and mortar and tar and expose the drain, after taking a look at the huge low spot in the kitchen ceiling, apparently right below the drain:
Pulling out the drain revealed lots of rust and other signs of water damage. It turns out that the weep holes surrounding the drain were entirely plugged and sealed up by the hot mop tar layer. There was never anywhere for the water that seeps through the tile deck bed to go!
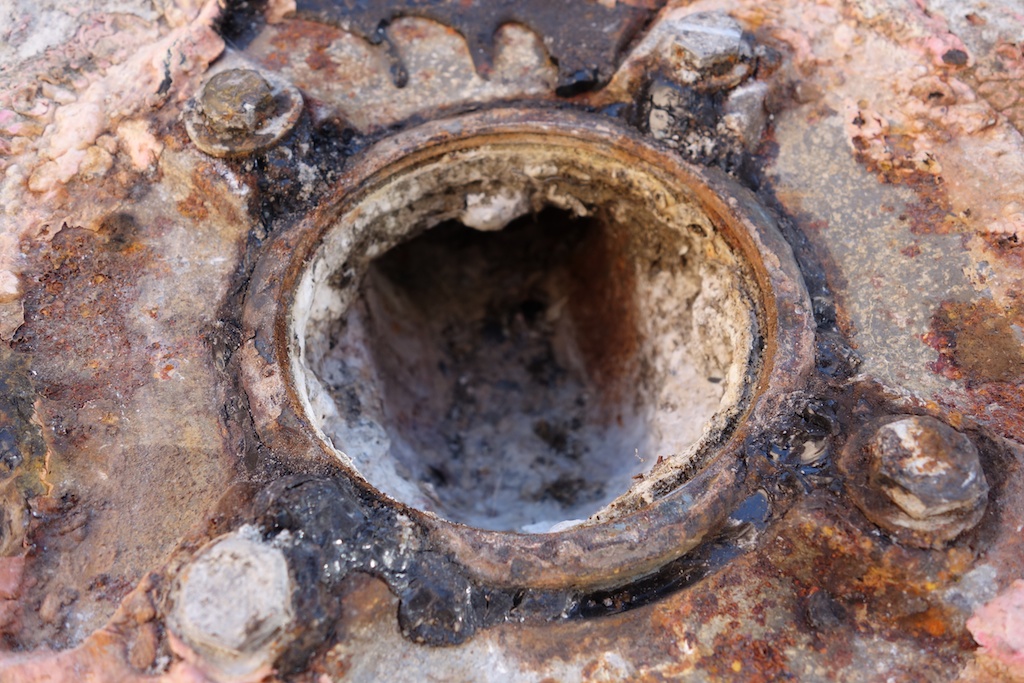

The fact that the weep holes were sealed up means that the water was just collecting there and could only escape when the deck heated up enough to wick it out and evaporate. Which also explains all the excessive efflorescence covering all of the grout across the deck. Plus, when the temperature dropped far enough, this water could freeze and force it’s way through the layers below – apparently eventually making its way to the framing below. And this means we can expect to find the same trouble on the other side of the deck surrounding the other drain.
Here’s the apparently semi-random collection of bolts used to previously fasten down the gasket around the drain:

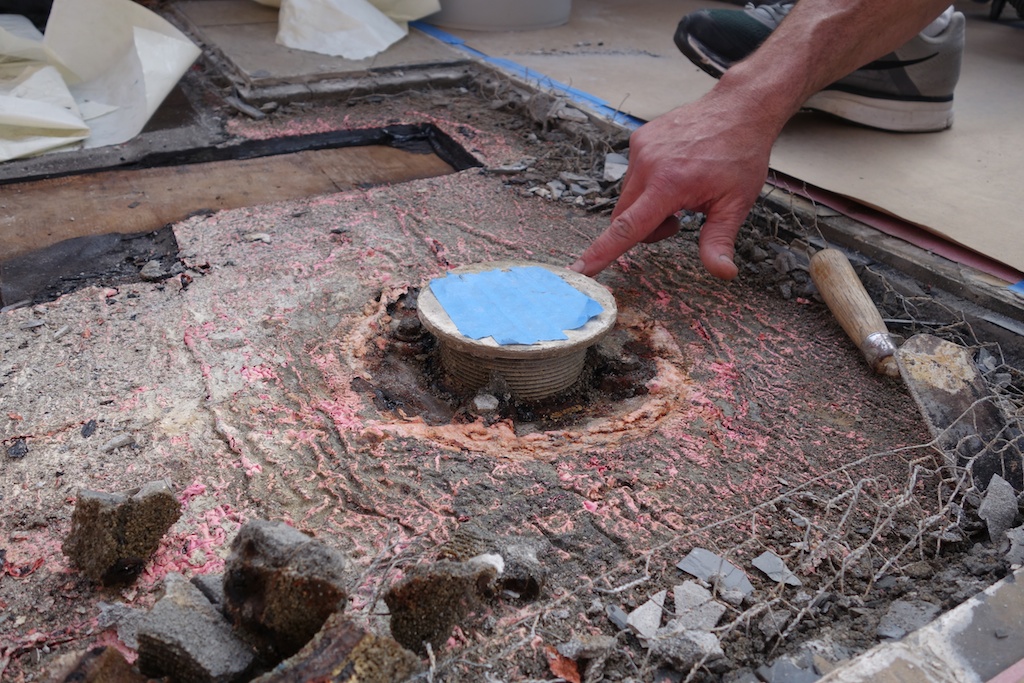
As I went and got four new stainless steel bolts, Bobby was able to finish putting down a new sealed layer, complete with open weep holes around the drain:
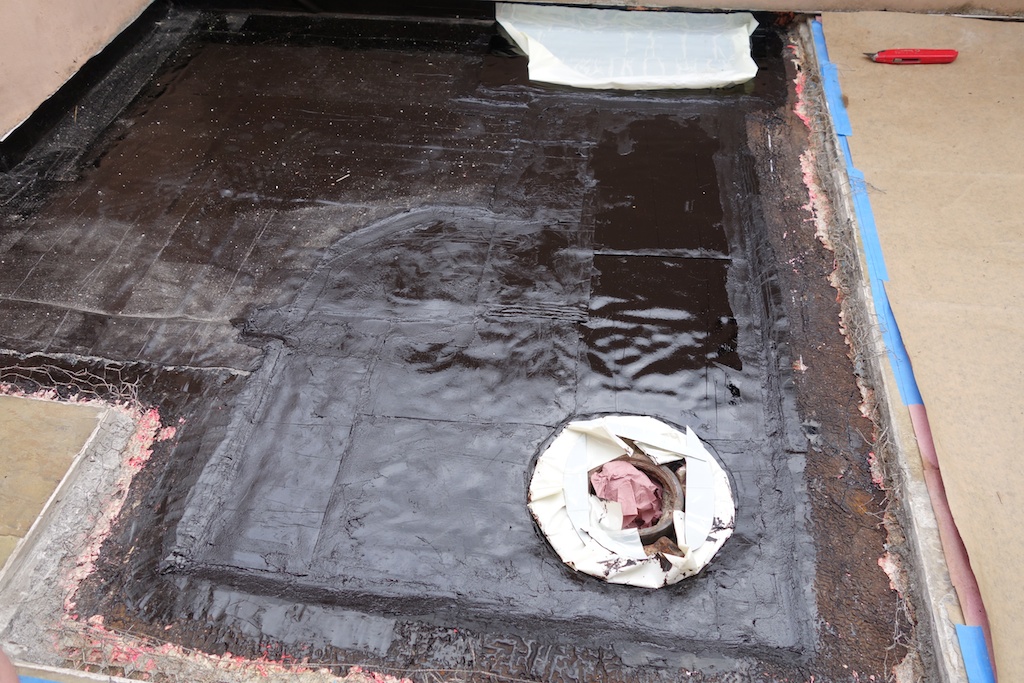
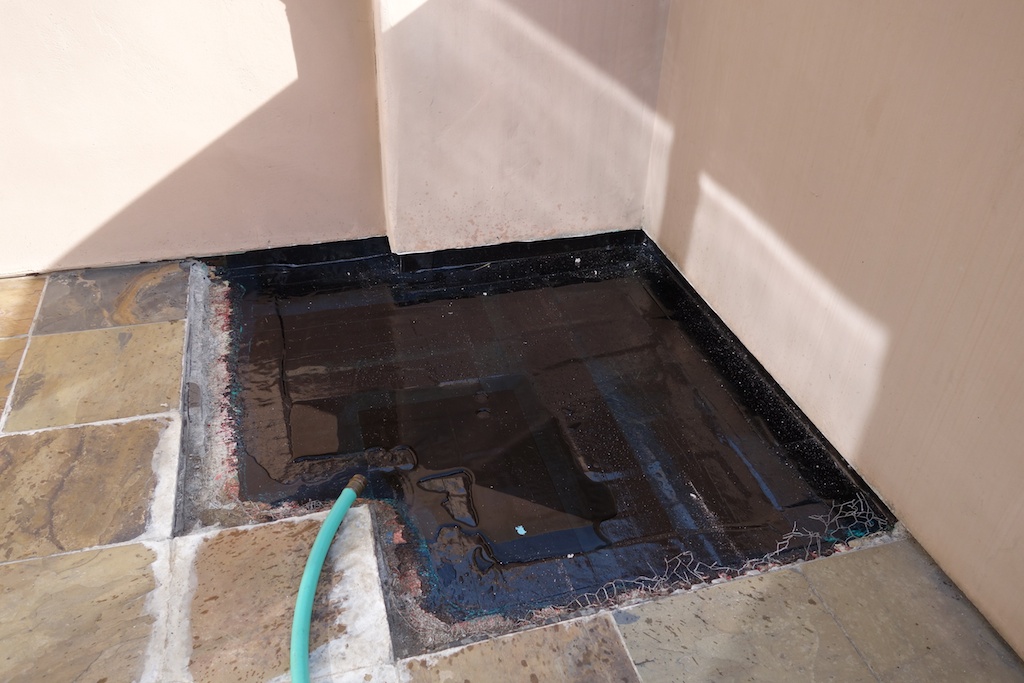
What a beautiful sight! It’s now January 9th and still no rain but now for the final water tests! We plug up the drain and fill the redone area to the brim of the tile and let it stand… and repeat for a couple of days. So far so good! Until I leave the water running and it overflows the tile edge and the redone area to flood that half of the deck and water starts dripping downstairs in the kitchen. Argh!!!
At this point I’m hoping that this very small amount of water is just leftover from previous water testing and the extra weight above caused it to shift and let a little reach the openings in the ceiling. Unfortunately, when I repeat the flood test, I ended up getting a steady stream again. So then I go around and start running water over every portion of that half of the deck to try to find the source but nothing leaks. Nothing at the juncture of old tile to new seal, nothing along the edge of the walls or the doors.
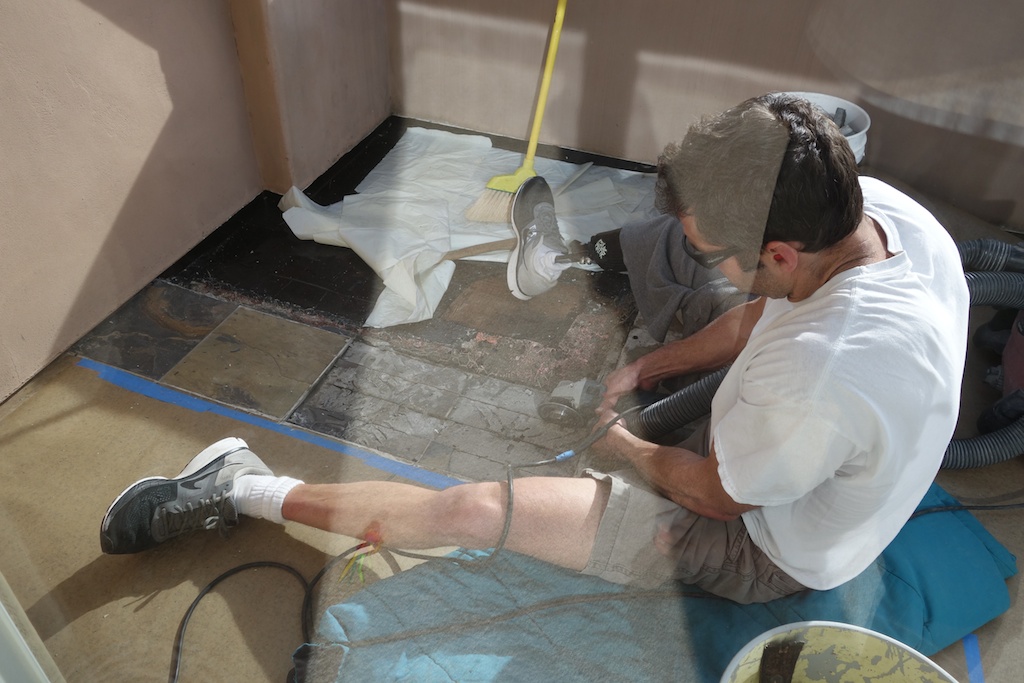
Finally I build a little dam system with towels so I can force the newly sealed area to take a heavier load of water. This sits for about half an hour before it bursts through to the kitchen below.
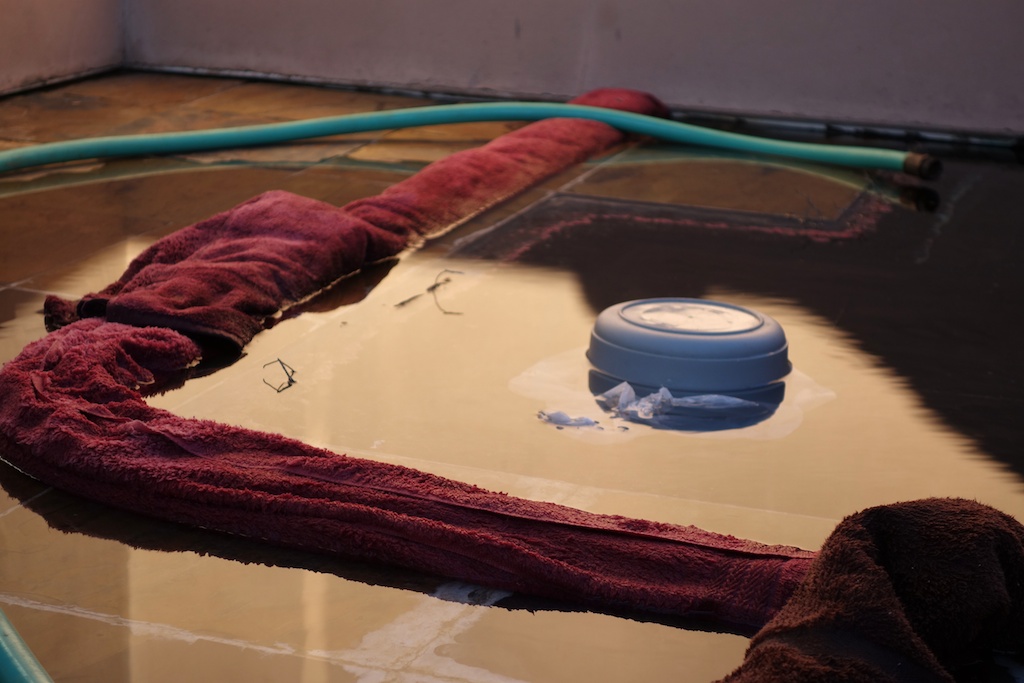

Now what?? Is water getting forced down around the drain? Is there some other failure point elsewhere on the deck that takes a lot of standing water to get saturated to the point of leaking?
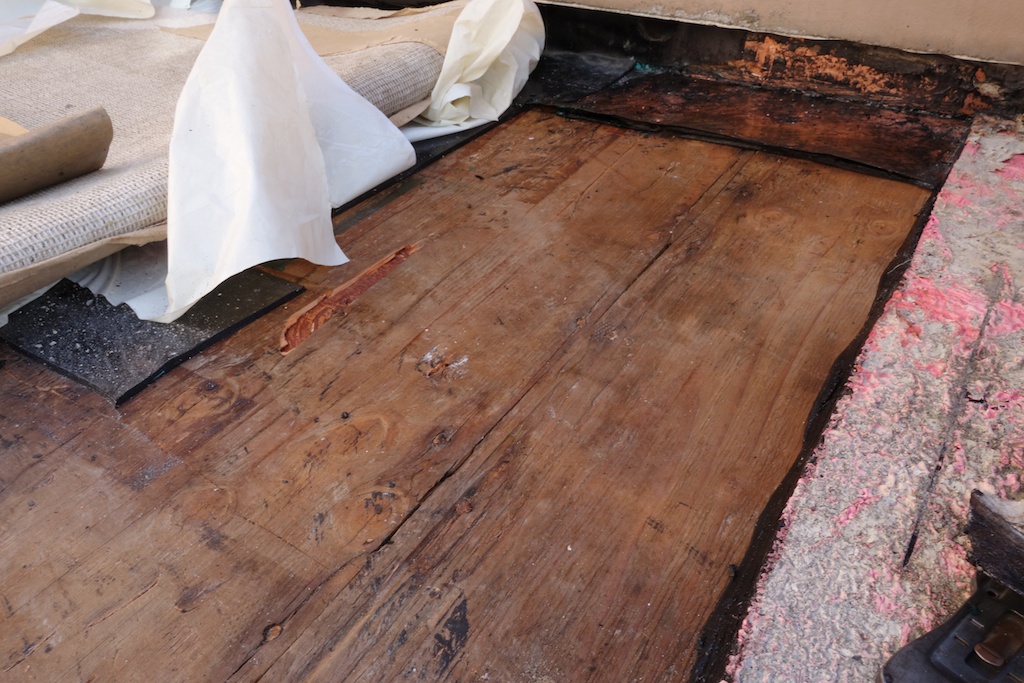
 Update (January 14th): Bobby decided to cut another row of tiles (towards the high middle of the deck) to examine the wood underneath and the result? All dry. So then he cut away the orphaned tiles on the other side, next to the wall, and in the process discovered the problem: the “primer” he started using at the beginning, to bind these adhesive rolls of rubberized asphalt to the surrounding surfaces, wasn’t holding. It was definitely allowing water to seep under the rubberized asphalt layer through to the wood. Thankfully he had already switched to using a mastic roof sealant product after the first day (which proved to be working well) but this will still mean removing and redoing the original work which will take a couple more days.
Update (January 21st): Bobby finished the resealing on the 16th and we started water testing on Friday the 17th. It held to flooding the repaired area on Friday and then I kept it drowned for some five plus hours on Monday. No leaks! I call that success! Even the original tests of spraying midway up the corner walls and over that funky roof-into-wall joint for several hours didn’t lead to any leaks. Woo-hoo!!

0 comments