Home Theater Upgrade: Taller Screen

With more and more “blockbuster” movies being released in tall aspect ratios (apparently optimizing for IMAX screens) or even frequently switching aspect ratios midstream (Christopher Nolan!!), my existing, 12-foot wide 2.4:1 aspect ratio screen hasn’t been so useful as it used to be.  These taller aspect ratios meant that the image ends up quite constrained, not using much of the screen real estate to the left and right.

So I finally decided to go through the trouble of buying and installing a new screen.  It’s the same width as before (12 feet) but now in a 16:9 aspect ratio.  So now I’ll have “Constant Image Width” (CIW) rather than “Constant Image Height” (CIH).

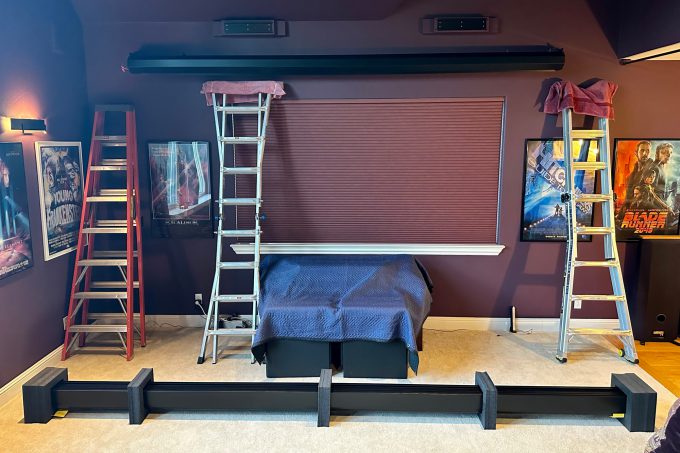
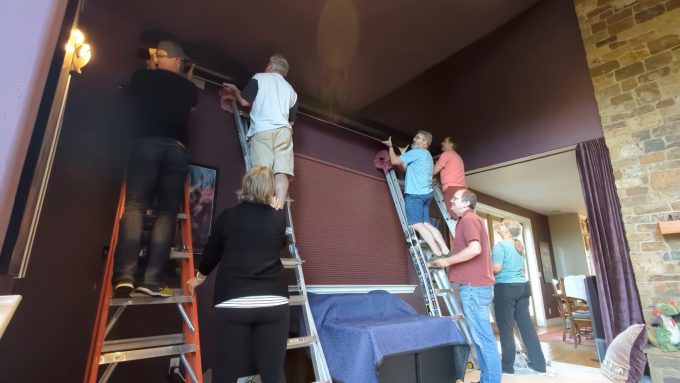
It’s another retractable screen (Luxus) from Stewart Filmscreen using the same screen material (Ultramatte 130 and still 30% gain) but this new unit was quite a bit heavier than the old one.  It weighs somewhere between 125-150 lbs depending on which documentation you believe.  I installed another set of mounting blocks with 2×6’s on the wall to clear the window sill but there was no way just two of us could lift it in place.  Four of us were able to do it though! Many thanks to Tim, Geof, Jennifer, Richard and Nacho for volunteering to help Darlene and me:

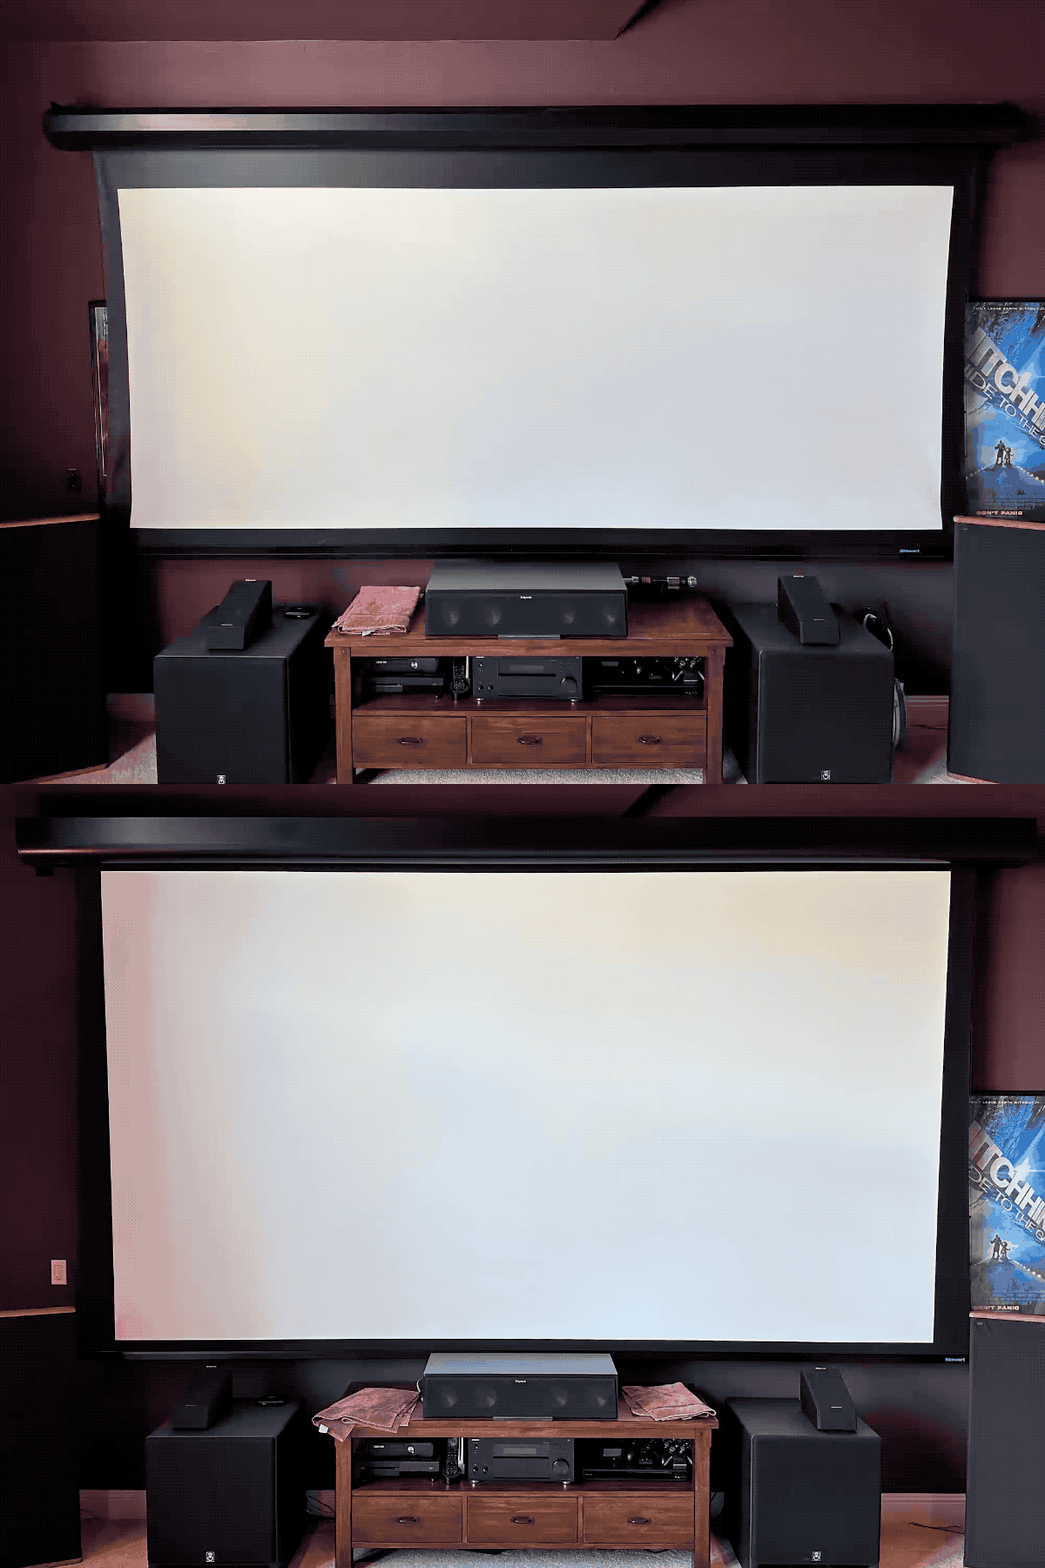
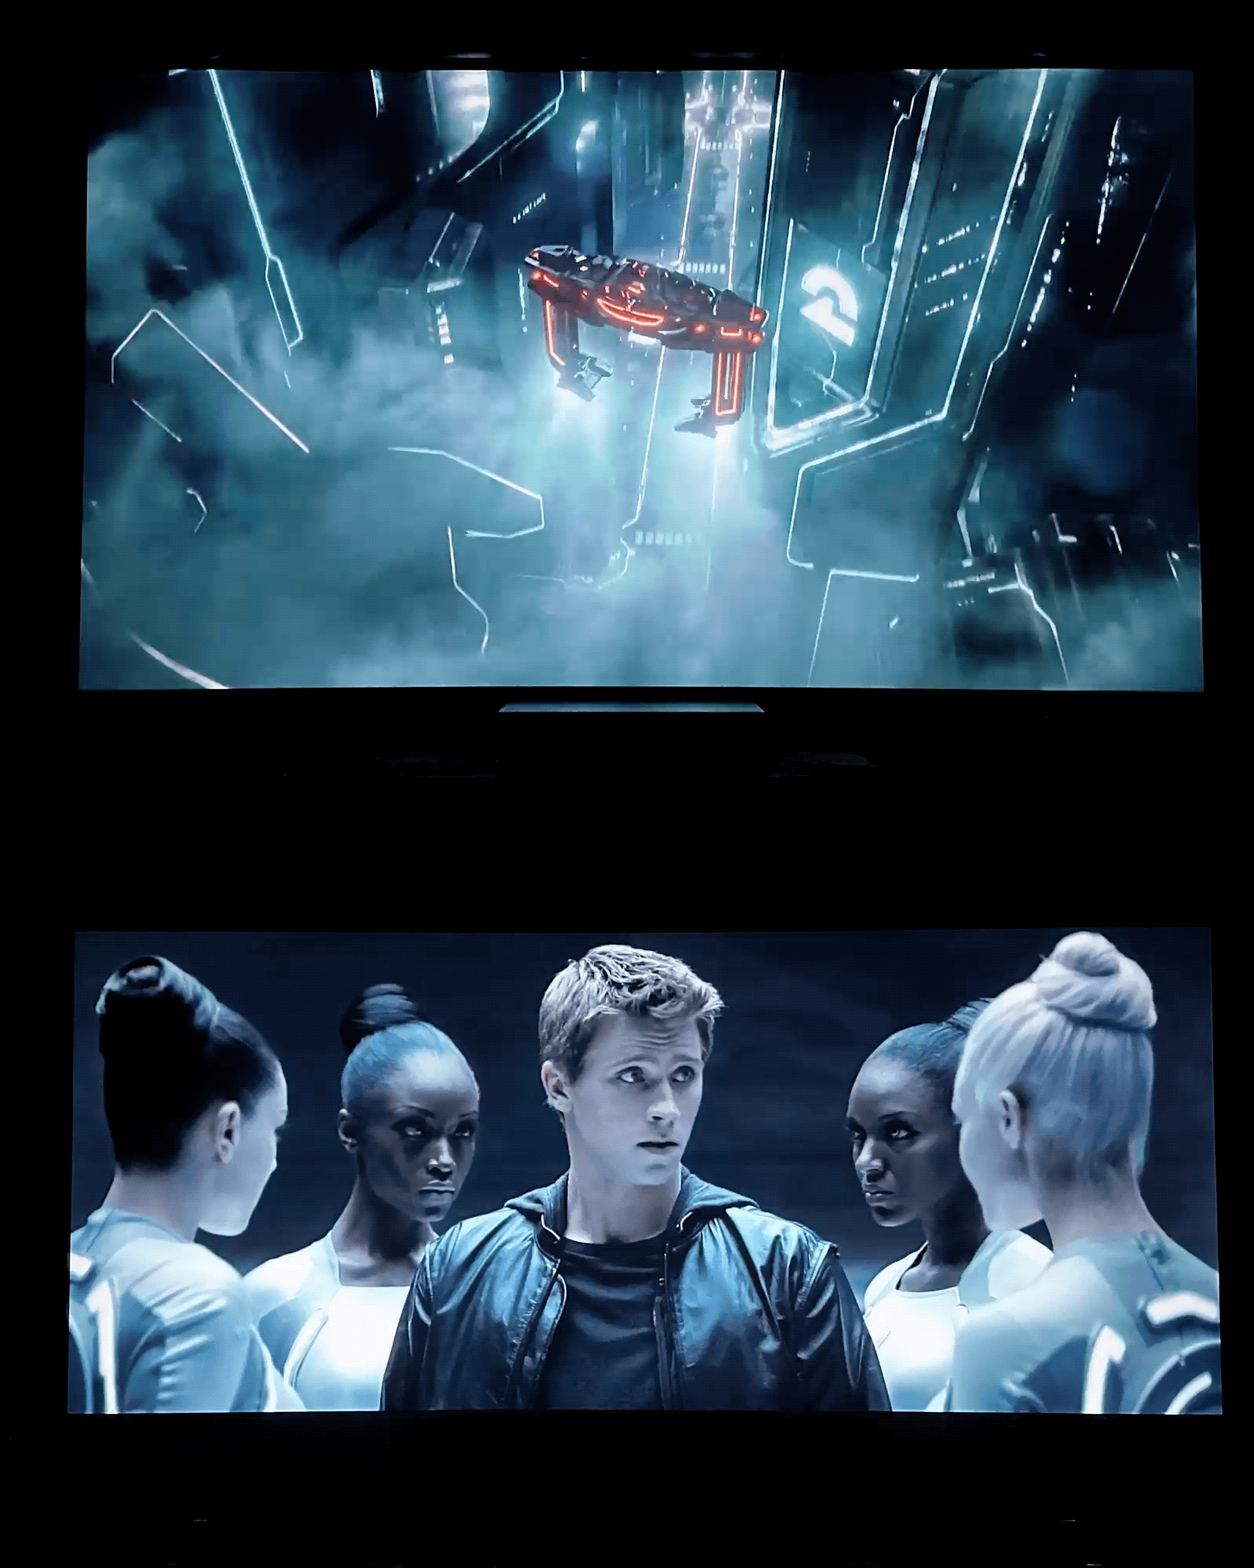
Old vs New (2.4:1 vs 16:9)

The new taller screen is filled out wonderfully with the likes of all those tall aspect ratio movies – making these films feel much more immersive again.  And so far, the upper and lower “black bars” with 2.4:1 material haven’t been distracting.

Some movies (like Tron: Legacy) like to switch aspect ratios.

Home Theater Build Out in Tahoe

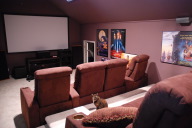
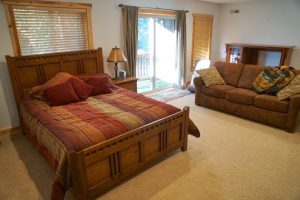
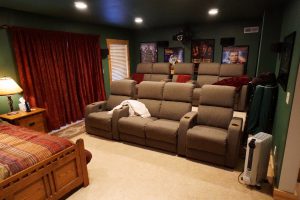
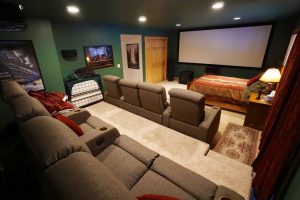
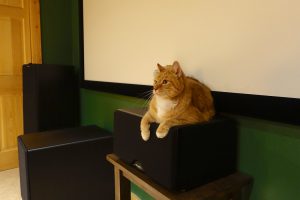
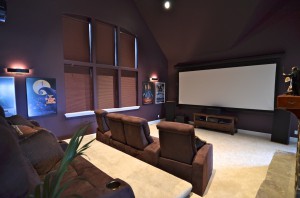
The Tahoe house has a large basement bedroom that was just crying out for a home theater conversion using my recently retired JVC DLA-RS55 projector and my old Sony amp/receiver.  This involved getting a full set of speakers for 7.1 audio, running wiring through the walls for speakers and the HDMI video, moving the badly placed heater vents and intake, painting the walls and ceiling a dark green, mounting the projector and adding power, building another seating riser and getting it carpeted, ordering and hanging a projection screen, ordering and setting up two rows of reclining seats and of course hanging movie posters!  The guest bed up front is a little weird and perhaps might make for some weird dreams of imagining an audience watching you sleep, but it doesn’t interfere with enjoying the big screen image or sound.

Click through for the full gallery:


Home Theater Upgrade: 4K/HDR with the JVC RS640 Projector

I’ve been waiting to go to 4K/HDR until high-performance, laser source projectors became reasonably affordable, but it looks like that’s going to be a while yet.  (Similar to the wait for high def projectors in the early 2000’s.)  So, here we go, it’s the JVC DLA-RS640U projector (full specs here) and it’s quite the nice jump up from my older JVC RS55U projector, from early 2012.  By the way, I recommend contacting AVScience for a purchase – they offer steep discounts from the retail prices and are great to work with.  I’ve purchased from them multiple times over the years.

Both my old and new projectors are able to display video at 4K (3840 x 2160 pixels), but the RS640 can take 4K input sources while the old RS55 could only take HD content (1920 x 1080) and upscale it.  More importantly though is the ability of the RS640 to display high dynamic range (HDR) content, giving a much wider range of colors and shadow and intensity.  In addition, the RS640 provides even higher contrast ratio, even tighter spacing between pixels, more lumens, better motion enhancements, better 3D display and a low latency mode for gaming (yay!).

Read more “Home Theater Upgrade: 4K/HDR with the JVC RS640 Projector”

Home Theater Upgrade: Dolby Atmos

I’ve just added Dolby Atmos support to my home theater by upgrading my receiver and my Blu-Ray player and by adding a pair of vertically firing speakers.  I decided to go with the Onkyo TX-RZ3100 which provides for 11 audio channels at 140W/channel, giving me 7.2.2 in my new speaker configuration (seven = three front + two side + two rear, two subwoofers, and now two down-firing).  For sources, I now have an UltraHD-capable Sony UBP-X800 Blu-Ray player and the newest AppleTV.  All of this also means I’m ready for 4K/HDR if/when I eventually upgrade my projector.

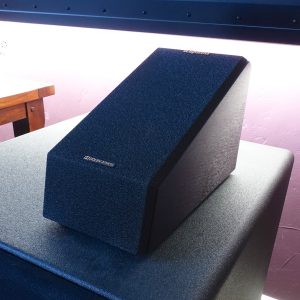
The additional speakers are a pair of Klipsch RP-140SA add-on speakers that I can simply set on top of my two front subwoofers. They’re naturally angled to fire upwards and bounce off the ceiling and back down to the listening area.  I didn’t want to have to go to the trouble to mount downward-firing speakers on my very high, vaulted ceilings so these were a very easy and convenient solution.  They’re not really meant to be used for a vaulted ceiling, but they seem to be working well enough.  I certainly seem to get a nice reproduction of Dolby Atmos movie soundtracks.


So how does it sound?  Well, I definitely like it and I definitely think it was worth the cost and effort.  As much as I liked my existing 7.1 surround sound system, this new object-based, spatially-encoded audio is quite impressive in the movies that make use of it.  It certainly sounds much better than the old channel-based surround sound.  It’s amazing how much more the sound seems to be coming from directions where your speakers aren’t!  I say go for it – particularly if you’re planning to upgrade your components to support 4K/HDR anyway!

Home Theater Upgrade: Serious Bass

It’s rare that I go out to movie theaters, preferring to have friends over to enjoy my home theater, but sometimes I do for special movie events, like the release of the first new Star Wars movie in a long time: The Force Awakens.  Well, we happened to go to a theater with an impressive sound system and I was startled by a number of instances in the movie where you could seriously feel the sound pressure of something big happening on screen or the impact of an explosion, not just *hear* it.   In other words, some serious pressure waves in that theater.  That experience left me wanting to find out how to get that at home!

I’ve long been pretty content with my Acoustic Research S12HO subwoofer (a 12″ inch down-firing driver), particularly in my old condo’s home theater.  It filled out the bass response well, without being overbearing and without bothering the neighbors.  I’ve had it since 1999.  However, in my home now in the hills above Santa Cruz, I have a much larger room with a huge vaulted ceiling and my old subwoofer can’t really fill the room.  (Plus I don’t have close neighbors to worry about bothering.)

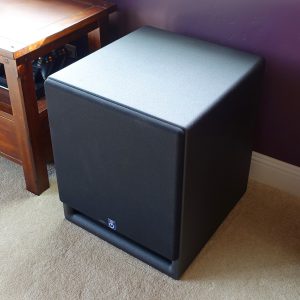
So I did my usual many days of research and ended up settling on getting two (yes, two!) highly-rated V1800 subwoofers from Power Sound Audio.  The V1800 subwoofer features a 725 watt amplifier and a huge, vented 18″ driver capable of getting down below 16 Hz.  It’s capable of delivering up over 120 dB of sound.  (Here’s a list of comparative decibel levels.)  I bought two of them because a single subwoofer can potentially fill a room in such a way that you get large peaks of output in some locations in the room and large dips, even dead spots, in other locations.  Adding a second subwoofer in a different location allows it to interact with the room in such a way that its peaks and valleys will tend to cancel out the other subwoofer so you get a more even response throughout the room.  It also has the side effect of increasing the output overall by quite a bit (about 6 db).

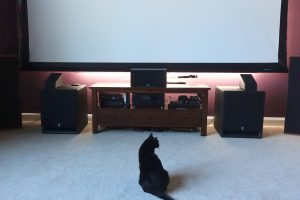
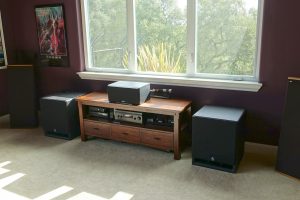
Here’s a great set of tips on how to go about optimizing both subwoofer placement and crossover settings.  For me, the only really practical location was up front on either side of my equipment cabinet:


Even with the large vaulted space of my home theater, I found that the appropriate gain setting needed for both subwoofers was only about 20%.  It was amusing to turn them both up to 50% gain though just to see what would happen.  The room shakes so hard at that level that I’m afraid of turning it up any further for fear of breaking something like a window.

Anyway, set an appropriately balanced level, their impact (literally and figuratively) is still quite dramatic.  These guys fill out the bass end of music wonderfully, nice and tight, without being overbearing at all. And for low frequency effects (LFE) in movies, the experience is fantastic.  The rumble from a passing train in a movie makes you believe there really is a train passing by.  A rocket launch shakes the whole room (and much of the house) – you feel it in the floor, the walls, the chairs.  And most amazing of all, you feel sharp explosive impacts on your chest.  No need to strap subwoofers to your chairs!  “Tron Legacy” makes for a great bass demonstration throughout.  I particularly love how you literally feel a jolt to your chest when Sam is struck by the laser digitizer and transported into the digital world.

Home Theater Rebuild with the JVC DLA-RS55

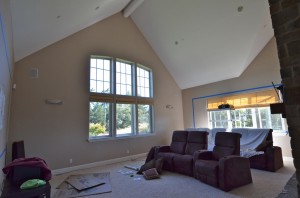
It’s that time again: upgrade time! I’ve moved to a new home in Santa Cruz and I now have the wall space to do a super widescreen (2.4 by 1) in a Constant Image Height (CIH) setup and do it big: 12 feet wide by 5 feet tall!  Sweet!  And I’ll give 3D a try too with the JVC DLA-RS55.  (My last “home theater rebuild” was going high definition back in 2007 in the loft of my condo in San Jose.)

So here’s a photo journal of the building out of my home theater in my new home in Santa Cruz, starting with the the “before” and “after” shots:

(before)

(after)

The house is laid out with a kitchen and a large living room area on one end and a second living room area at the other end and a dining area and entry way in-between….

Read more “Home Theater Rebuild with the JVC DLA-RS55”

Home Theater Rebuild with the JVC DLA-RS1 Projector

Well, I’m in!  Finally it’s time for 1080p high definition!

There’s a newcomer that’s currently getting all the attention on the various home theater forums around the world. It’s JVC’s DILA implementation at the full HD 1080p resolution, the DLA-RS1 or DLA-HD1 – two different model numbers but they’re identical apart from the casing and the different sales channels. Anyway, I’ve placed my order and I expect to get mine by the end of the month. Supposedly it beats out the Sony Pearl (VPL-VW50) in the depth and “pop” of the image due to its ability to accomplish a 15,000 to 1 contrast ratio without resorting to a dynamic iris. It does cost a little more and it’s apparently a little noisier (acoustically), which is a bummer but the image it produces is, by all reports, worth it. Of course there will be something to top it before the year is out in either price or performance or both, but I decided it was time to jump to full high definition.

As for high definition sources, I’ll be using it with my existing EyeTV HDTV tuner/recorder and a newly acquired Sony BDP-S1 Blu-Ray player (I snagged an open box on discount on-line). I’ve thrown the Blu-Ray switch on my Netflix account. Eventually I’ll get an Xbox 360 (just in time for Halo 3). There’s a rumored XBox 360 revision coming with HDMI and I’ll probably get the HD-DVD add-on, assuming it doesn’t come standard.

I’m also planning to paint my loft, replace my sofas with two rows of dedicated home theater loungers, replace my receiver and add speakers to move to 7.1 sound. When the projector arrives, I’ll see how my exsting 110″ diagonal Da-Lite Da-Mat matte screen performs with it. Depending on the results, I may end up getting a new screen and I may decide to go for a CIH (constant image height) set-up where the screen is actually 2.35:1 instead of the usual 1.78:1 (16:9) so that I can enjoy a more panoramic view of cinemascope movies.

Update: My rebuild went great and I love the results! I didn’t do a constant image height screen due to physical constraints on size and placement caused by the sloping roof, but it looks great! The dark walls and ceiling have also done wonders for the atmosphere and the image quality — by severely cutting reflected light.  And the dedicated home theater seating from Palliser looks fantastic.

Click through for a gallery of pictures showing the rebuild of my home theater:
 

I got the XBox 360 w/HDMI but forget about using it for movies — the machine is incredibly noisy! I’m sticking with just a dedicated Blu-Ray player and waiting for this stupid HD format war to end. (No help from Microsoft throwing money at the studios to go temporarily exclusive — Microsoft does not even seem to be committed to either format. Looks like they just want to prolong the format war. Hmm…. they do have a paid movie download service.)


Update (April 2017): Well, my JVC RS-1 has arrived. I’ve spent five or six hours with it trying different sources and comparing it to my existing Sony HS-20 projector.

This is my mini-review including additional notes I made in December 2007.

The Good

  • excellent convergence!
    • and it’s so nice to have the option to make pixel shifting adjustments
  • much brighter than I was led to believe, even with lens shift
    • can easily handle light in the room when necessary
  • looks great on my Da-Lite Da-Mat (1.0 gain) screen — I don’t see why high gain would be needed
    • after many months, I still swear you’re nuts to add screen gain for this projector: go with 1.0!
      all white scenes are already blinding and you don’t want to brighten the dark scenes!
  • full 1920×1080 resolution is nice but it’s not a stark difference over my old 1388×788 resolution with 1080p video/film sources (at least with the couple of Blu-Ray titles I have and some HDTV recordings)
    • great for sources of fine detail like computer output though
    • deeper dark scenes have a bigger impact than resolution increase
  • much reduced “screen door effect” — you have to be impractically close to still see it
  • deeper blacks — they are certainly much improved but, at least out-of-the-box, you definitely still see where the image frame ends; it’s not like the absence of light, not like you can’t cast an obvious shadow on the black bars
    • perhaps this can be improved with adjustments much as I was able to do with my HS-20
    • yes… much improved now, there’s so little light in the black that I get more light on the screen from an indirect light source several rooms away: bounced off of several walls before reaching my screen!
  • HDMI HDCP handshaking works with this projector when my receiver is in the chain!
    • it wasn’t working with the HS-20 (a Sony projector with a new Sony receiver)
    • yeah! that means I can get HDMI audio to my receiver without having to workaround the problem with a splitter or something

The Not-So-Great

  • light leakage all the way around image and outside my screen frame — very noticeable when scene goes near black (never had to put up with this before)
    • this is now completely invisible with a dark paint wall background — I used to have white walls
  • fan noise is comparable to others (not great, not terrible, certainly quite audible at normal bulb level despite forum comments to the contrary); it’s certainly much louder than my Mac Mini and its external hard drive, even when standing well away from the projector
  • manual zoom and lens shift controls (power zoom would be nice for constant height screen)

The Ugly

  • some distracting “off” colors, but not as bad as I initially thought once I compared to my old projector and tried other sources; perhaps it can be improved with some color adjustments (haven’t done Avia video calibration yet)
    (since doing some adjustments I’m not noticing any problems any more)
  • awful, terrible noise with certain saturated reds — it’s really bad and really noticeable but I’ve only seen it in one scene so far (Hitchhiker’s Guide to the Galaxy (Blu-Ray), newscaster on video screen)
    (after many months, I haven’t seen this anywhere else – just a quirk with this particular scene – perhaps the extra resolution makes the intended noise of that newscast feed much more apparent)
  • Something I do keep encountering though: every so often I’m seeing very apparent banding across dark gradients like dark skies. I don’t know if it’s an issue with my Sony Blu-Ray BDP-S1, certain disks or the projector under these circumstances. For an easy example of it, just view the Planet Earth intro sequence of the sun rising over the planet.